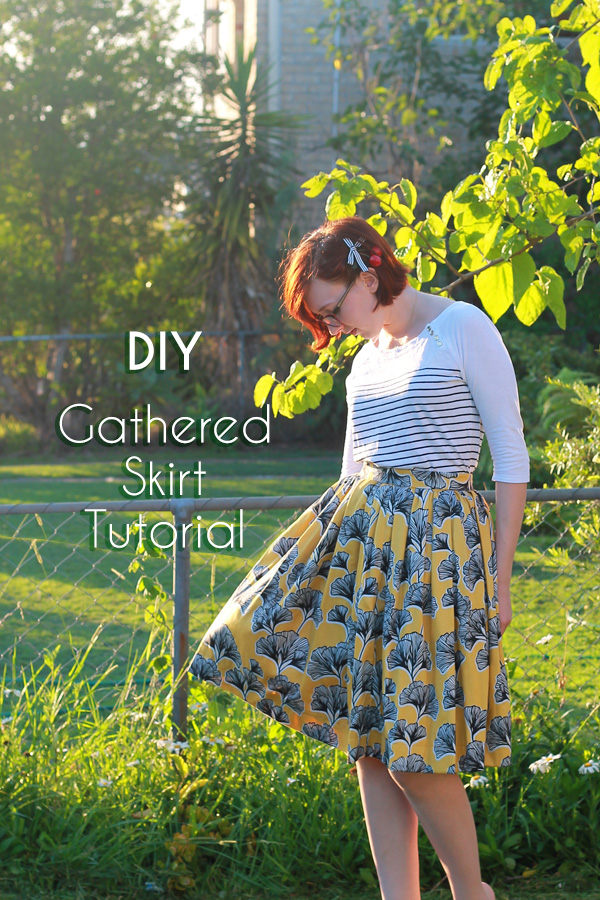
ANOTHER skirt tutorial, you say? I know I’ve been creating a hell of a lot of skirt tutorials, but they’re honestly my favourite item of clothing to create–Short, simple DIY projects that can be completed in a day or less, with fabulous results. This is the third instalment on my series of simple skirt tutorials.
You will need:
- Sewing machine
- Pins
- Something to draw on your fabric with (chalk, pencil, pen, etc)
- Fabric (we’ll get to how much in a bit)
- Matching thread
- Buttons or a clasp
- Regular dress zip (At least 15cm long)
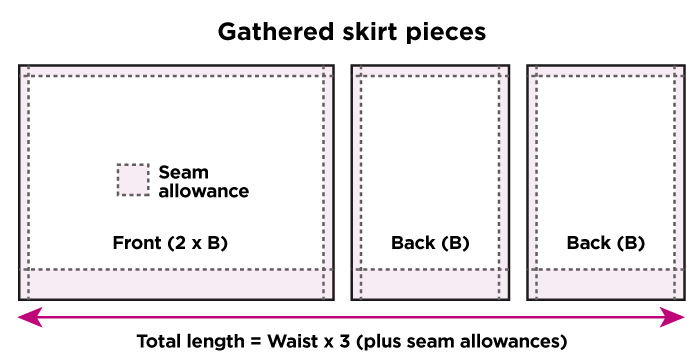 Above is your basic gathered skirt pattern with side seams. Generally I make it this way because I like to insert pockets into my skirts, but for this version, we won’t be covering pockets, and the zip will be in the side, so I just cut two identical pieces, a front, and a back. If your fabric is long enough and you’re cutting in the right direction, you can make it from just one very long rectangle, that other side seam is not necessarily required.
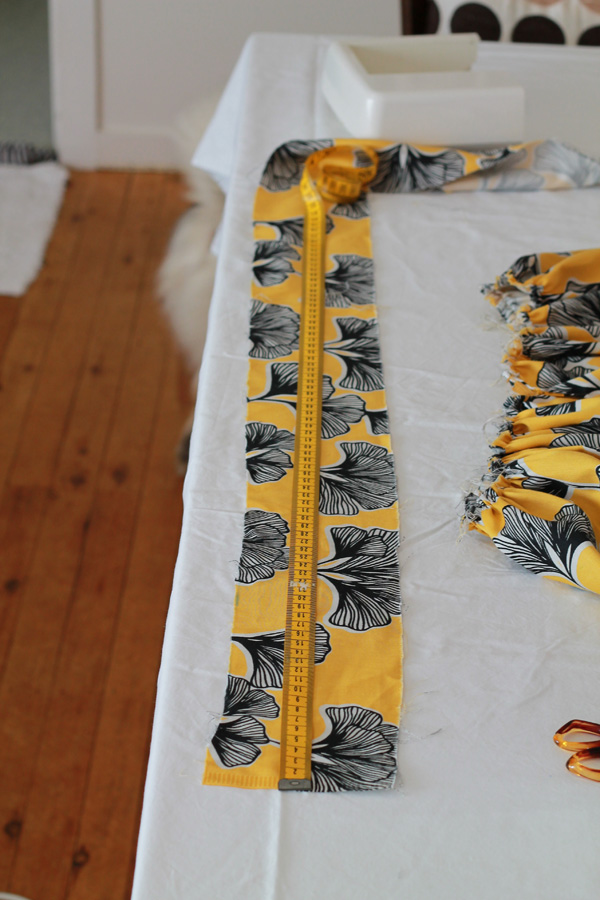
The waistband is just one very long strip. Double the width of a waistband width that you prefer (this piece will be folded in half lengthwise), and add seam allowances. The length is the measurement of your natural waist, plus a few inches extra.
The unique thing about the gathered skirt that I like so much is that you can make it out of any scrap of fabric that is wider than the circumference of your hips, just reduce the gathering. You can make it out of a single metre of fabric or five! The standard amount of gathering is three times your waist measurement (shown above) but some prefer more or less. The height is also widely variable–it’s whatever length you like best, with added seam and hem allowances to the top and bottom respectively.
I’ll get to the lining soon, but it is optional–a cheap petticoat will do just fine, as well.
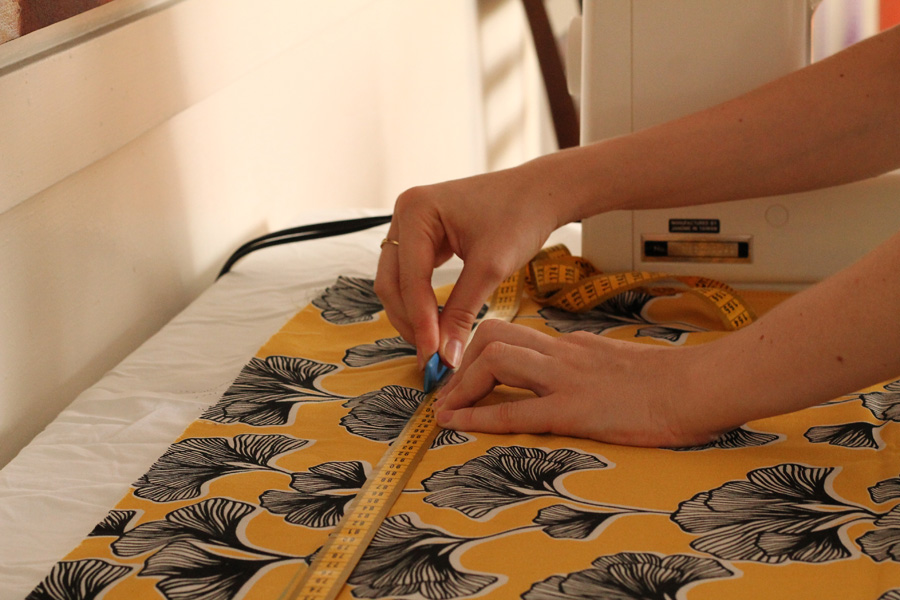
Cut your fabric out with the measurements you have chosen. I decided to go with the entire width of the fabric (160cm) for each piece. Make sure that you cut on grain or crossgrain. Usually I use the patterns on the fabric to judge if I’m on track with how straight my lines are.
I then sewed my two long rectangles together at the ends. I used the entire width of the fabric so I just sewed to the selvedge and had lovely neat seams. As someone who doesn’t have an overlocker, this great trick means your skirt won’t be slowly unraveling from the inside as you’re wearing it! Press your seams open.
Now it’s time to gather your skirt…

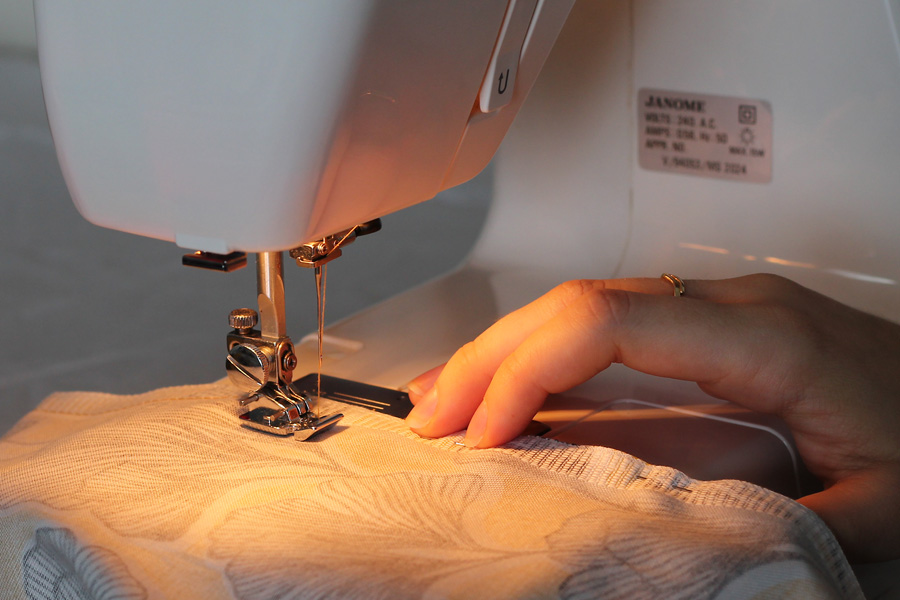
- Selecting the longest possible stitch setting, sew a straight line inside your seam allowance from the hem along the top of your skirt. I had over 3 metres of fabric so this took what seemed like seven years to complete. Don’t backstitch at any point! If you’re unconfident with gathering with one thread, you can use two rows, so long as they are inside your seam allowance.
- Grab the bobbin thread from one edge of your fabric, and start sliding it down the thread.
- Make sure your gathers are even and what is left is roughly the size of your waist.
The zipper
Baste down the open end of your skirt where you want to insert your zip, then change your stitch length back to regular as you continue down the rest of the seam. Press your seam open.
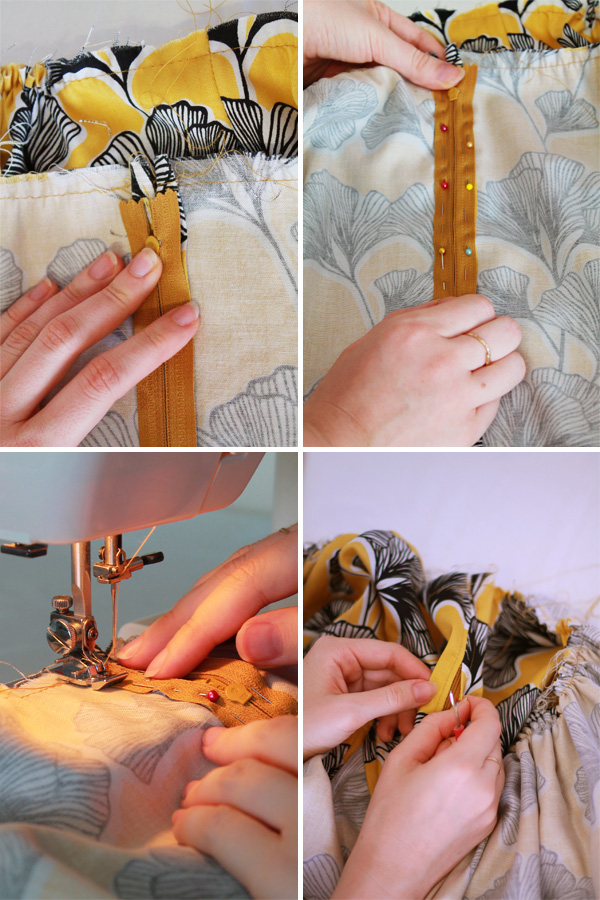
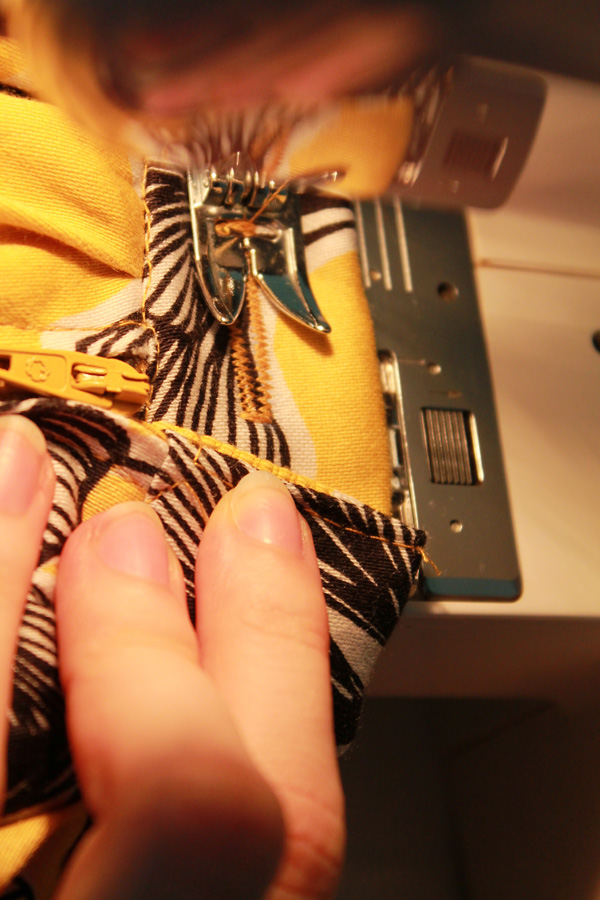
- Lay your zip face-down against the inside opened seam. Make sure that the head of your zip is sitting just outside your seam allowance (mine is a little too low in the example, but I’m running with it).
- Pin or tape it down to the fabric, ensuring that the zip is perfectly aligned to the centre seam.
- Using a zipper foot, trace a straight stitch around the entire zipper, removing pins as you go. Sometimes moving the zipper head up and down makes this process easier. Be careful with your machine–When squaring off the stitch at the bottom of the zip, I recommend going over the plastic area very carefully and using your hand wheel.
- Unpick the basting stitches until you reach the horizontal stitch over the bottom of your zip to release the zipper.
Fitting
Slip on the skirt and collect your long threads, continuing to gather until you reach a size that is right for you. You can tie them off at this point, but don’t cut them off just yet. I am super paranoid so I only cut these threads after I’ve sewn on the waistband!
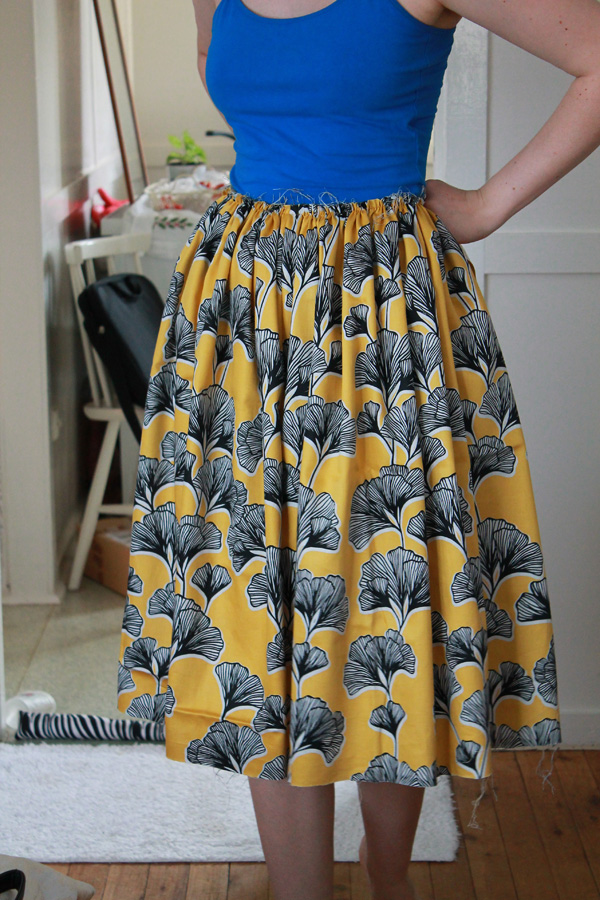
It looks good so far!

Exhausted yet? Hugo is here to watch you sew and cheer you on.
Waistbands
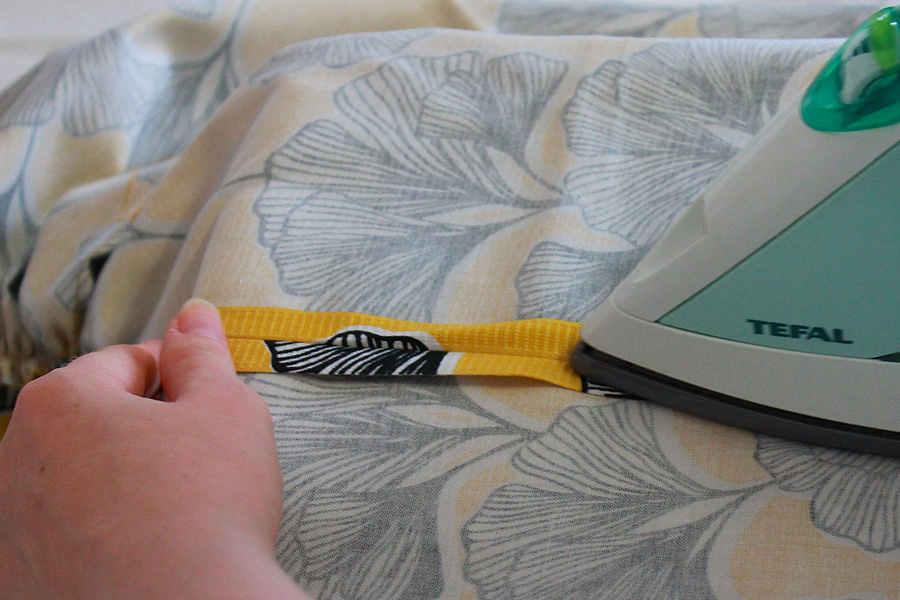
Waistband time! I got my long piece of fabric cut out and ready. If you have particularly flimsy fabric, don’t be afraid to interface your waistband. I’m using upholstery fabric here so it didn’t seem as necessary, but interfacing is never not a good idea.
I pinned this waistband slightly further down than my seam allowance, but feel free to match the top edge of your skirt to the top edge of your waistband fabric for simplicity’s sake. Right sides together!
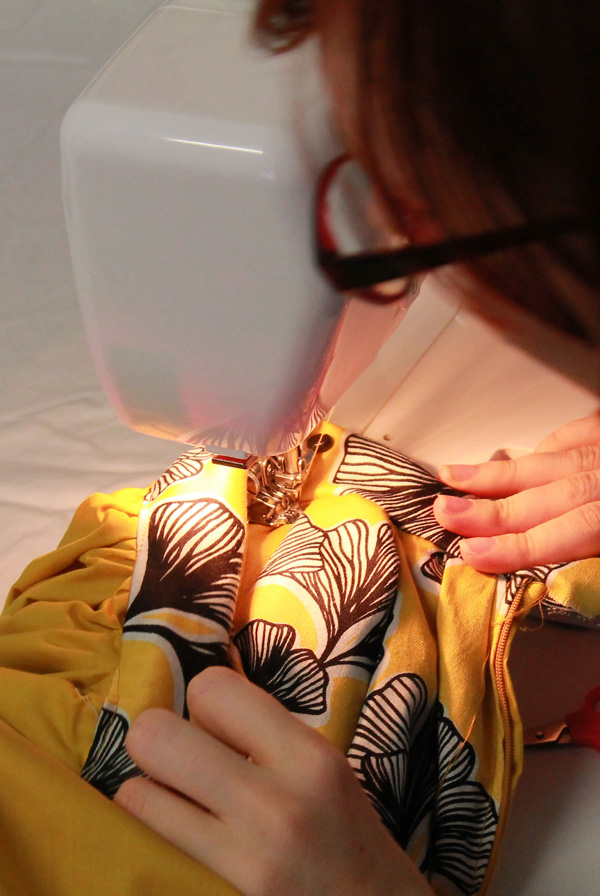
Sewing down my waistband.. Just a straight stitch along the waistband.
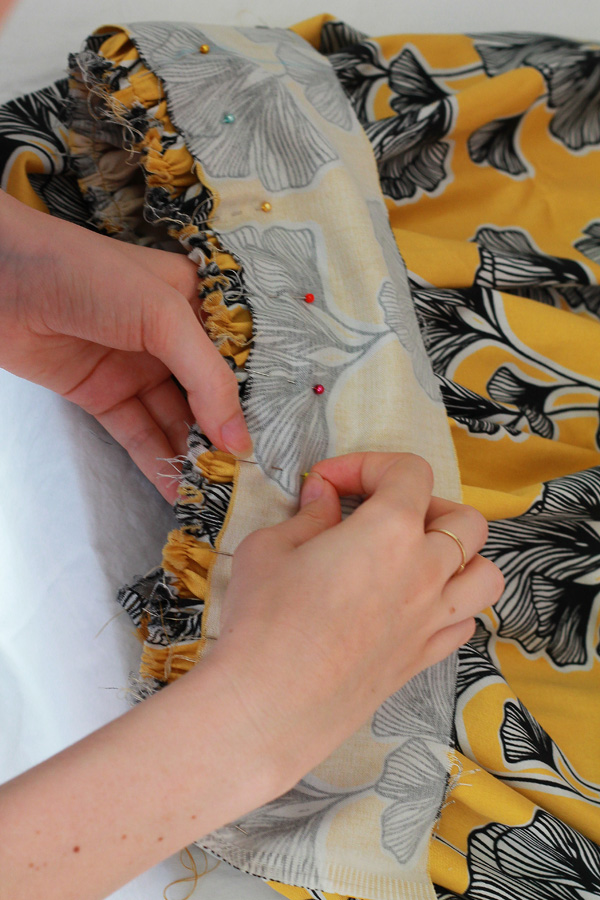
Lining

Now it’s time for the lining! I did most of the same steps as above with a thin piece of golden-coloured cotton cloth. Sewed the side seams, and gathered. You want WAY less gathering for your lining fabric, maybe only 1.5 to 2 times your hip measurement. I did too much and it made the waist of the skirt bulky, so if I had my time again, I wouldn’t make it this gathered. This time I left the selvedge on the bottom of the skirt because I was really lazy to hem something that wouldn’t be seen underneath the skirt. The length of the lining is about a hand’s width shorter than my outer skirt.
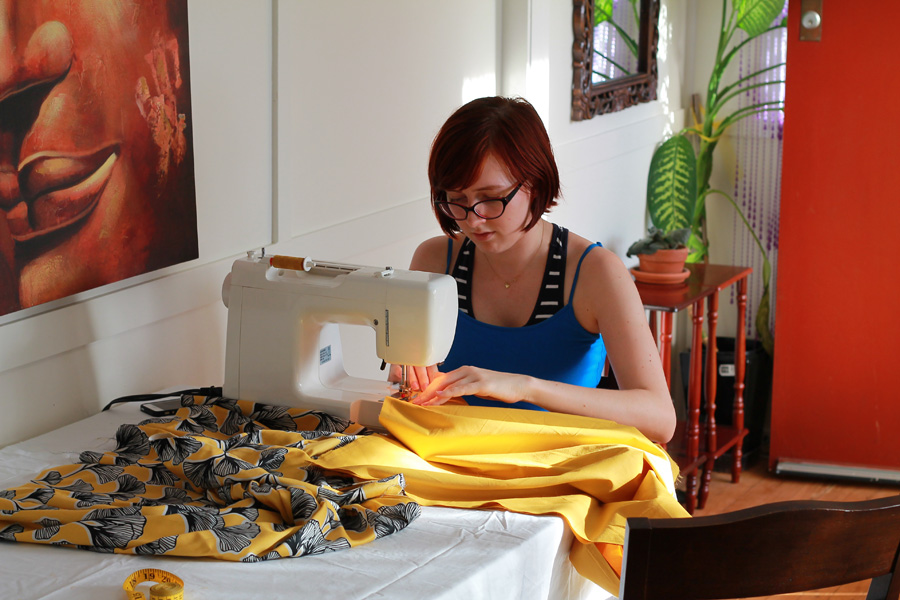
Don’t I look concentrated?
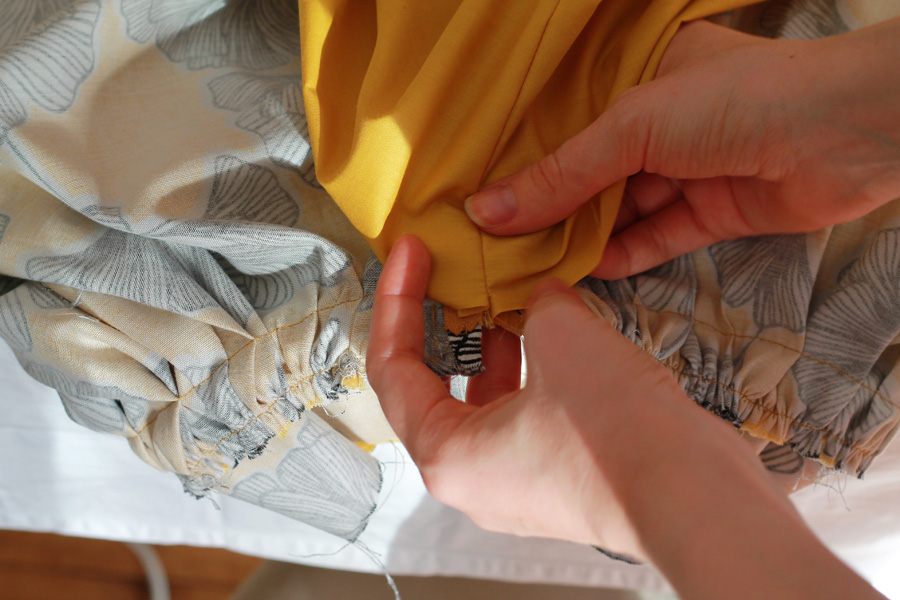
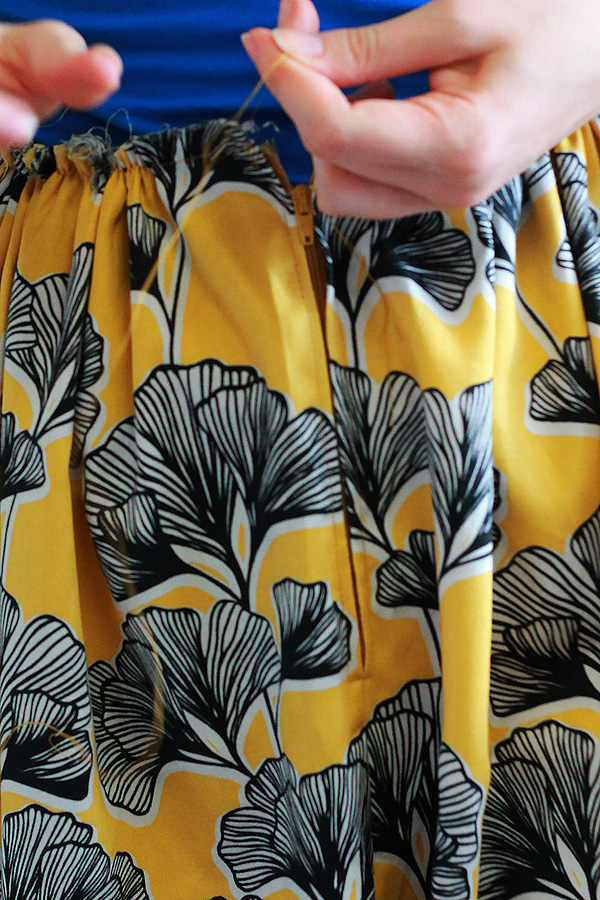
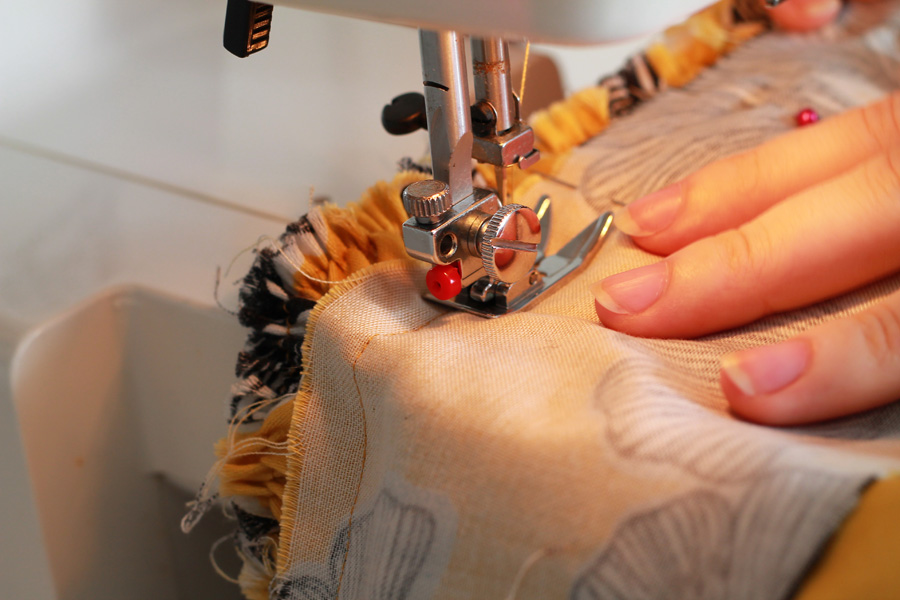
Now this is a cool trick–we’re going to sew the lining onto the skirt’s zip first. It is basically the exact same method as making a zip above. Pin wrong sides together with the seam pressed open..
…And make sure that it’s precisely aligned to your zip! Sew around it from the front of the skirt, going over your original zipper stitches, and then unpick the inside too, exposing that side of the zip. At some point I’ll write a better tutorial about this method.
Finishing

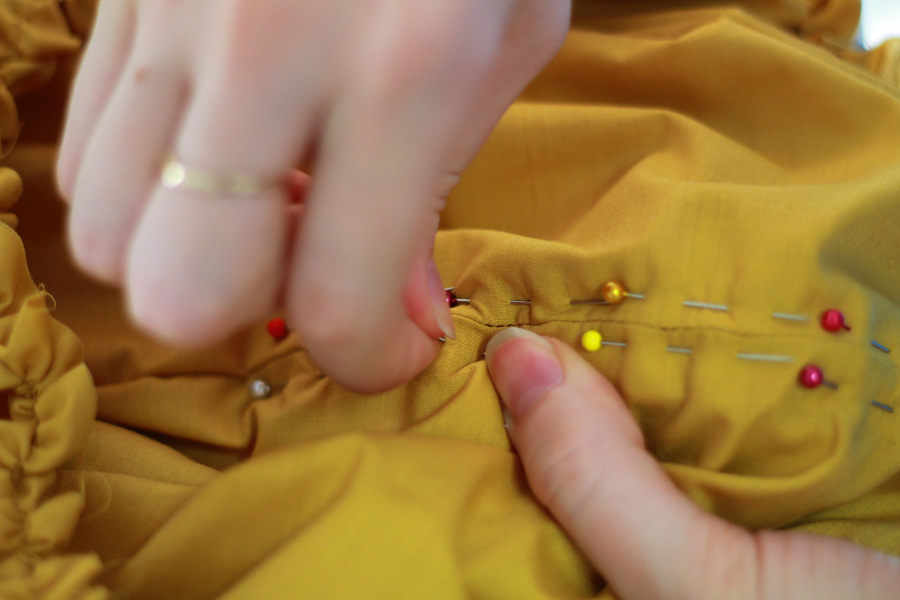
Fold your waistband over as described in all the previous skirt tutorials, and pin into place. I like to try the skirt on again at this point to see if it still fits.
If so, “stitch in the ditch” from the front in the ditch between your skirt and your waistband, making sure you’re always catching your waistband from the inside.
Corner off your edges by tucking the leftover fabric inside the waistband (you can see what I’ve done a little in the image above) and topstitching the ends closed. I bought an awesome little button kit from Daiso Japan for $2.80, so I’m always eager to use buttons, so I sewed a horizontal buttonhole on the left edge and created my button from the same fabric.

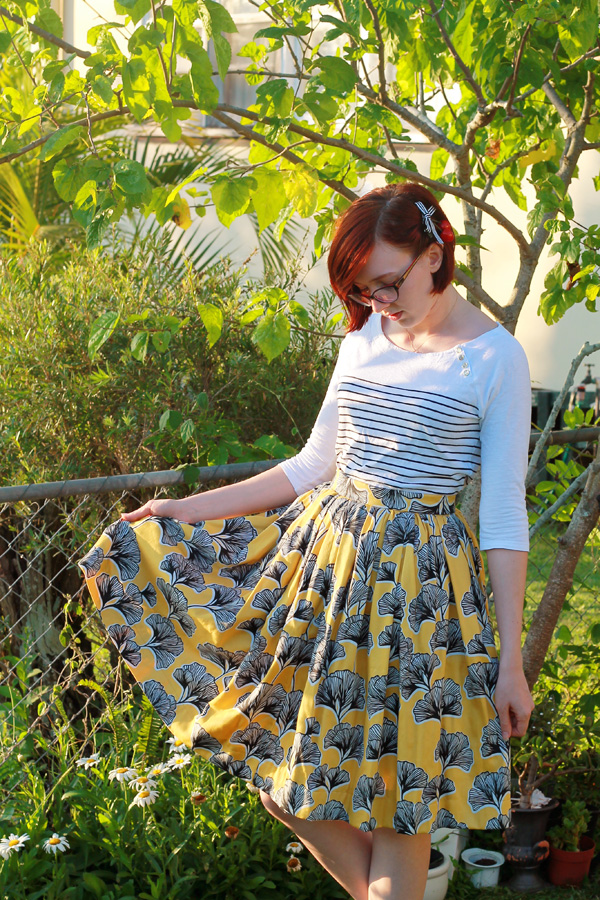
And this is my result! The matching fabric button is a nice touch the really elevates your skirt, in my opinion, but you can always add a hook and bar clasp instead. Avoid snap buttons because they pop easily under pressure.
The final stage is hemming. Fold the hem to the desired depth, pin it, and do a straight stitch all the way around, making sure your hem is a consistent depth the entire way.
While the skirt has a seam on the centre front and back, the pleats make for good camouflage, so you can barely see it when worn. I like my buttons at the back but you could also wear it with the zip to the side. (Refer to the first diagram if you want to keep a back zip but avoid a centre seam.)
Whew, what a trip! If you enjoyed this tutorial, please hit any of the sharing buttons below–The more support I get from you guys, the more tutorials I make! I will soon be progressing onto dresses and I can’t wait to show you all the tips and tricks that I’ve picked up from my little history of sewing.. As usual, if you have any questions, please comment here or shoot me a Tweet and I’ll get back to you ASAP!
In the meanwhile, enjoy your brand new DIY retro 50’s gathered skirt, and if you make one using this tutorial or any of my other tutorials, please let me know–I absolutely love all the progress shots that get sent to me (they never fail to make me happy).
6 Comments
What size seam allowance did you use/do you recommend? Thank you for such a great tutorial!
Sorry to answer to late! It’s really whatever you feel comfortable with most. I like 1cm but most people use 1.5cm!
im loooooovvvving the simplicity!!
Thank you! They’re definitely a quick make :)
Woow I am learning a lot from your website .Thanks very much for sharing your knowledge .
Pingback: Sewing Works in Progress | luxonerd