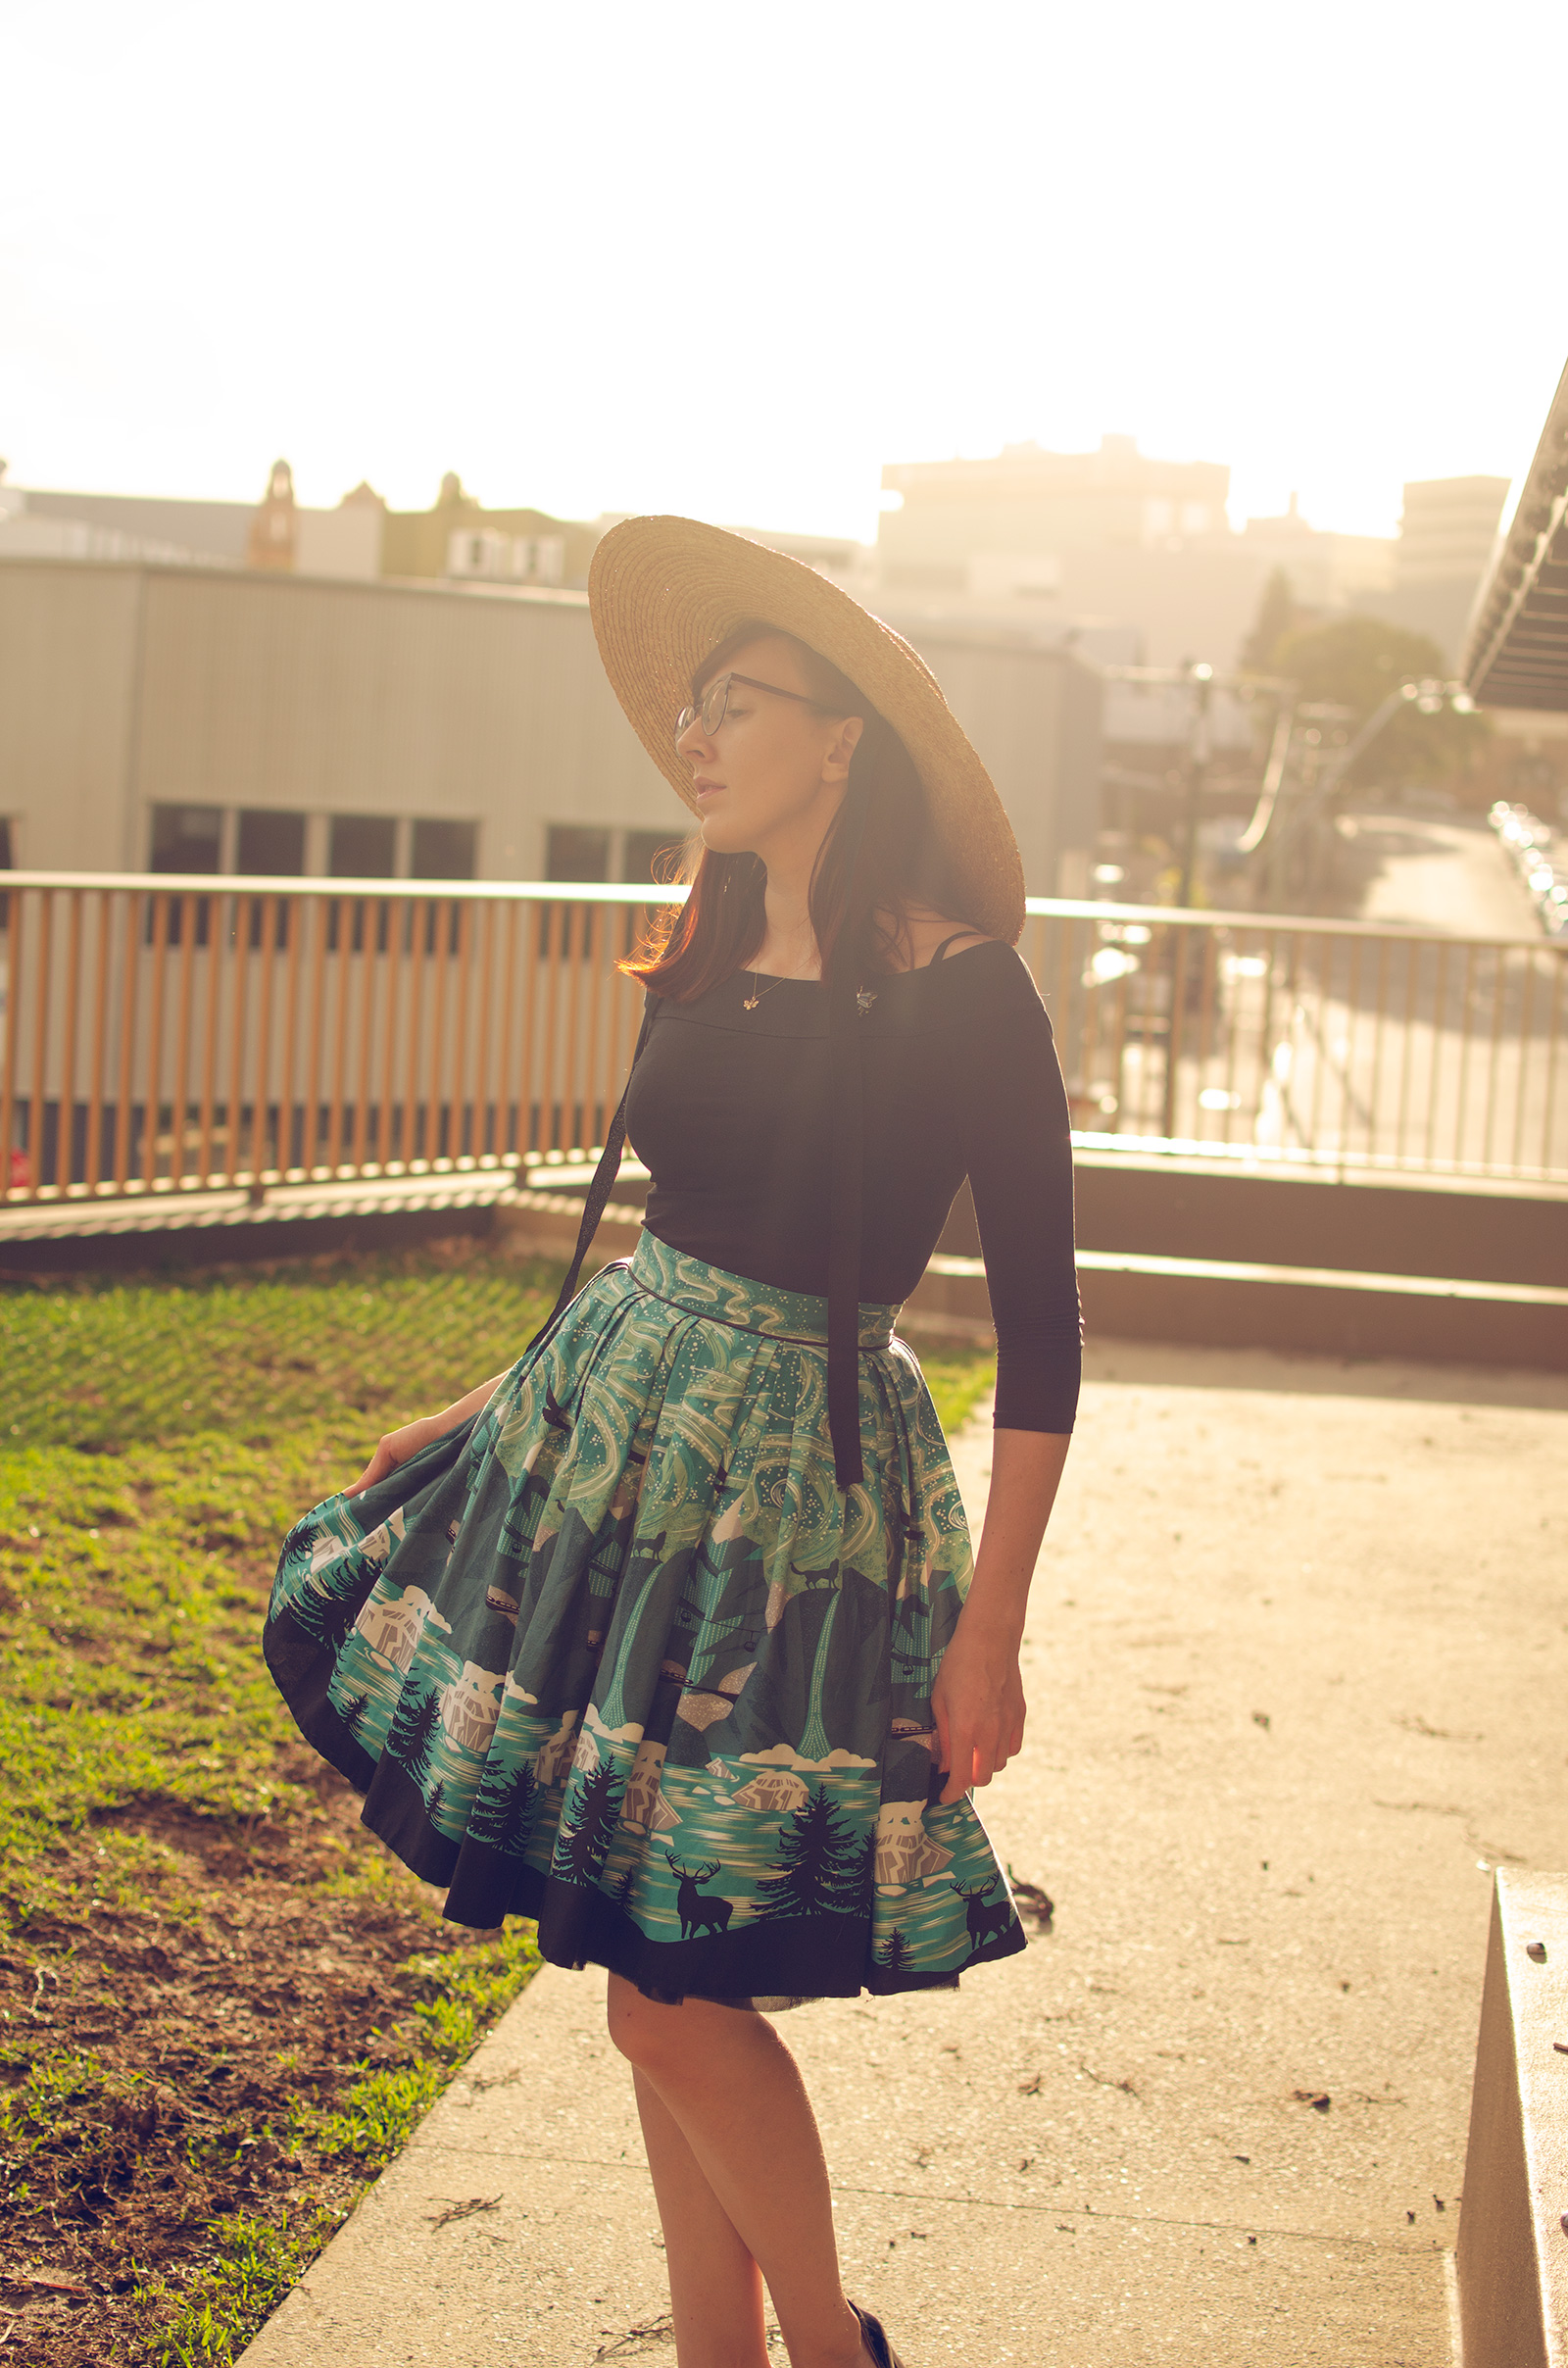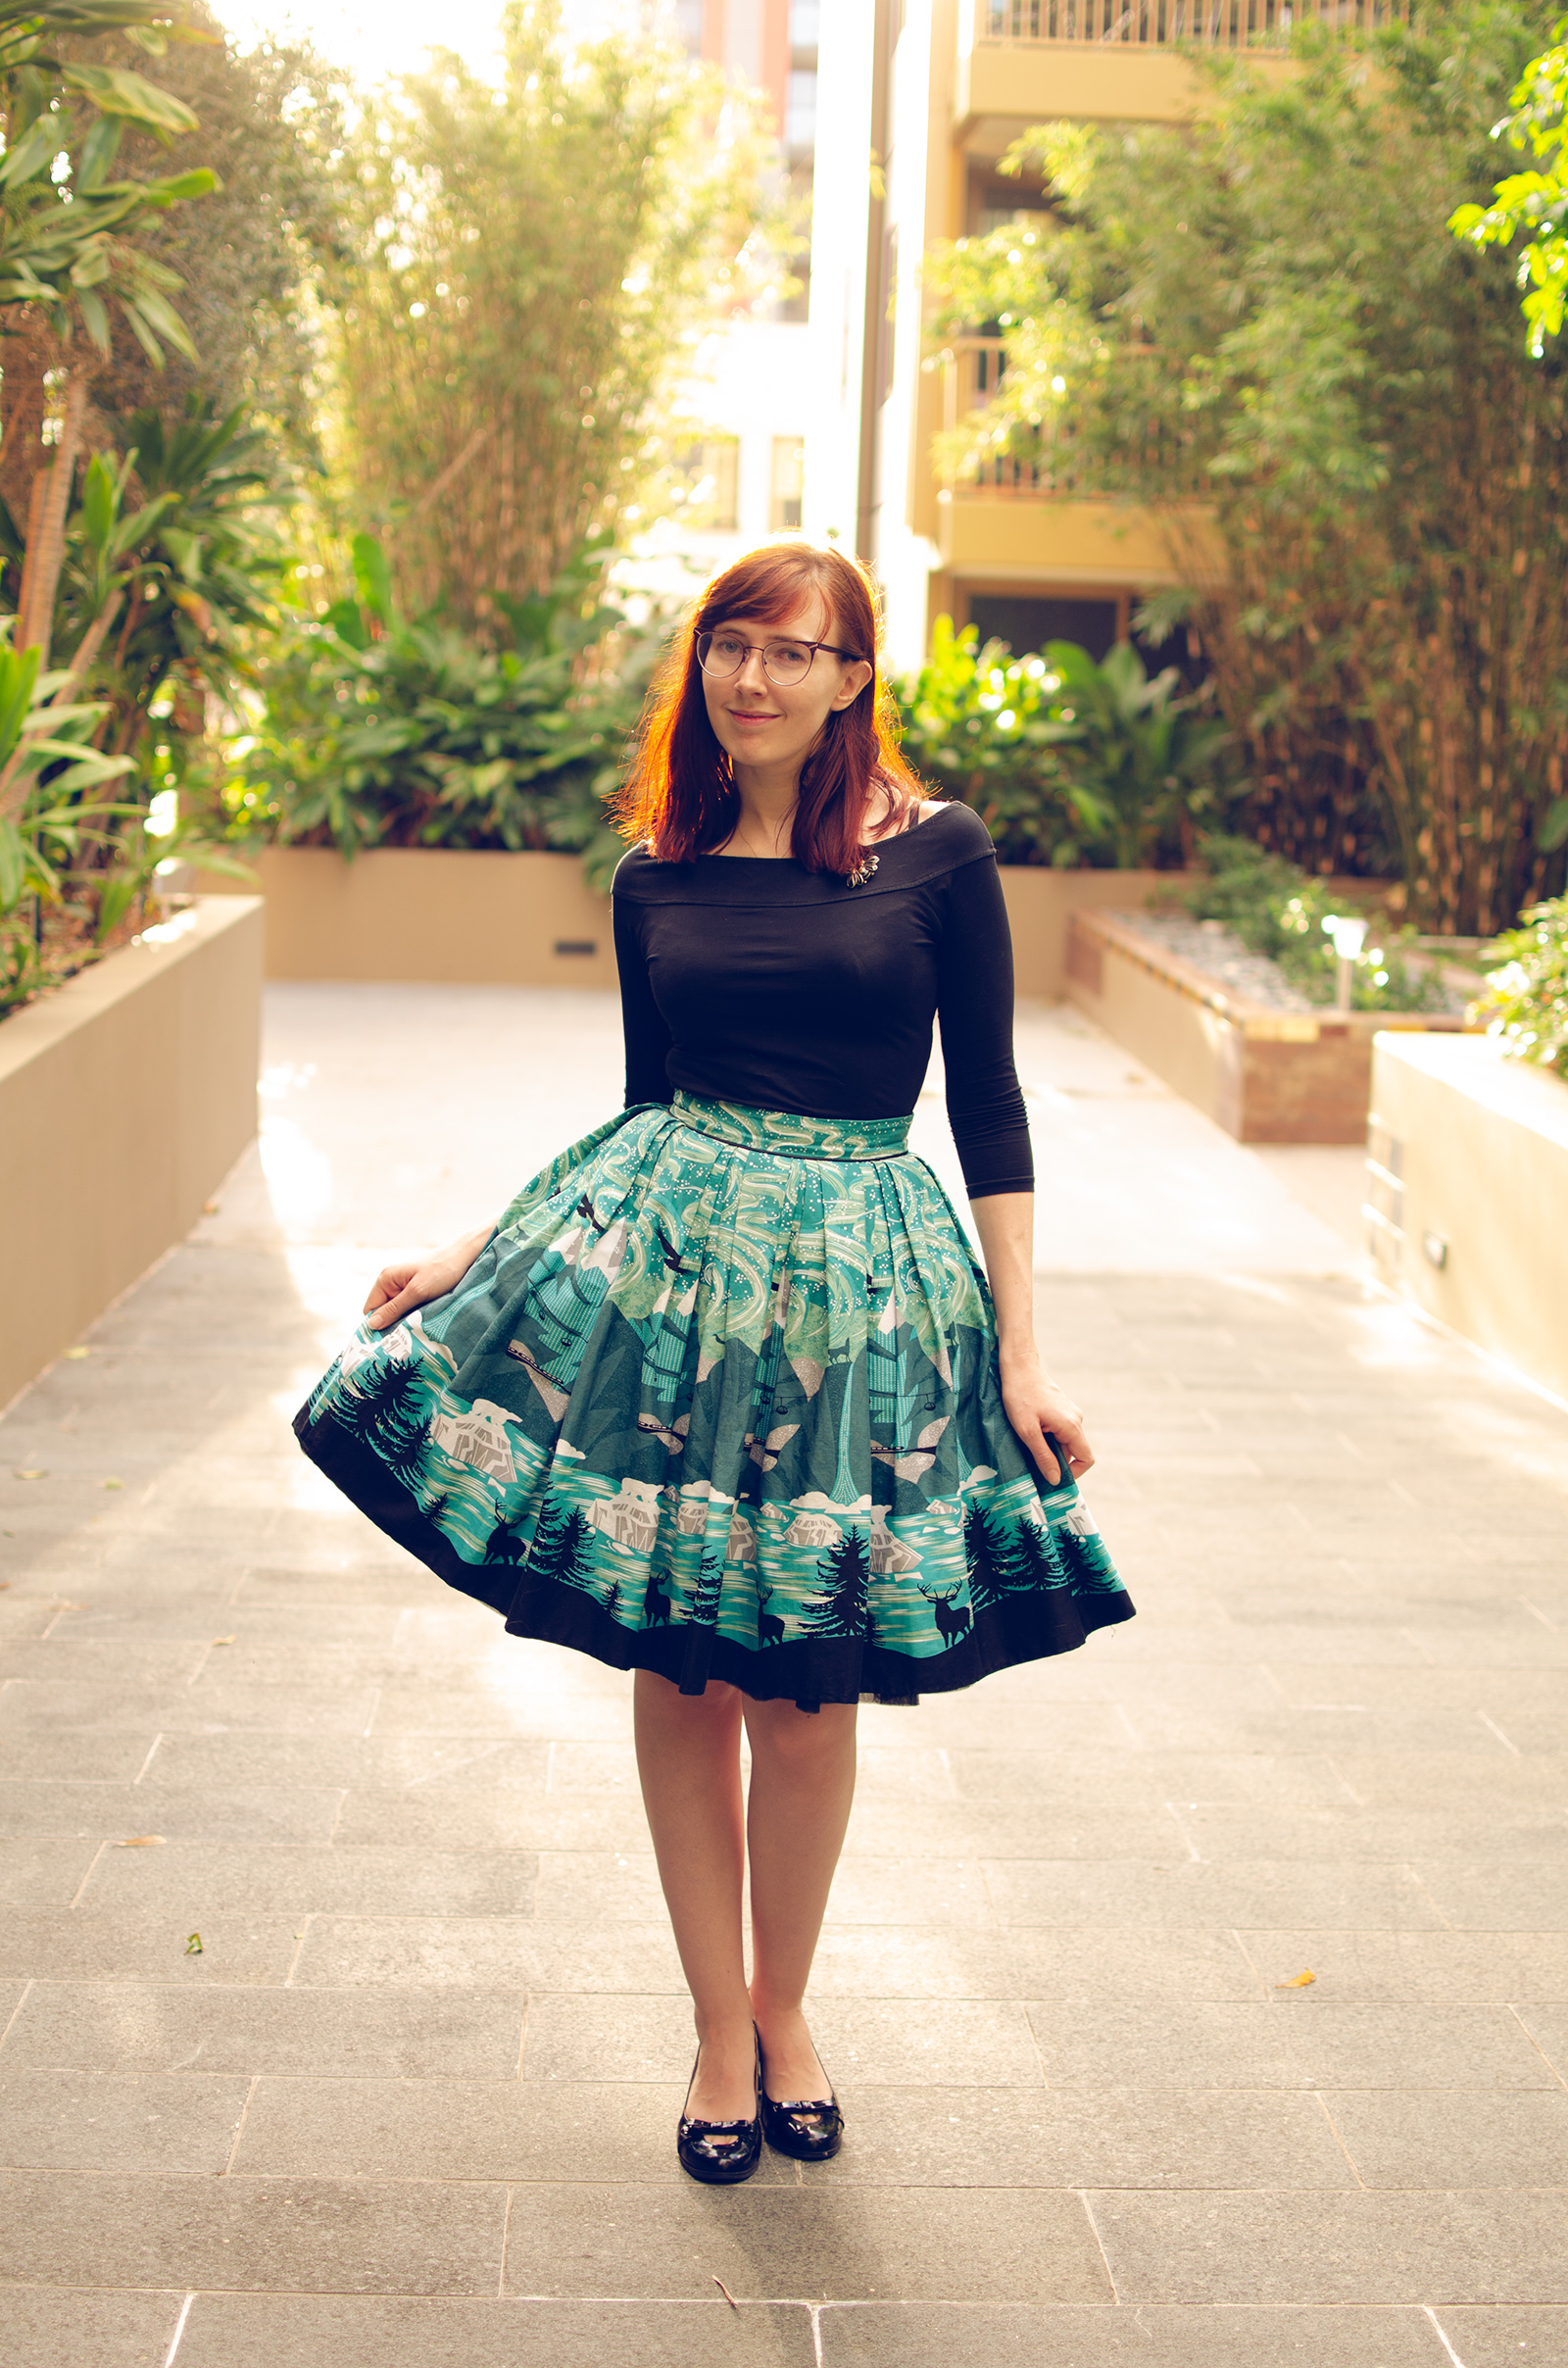
Wintery prints are always great for Winter.
I bought this Alaskan-themed/forestry/mountainous dress a few years ago from eBay for $20, thinking I’d have myself a fun, cheap dress that I wouldn’t have to make myself for once.
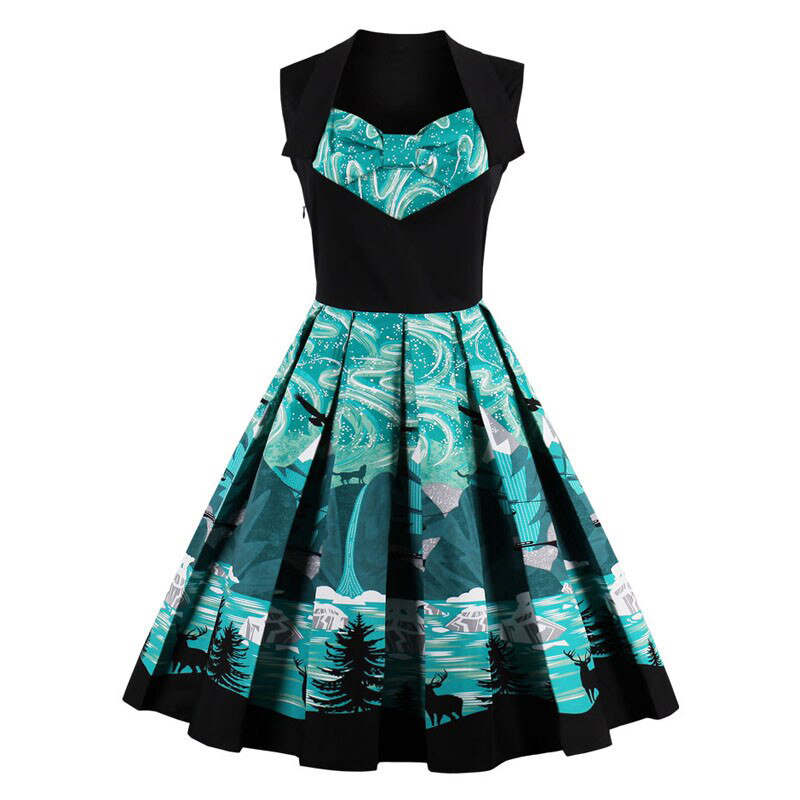
How very wrong I was. As you can see, it’s been through a few changes. As much as I would have LOVED to have a dress with this kind of bodice treatment, the dress that arrived was a 4XL, so a little off from my usual size. The seller offered to send me another one in the correct size, but I declined after seeing the quality–the stitching wasn’t all that great and the bodice wasn’t lined, which is one of my pet peeves. So they told me they would refund me and let me keep the dress for free. Not about to turn down a free dress free fabric!
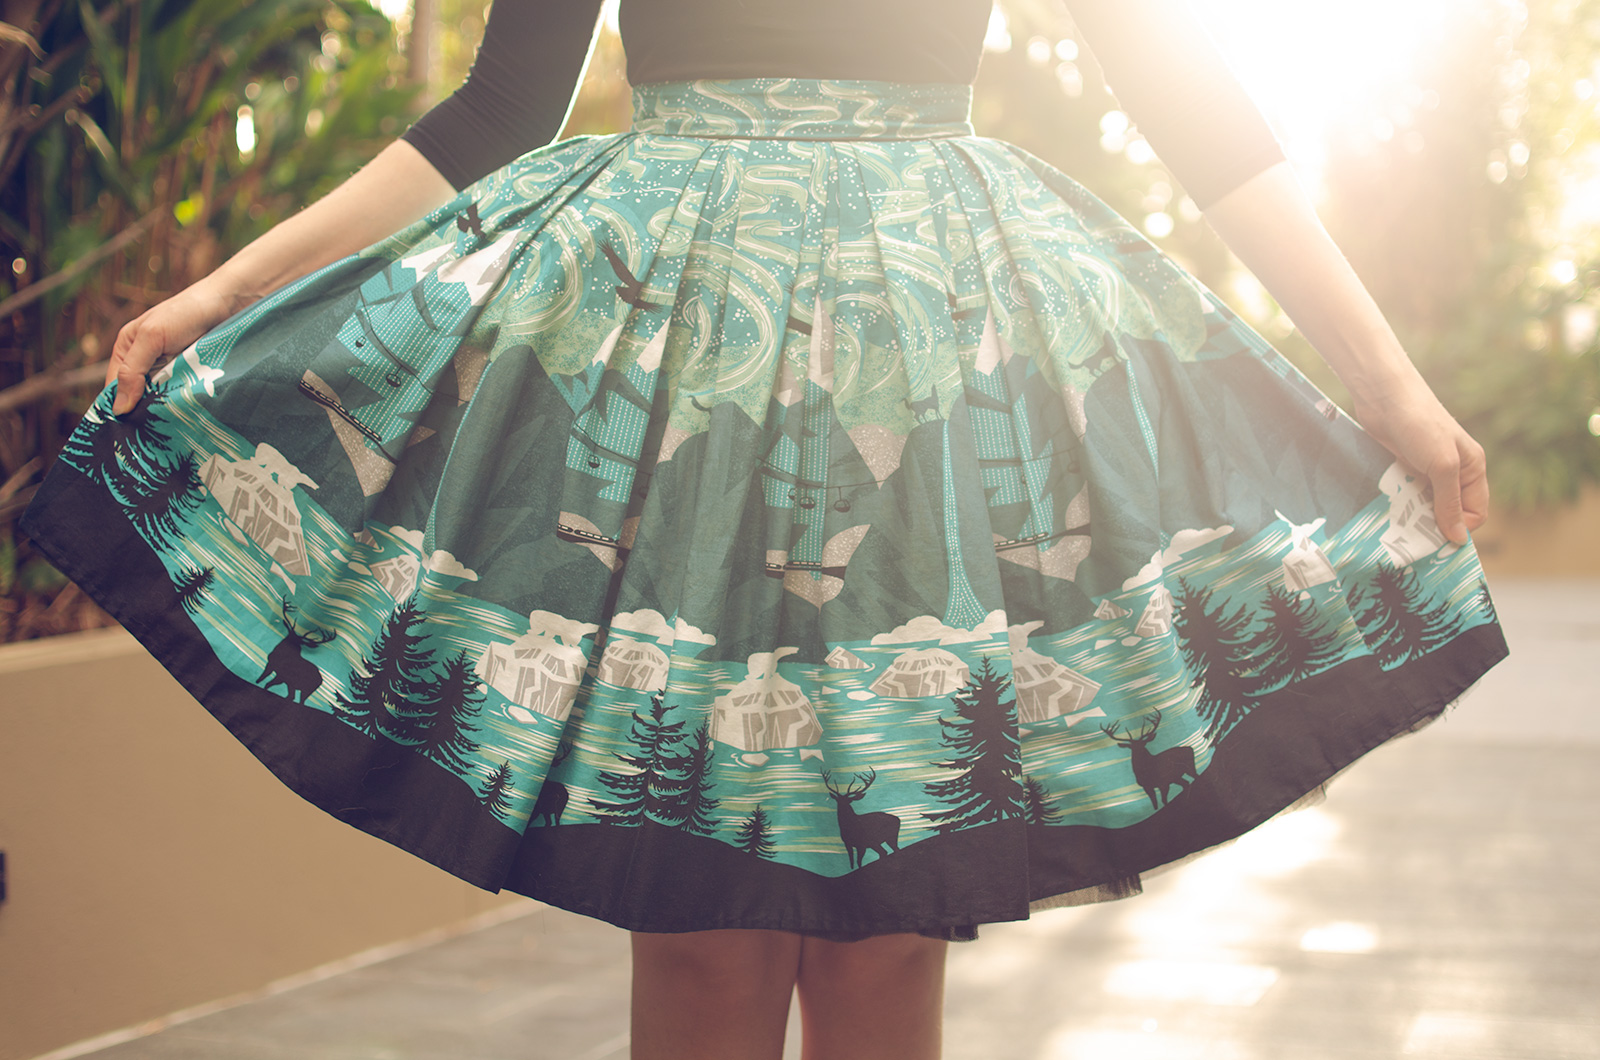
So I hacked the whole thing apart. The bodice had to go, obviously, that was never gonna fit. The skirt had side seams and a back zipper, so I had to take that into account. I didn’t want to redo the hem, so that stayed, even if it’s slightly shorter than what I usually make for myself.
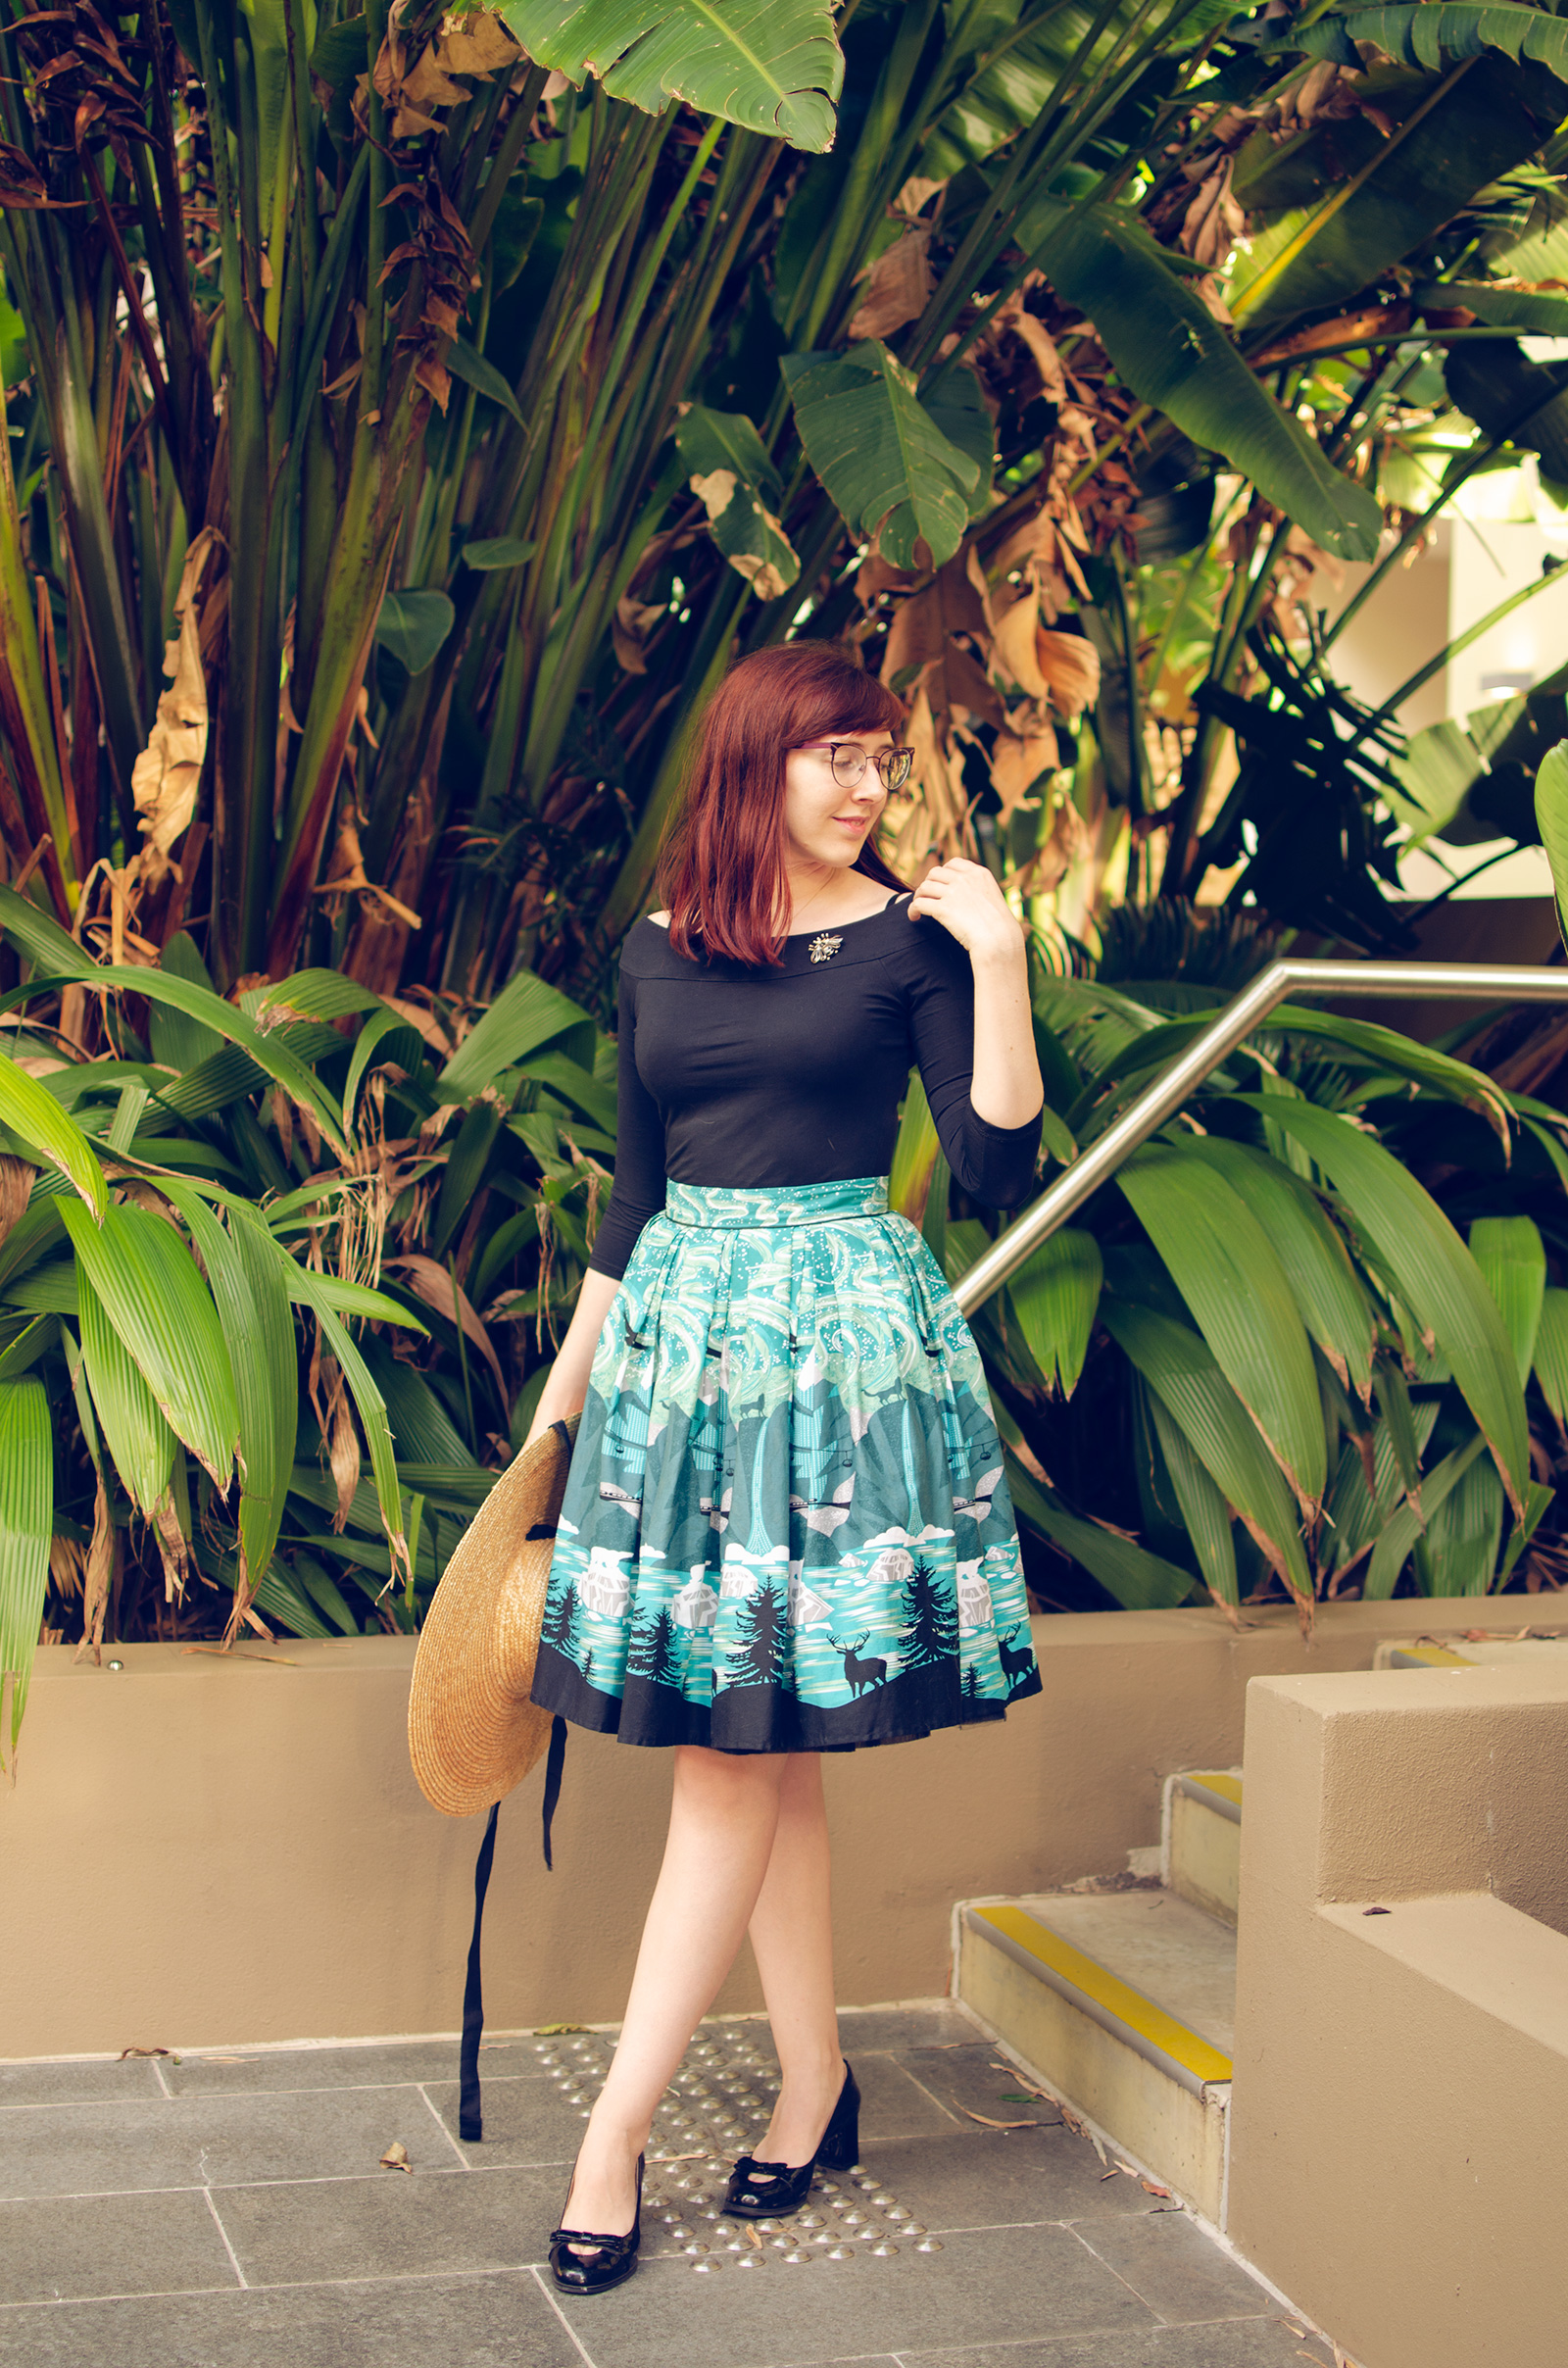
The biggest problem was the waistband. Obviously, the dress did not have a waistband, and I didn’t want to use a contrast colour like black (except of course for piping), although that probably would have worked too. So I pieced it from the bodice instead. SOMEHOW incredibly managed to somewhat pattern match the pieces. I had to use small pieces sewn together and I made it slightly decorative in case it was super obvious so used trapezoid pieces instead of rectangles. Then, I figured, it would have a shot at looking somewhat purposeful if you could see the seams. Blessed that it didn’t end up being an issue anyways!
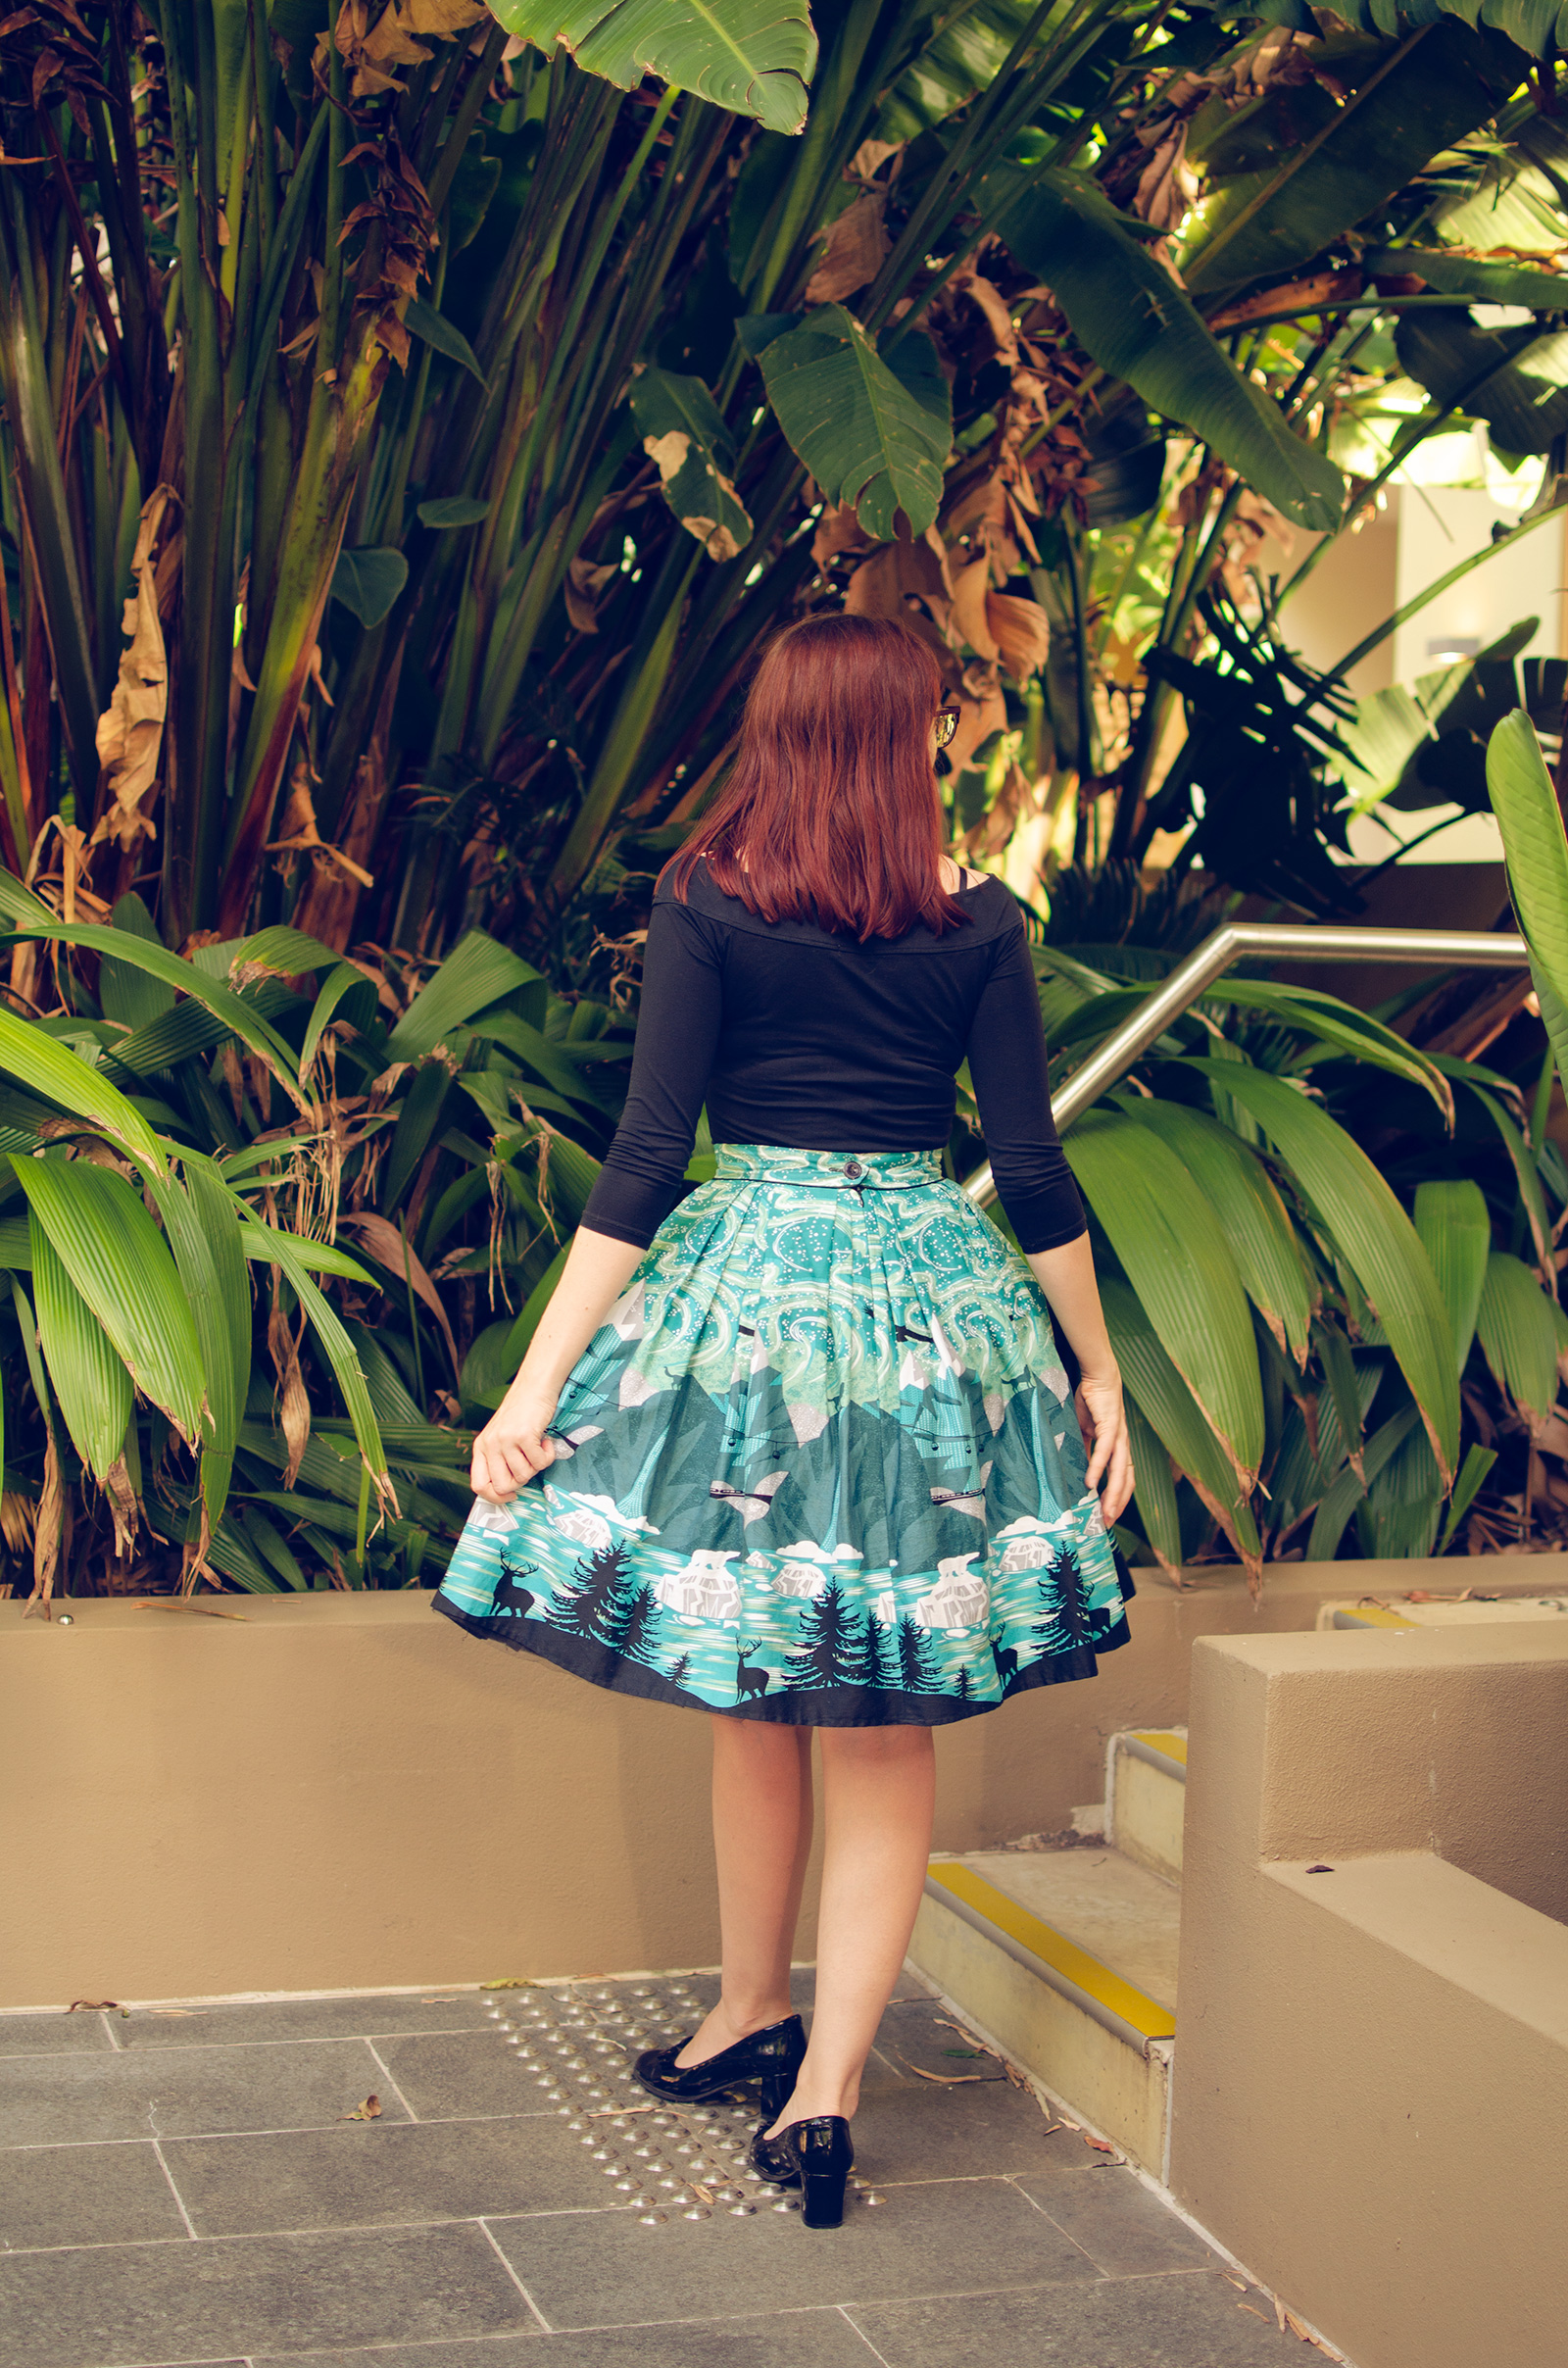
I kept the original zipper and just cut it at the waist, so that was kind of nice that I didn’t have to insert it myself. I did take apart the side seams midway though and inserted POCKETS made from the black fabric of the bodice (waste not, want not?). In hindsight, cotton sateen pockets are kind of weird and bulky and stretchy, but it makes the skirt flare out nicely, even without a petticoat.
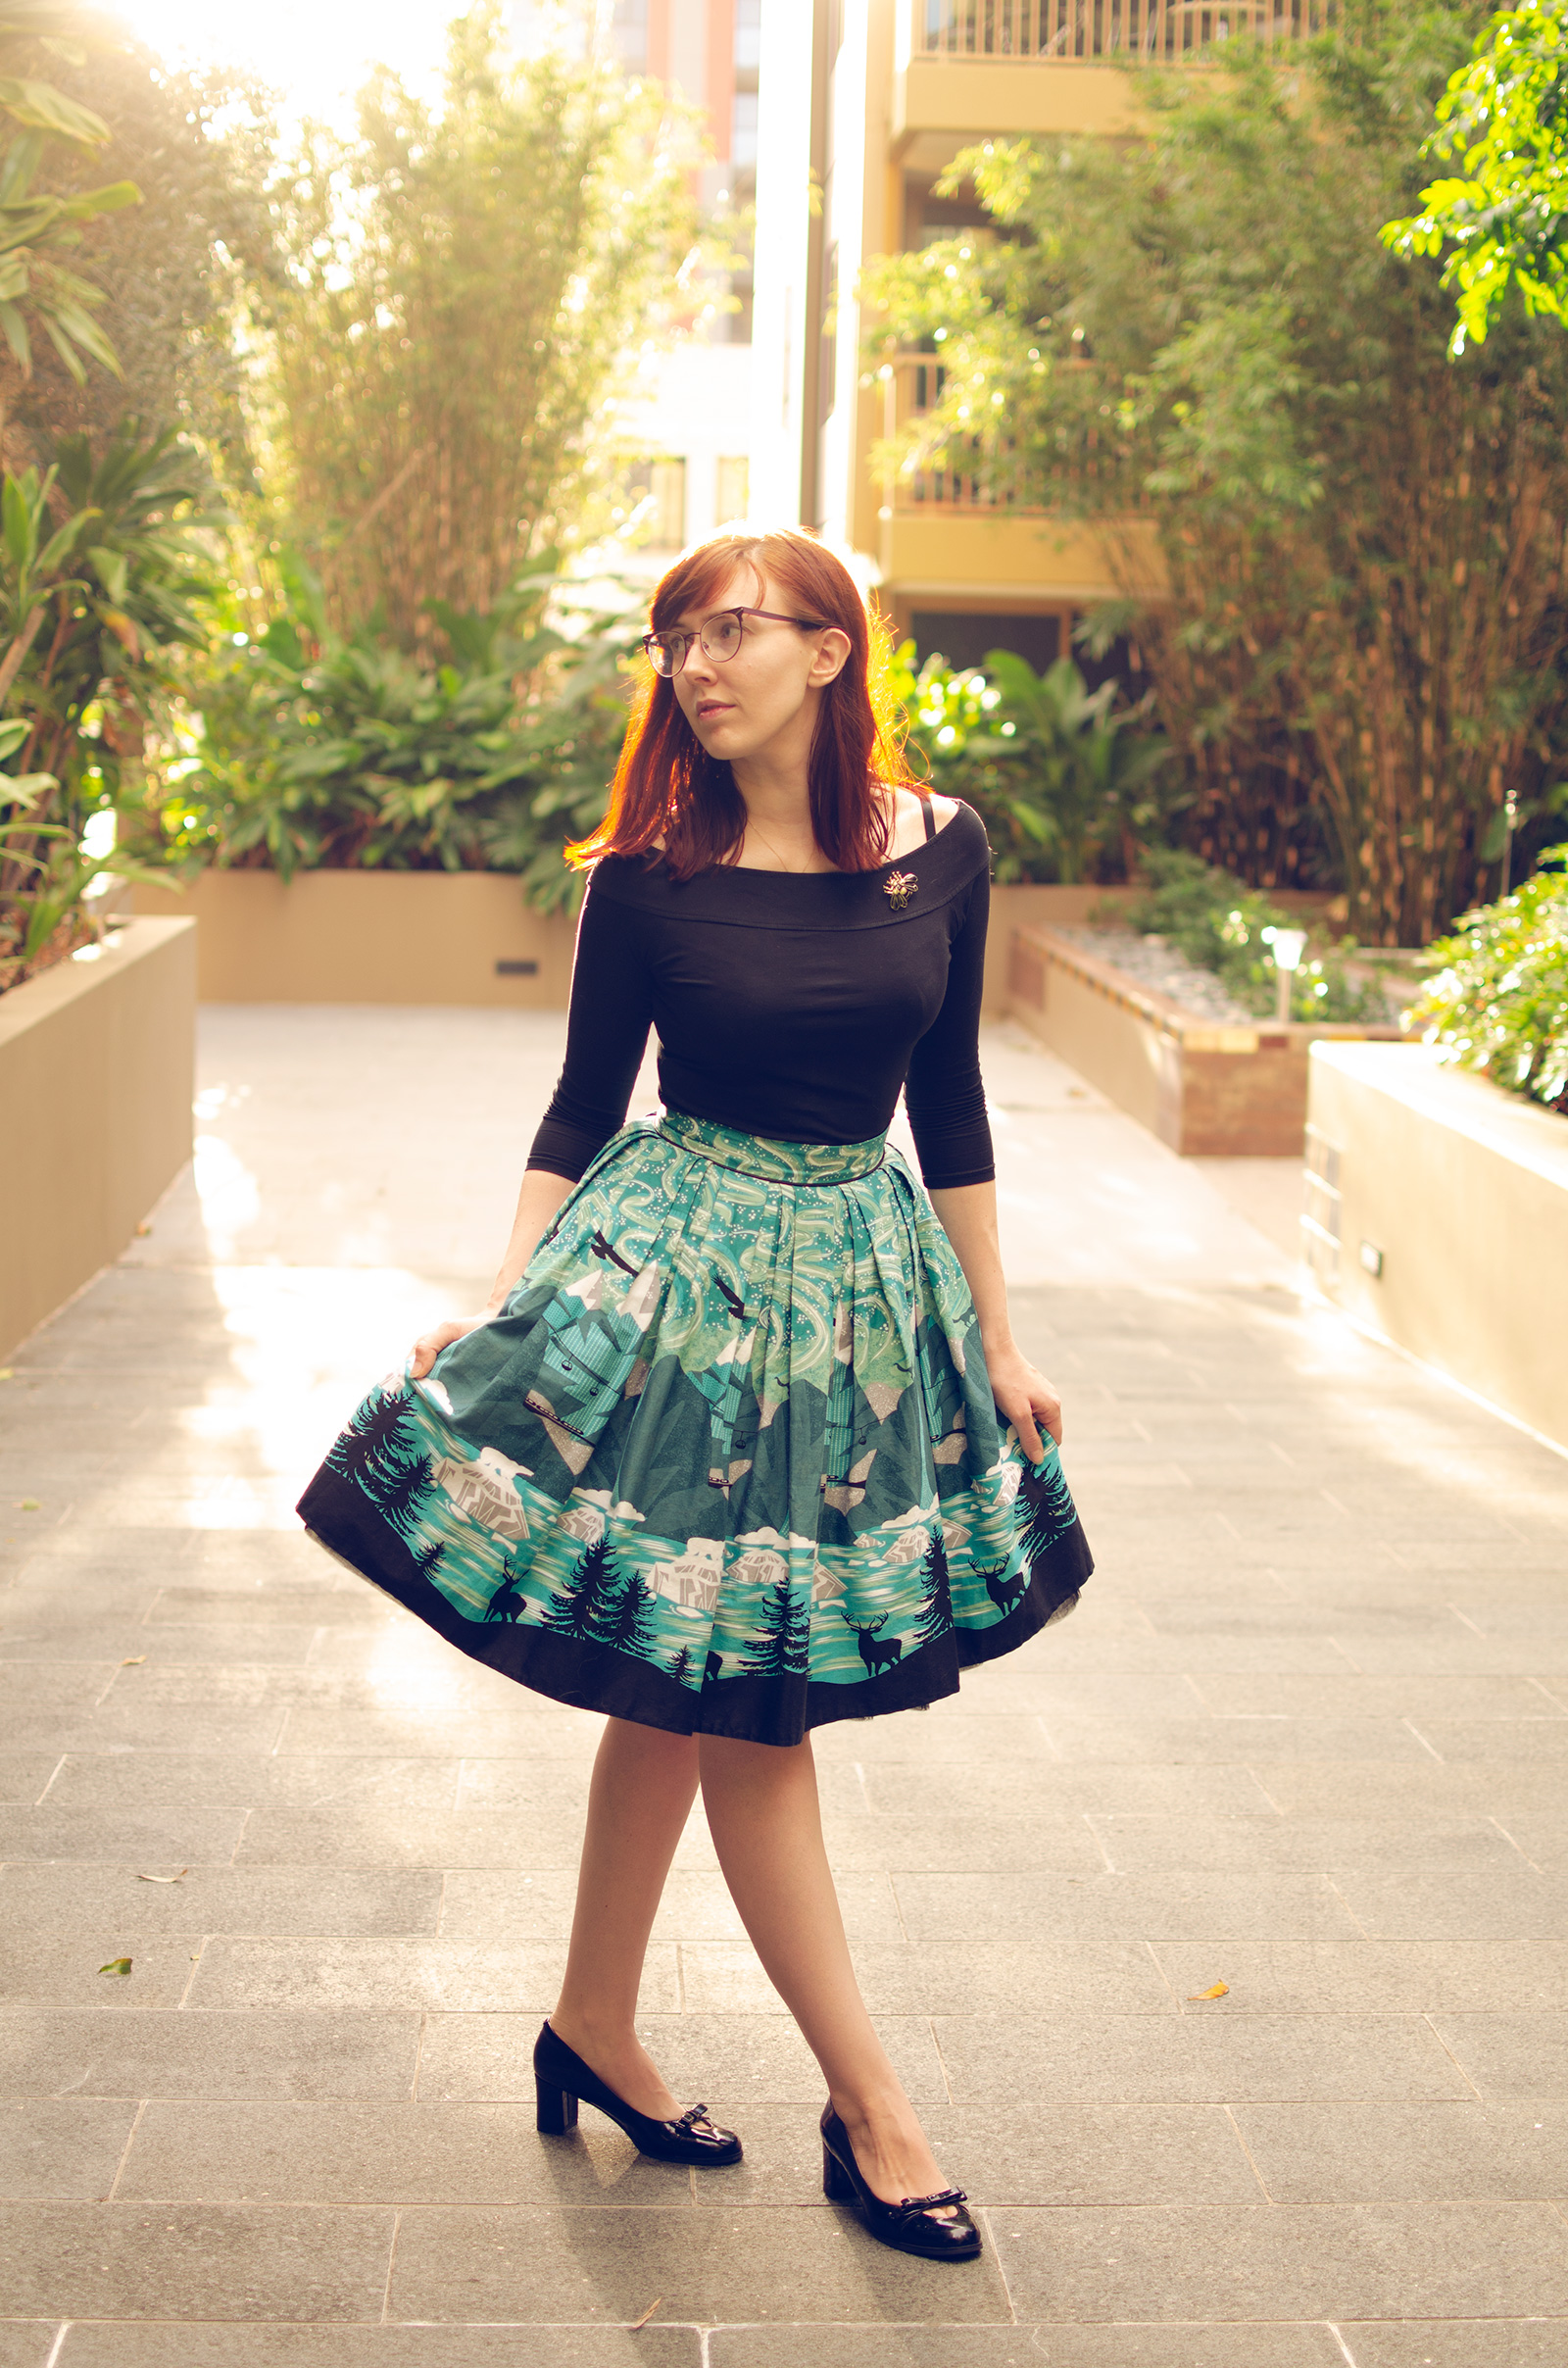
Given that I had way more skirt fabric than regular pleats called for (a total of about 3.5 metres!), I didn’t want to gather because sateen looks kind of bulky when gathered (hell, it looks bulky the way I pleated it too, to be honest), so I had to think of some other solution for reducing the waist.
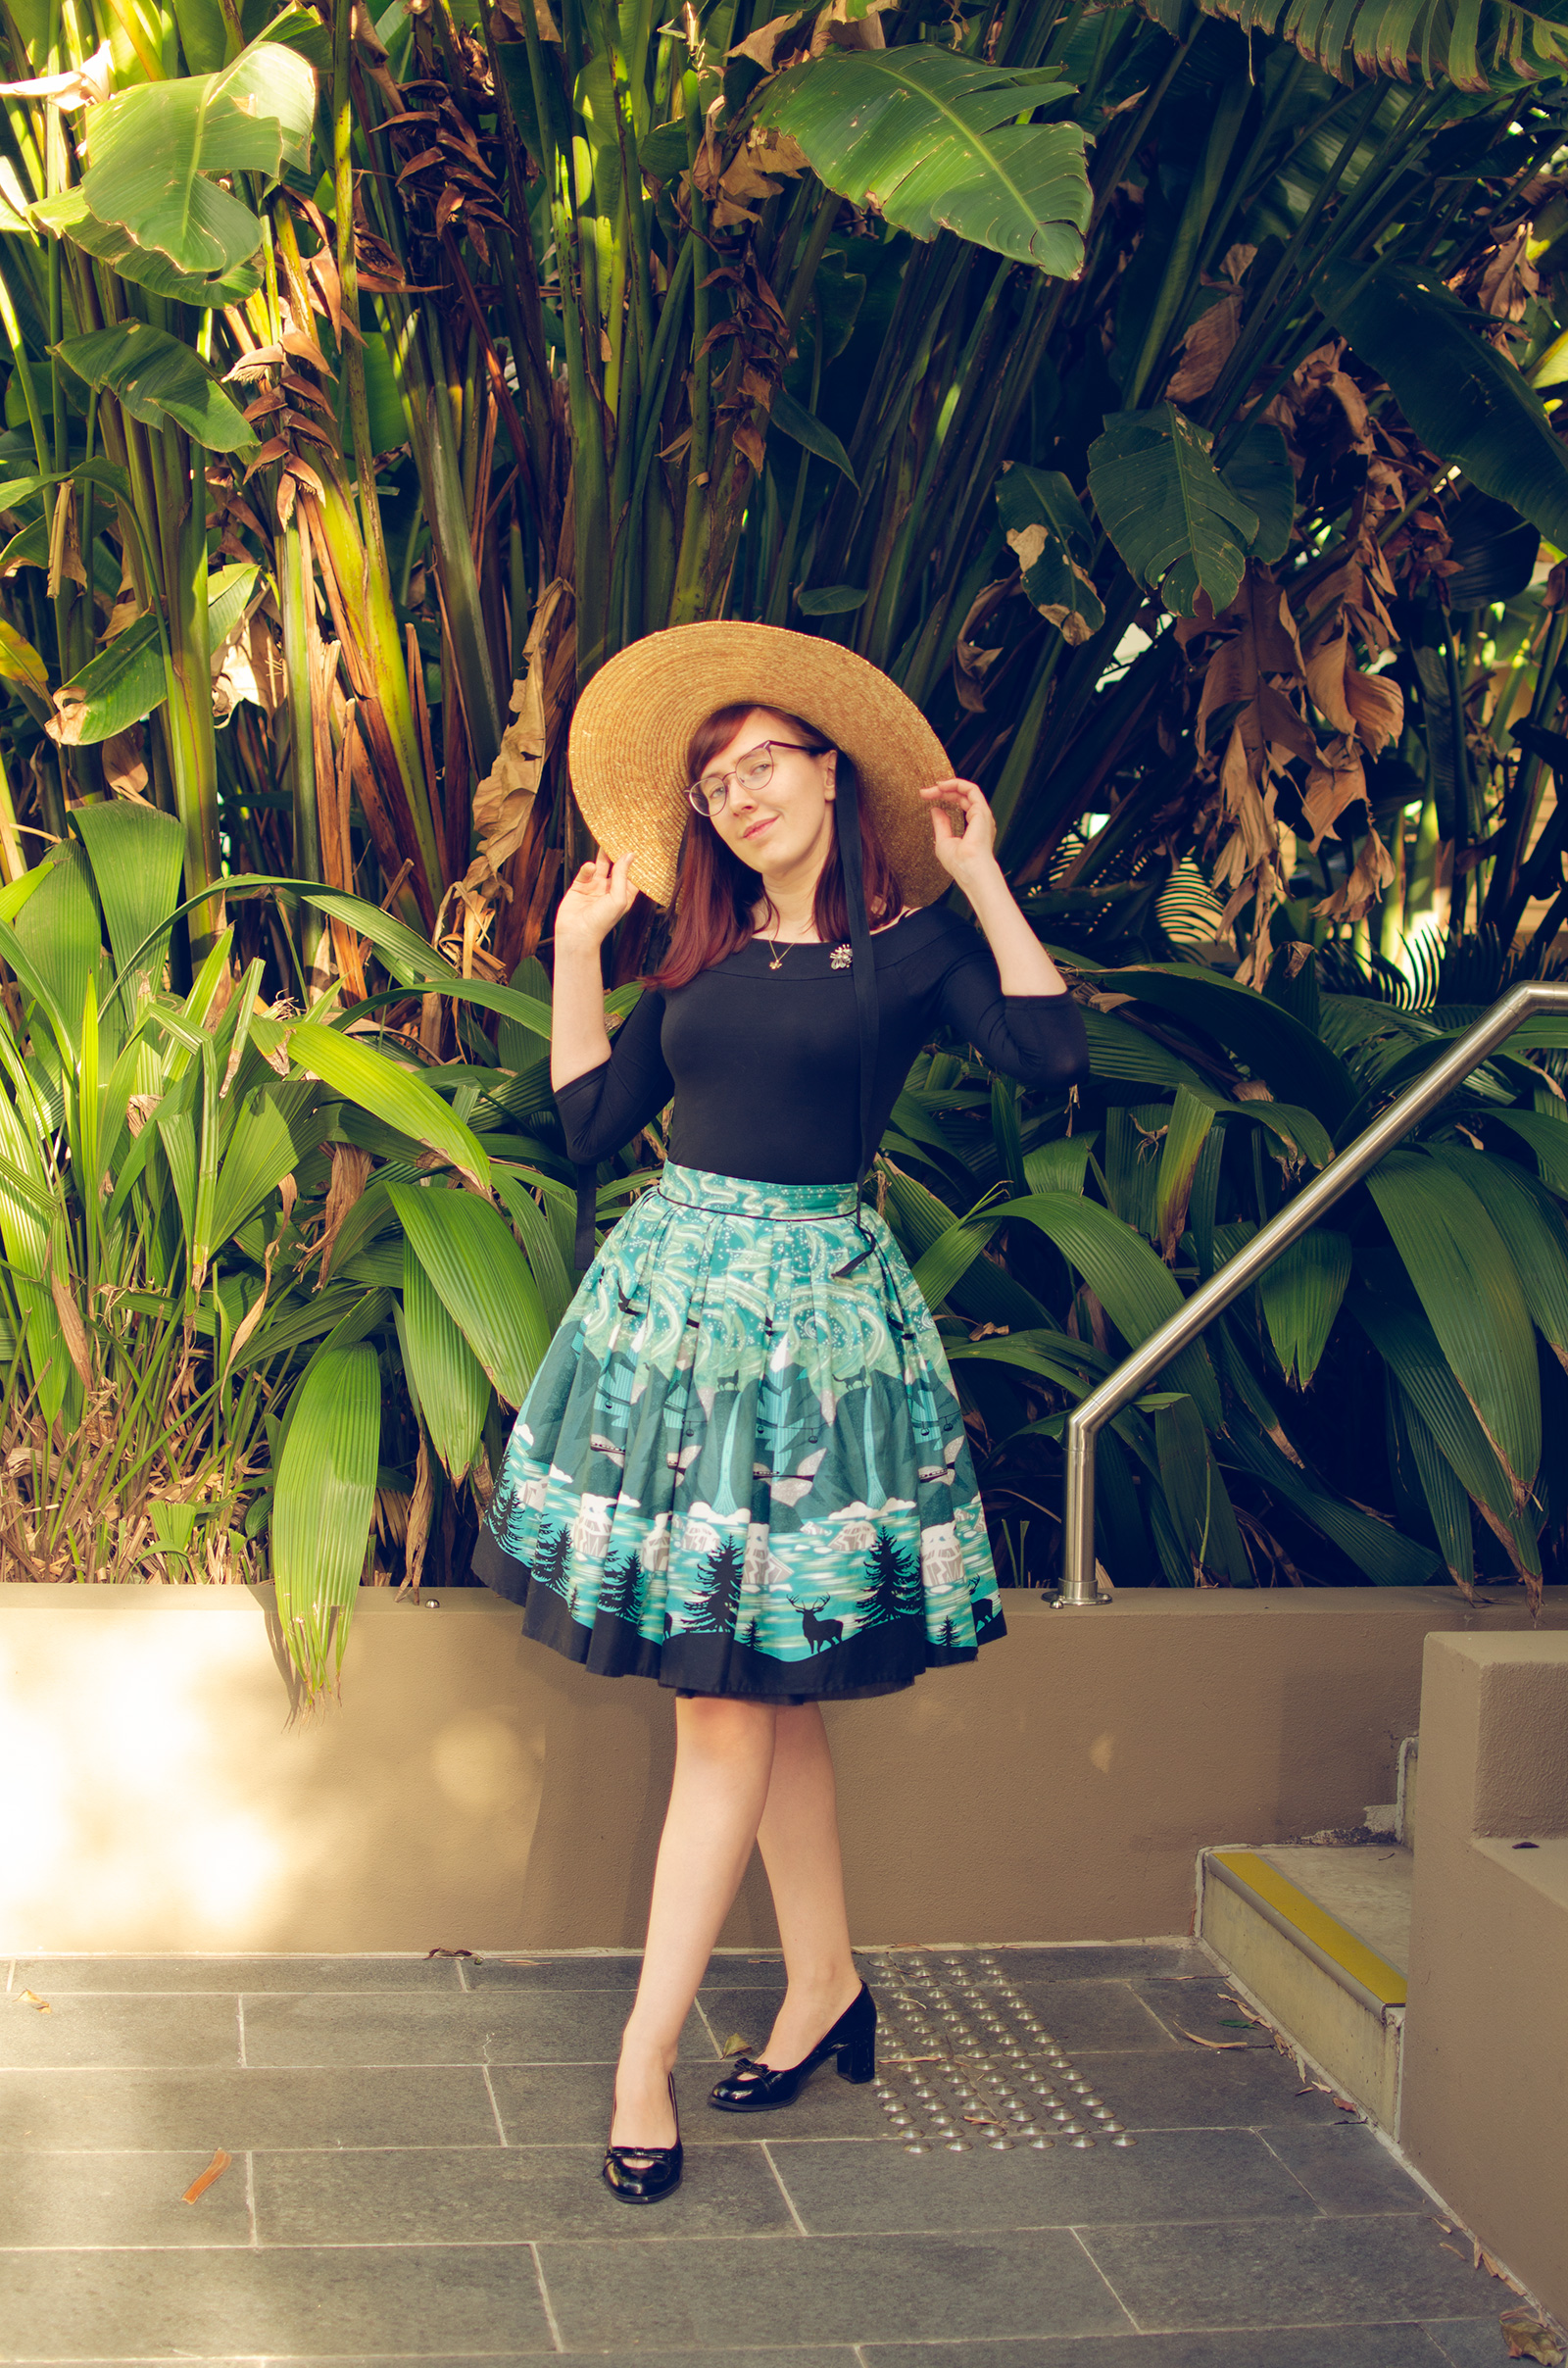
Enter double box pleats! These reduce the fabric down to a 5th of its original width. Perfect! I mapped out 5 pleats for the front and oh crap realised that I can’t have 5 pleats in the back because there’s a centred zip. Had to divide for 4 pleats for the back then. I’m not totally in love with the wider pleats at the back, but I like the 5 pleats at the front. To the right is a diagram of how the pleating looked. My marks at the top of the skirt ended up being 1, 2, 1, 2, 1, 2, over and over again, if you’re curious how they’re made. Obviously because I didn’t cut the fabric myself, I had to fudge the numbers a little, some pleats are deeper than others, but with a skirt this full, you really can’t tell.
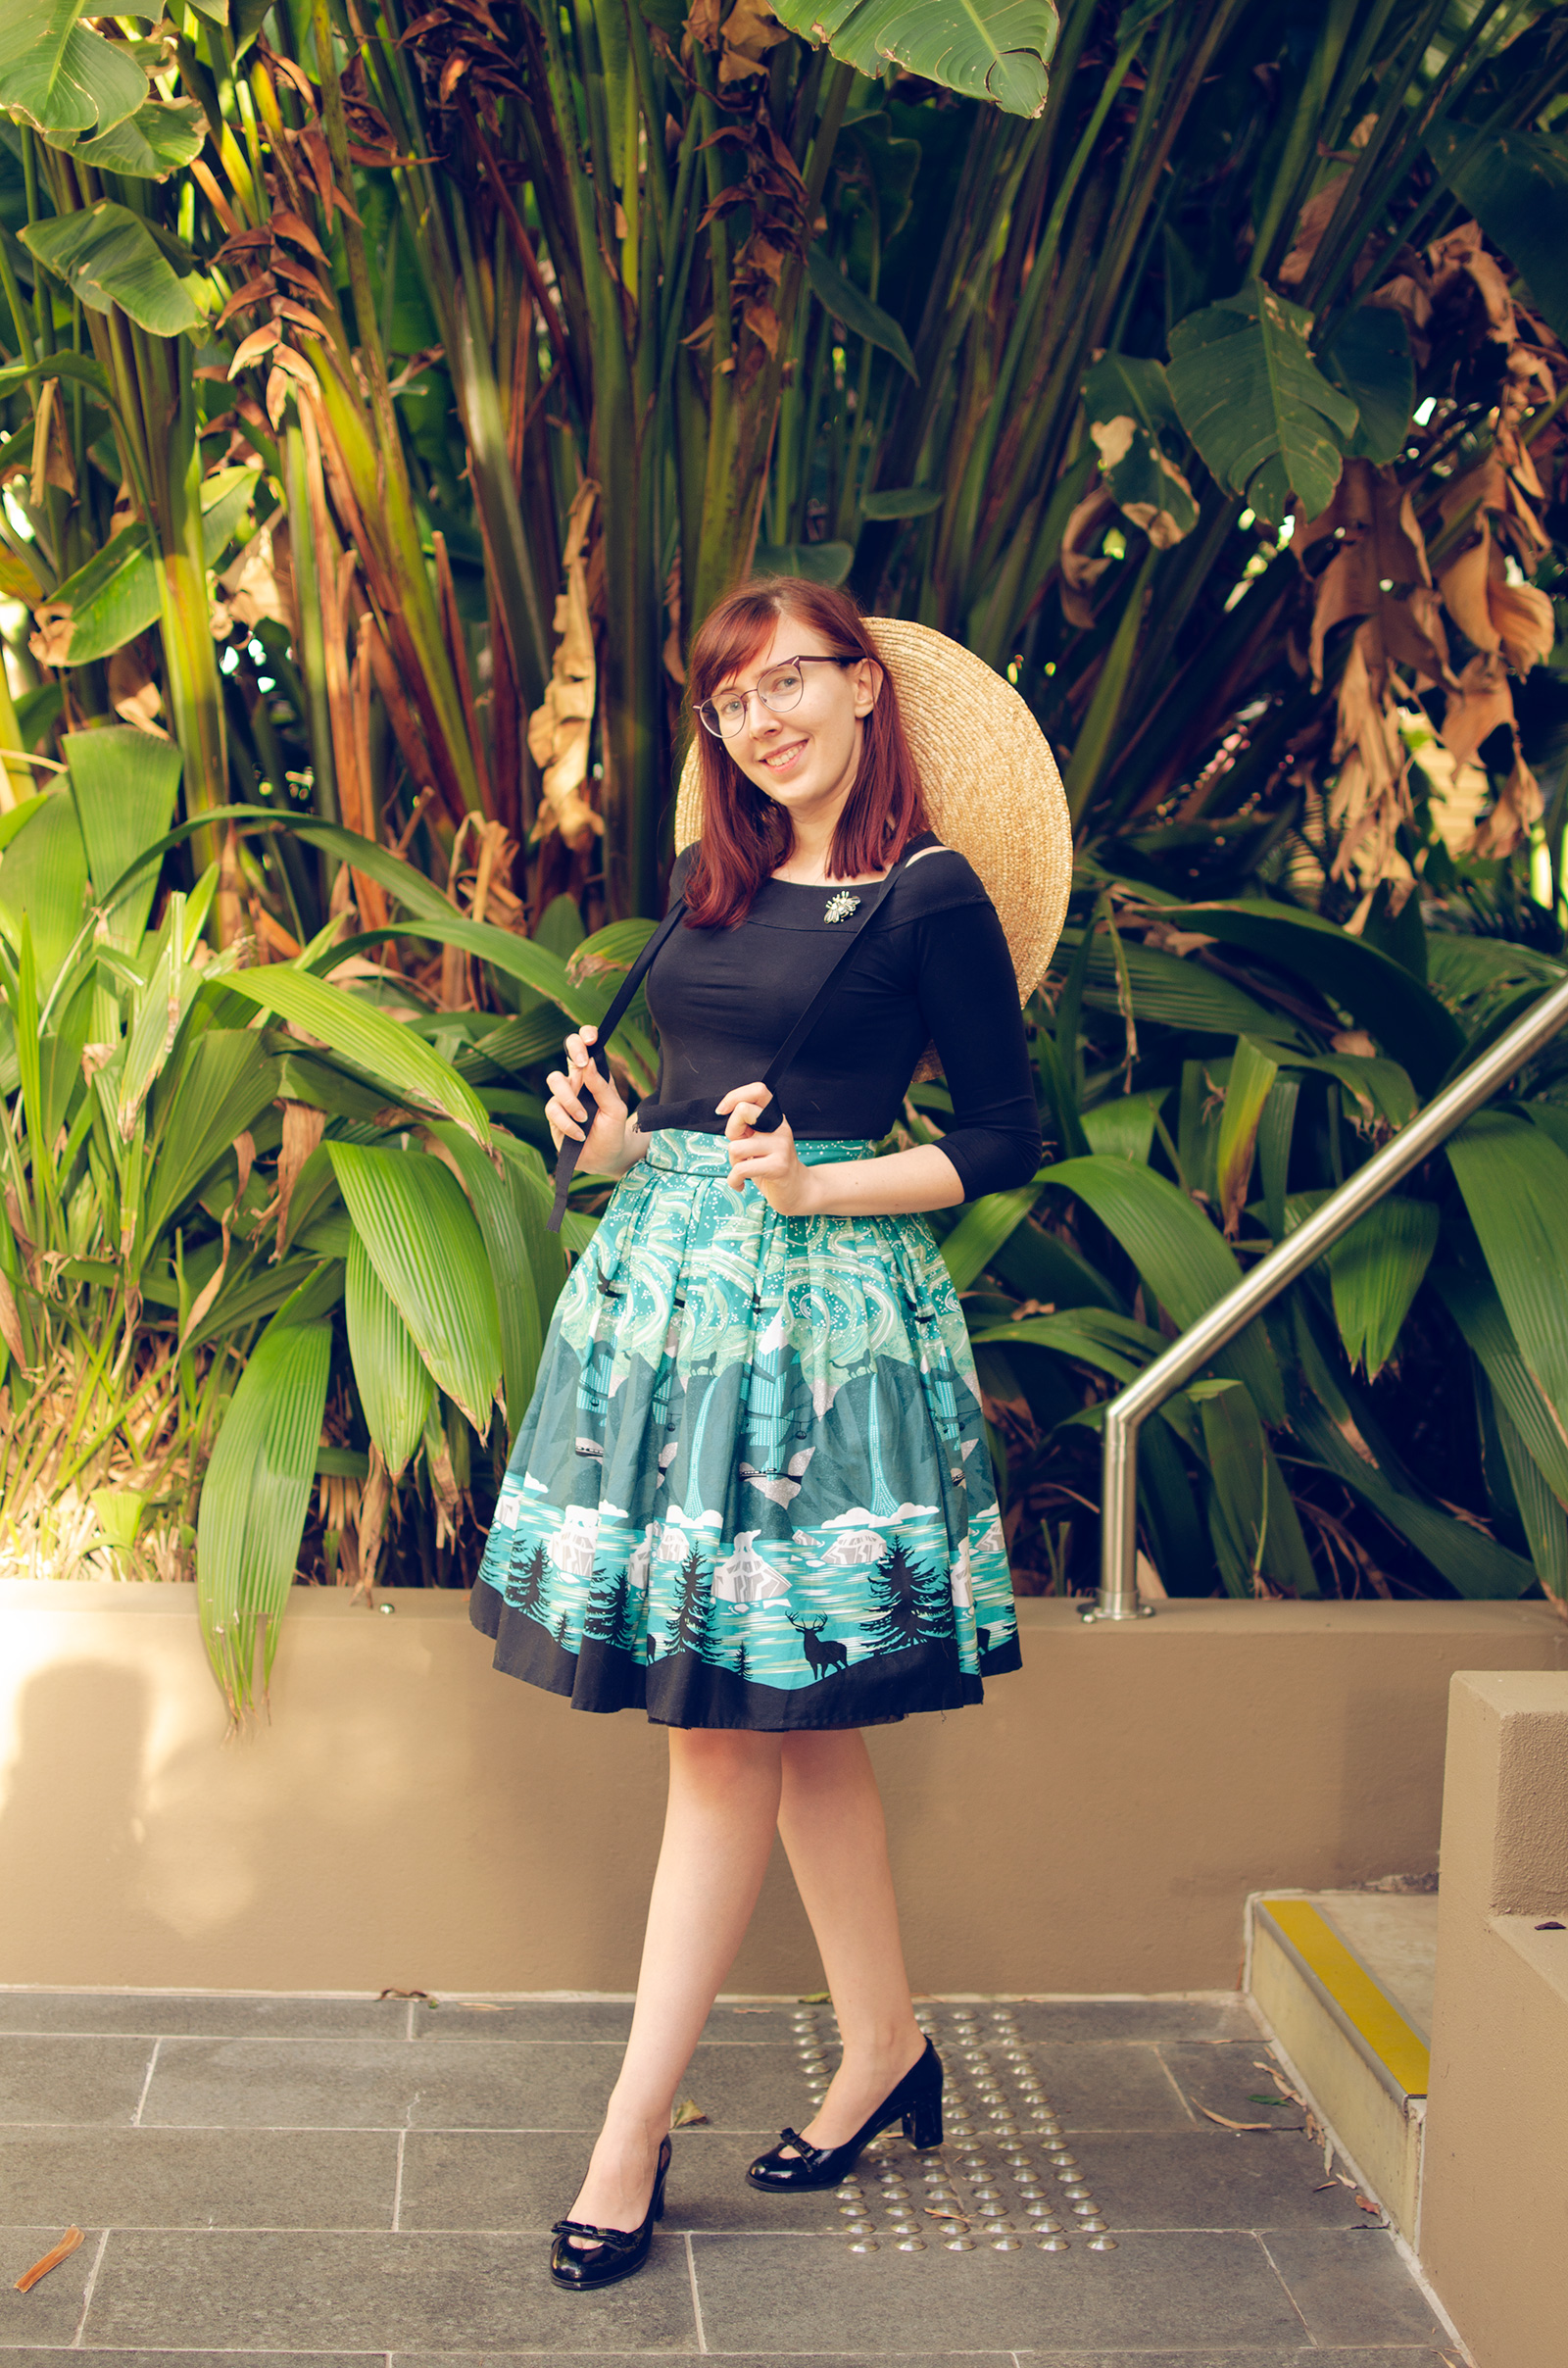
It’s definitely one of my favourite skirts to just wear for the sake of drama and compliments. Border prints are always a treat and my wardrobe has a lot of black. I’m itching to eventually make another skirt with double box pleats later on, because holy heck this skirt is full. Move aside gathers, move aside knife pleats, this is the real deal.
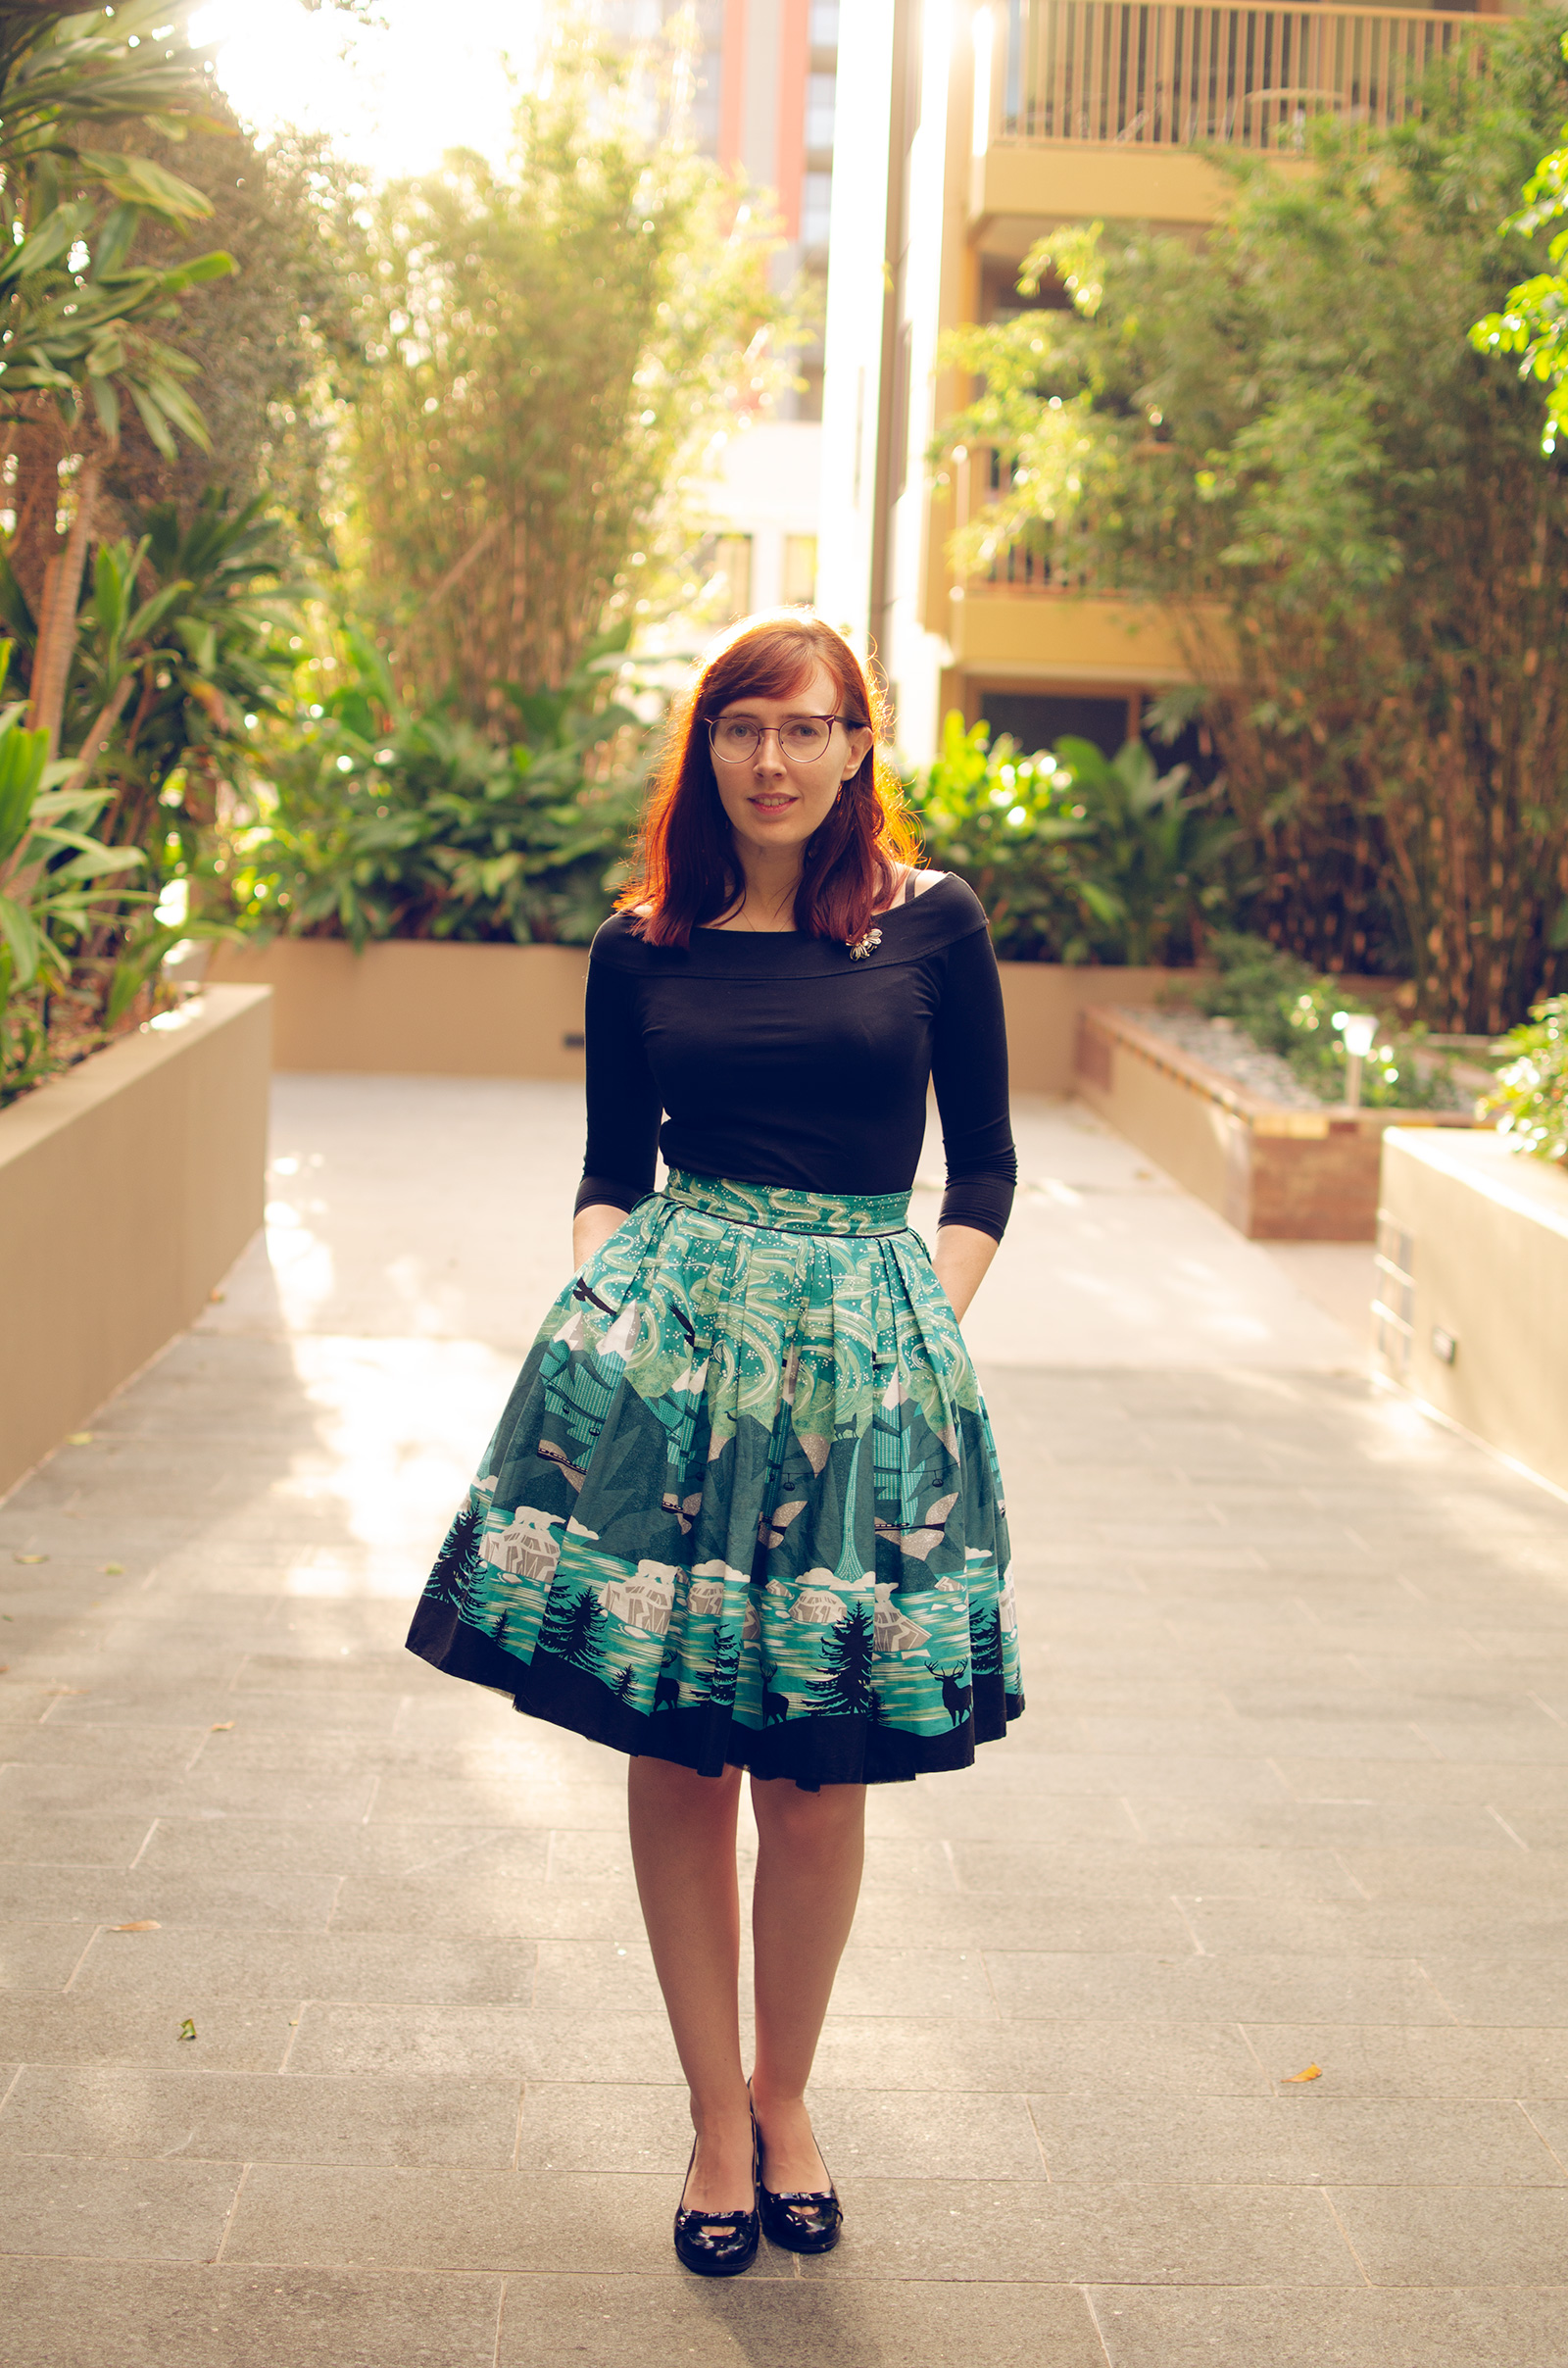

The moral of the story is, if an online purchase doesn’t work out, you can always butcher it to buggery and spend more effort with scissors and a seam ripper than you would just constructing a garment from scratch to end up with what might turn out to be a wardrobe favourite.
