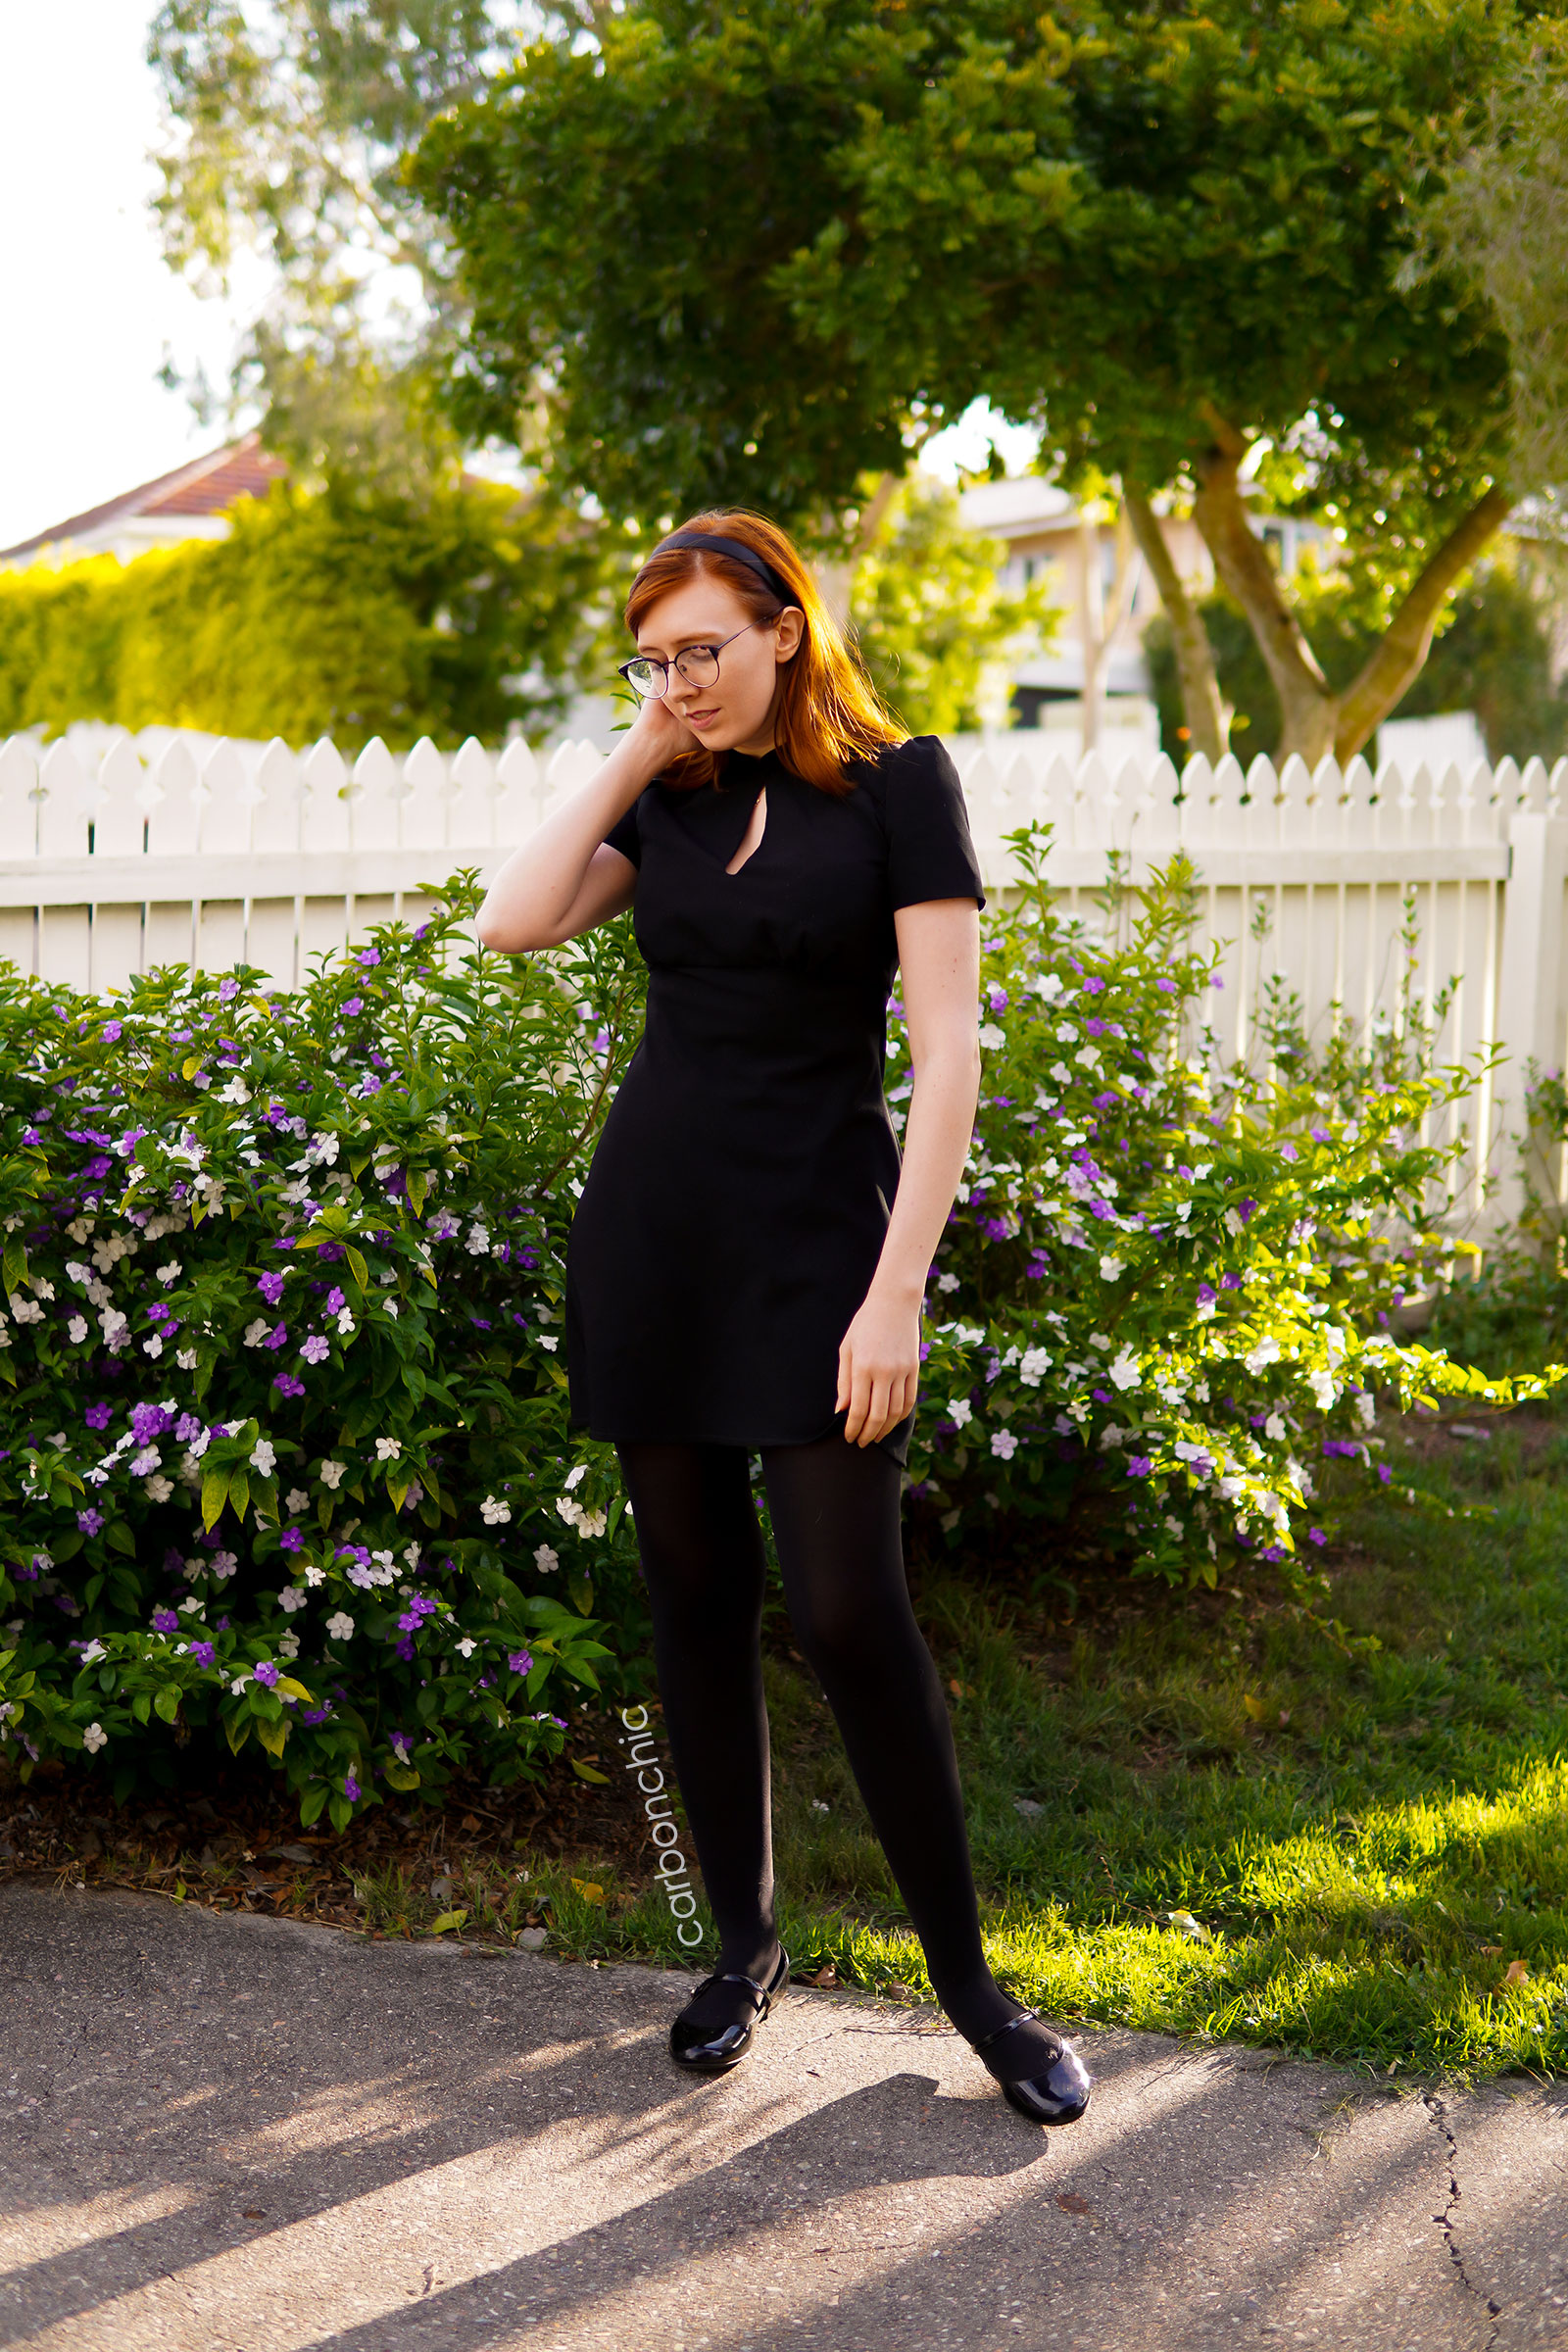
Halloween rolled around again! I try and do a special dress or costume every year, not like I even need the excuse, but here we are. This year I’ve been pretty entranced by the wardrobe from the Chilling Adventures of Sabrina. I know it’s a pretty obscure costume and 99/100 people probably won’t get the reference, but it gave me great joy to replicate it, knowing that it was going to be a challenge, sewing-wise.
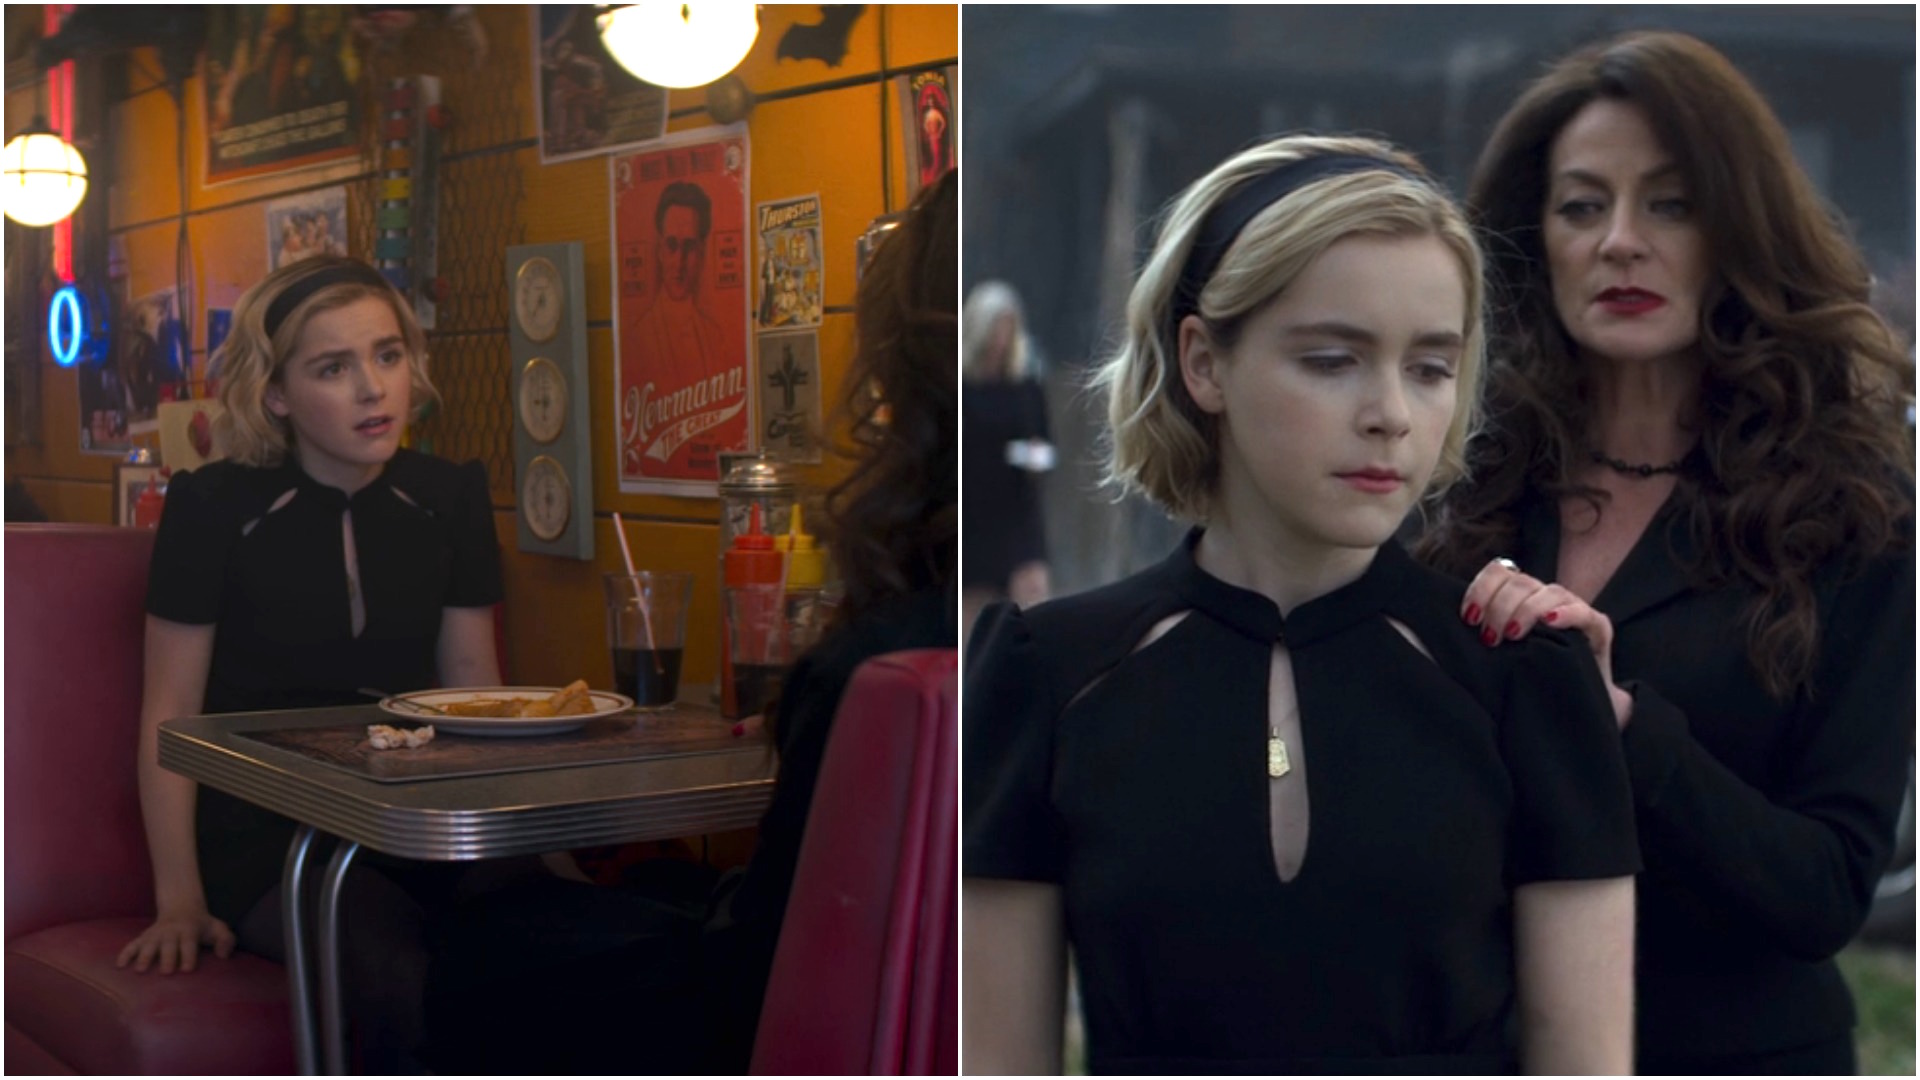
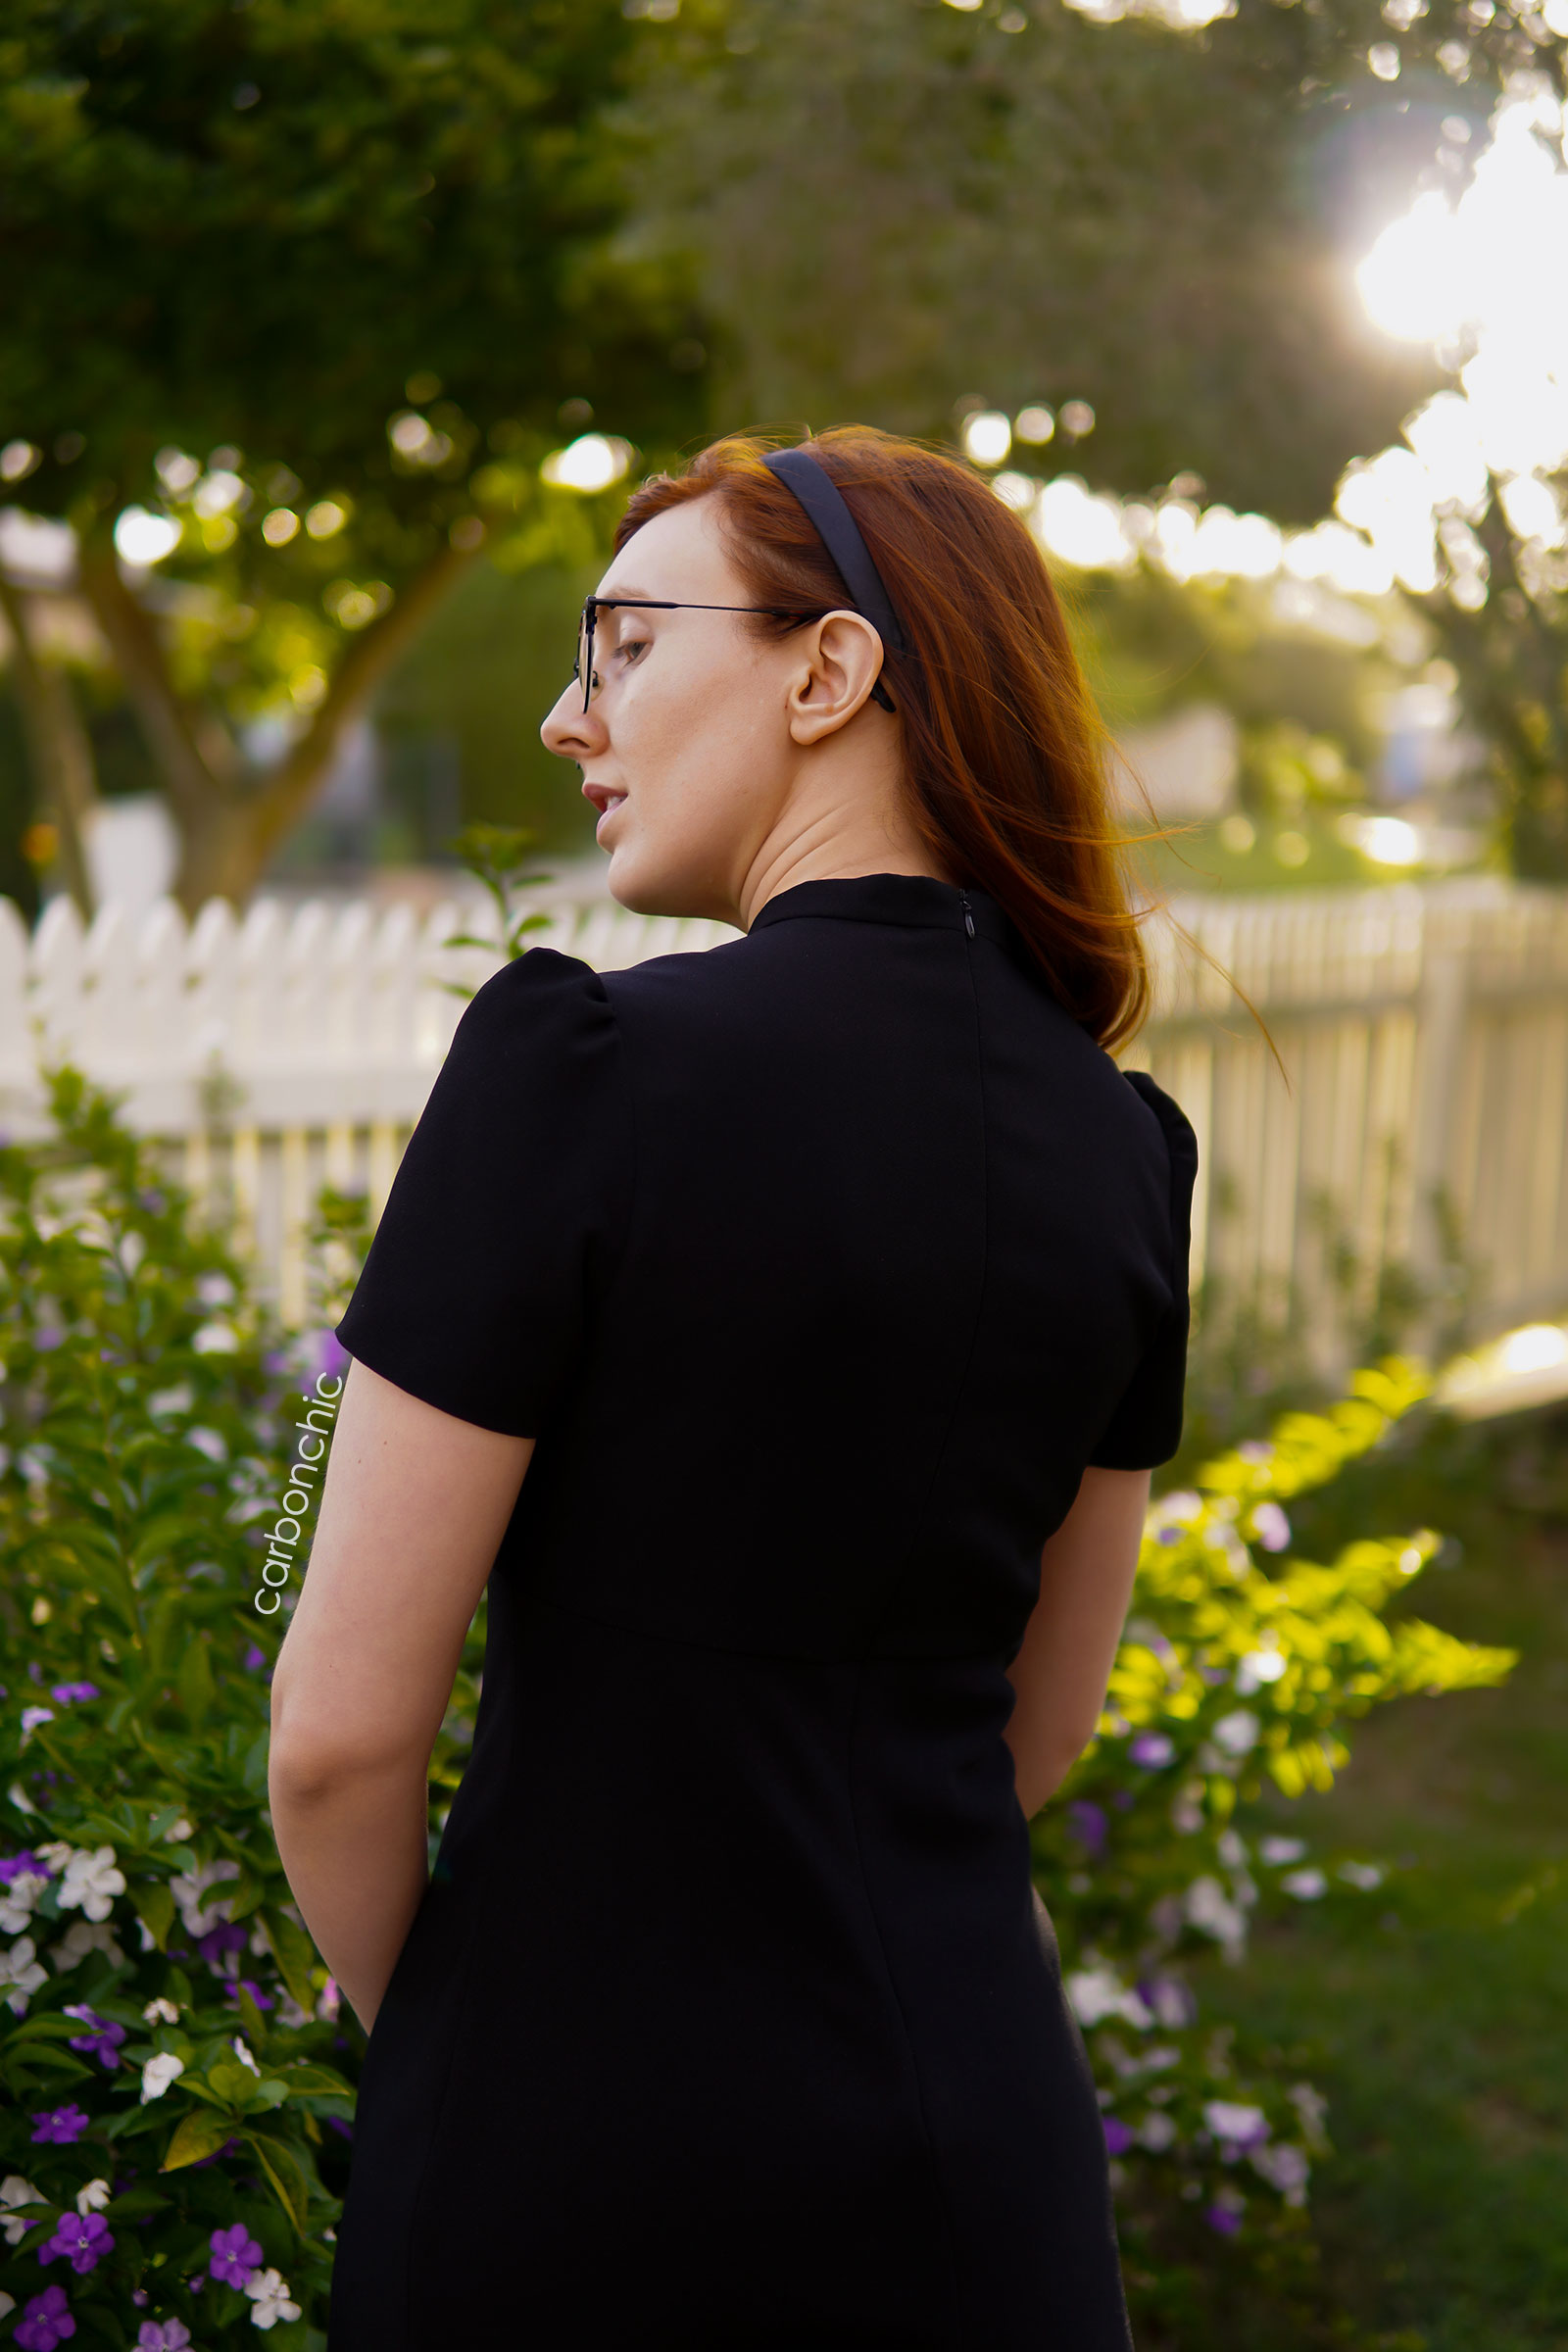
So it’s really hard to photograph (and film) black. That’s one of the first things I learned about this project. Through a friend helping me to take screenshots of the dress throughout various scenes, we discovered key features about the dress, some obvious, some not:
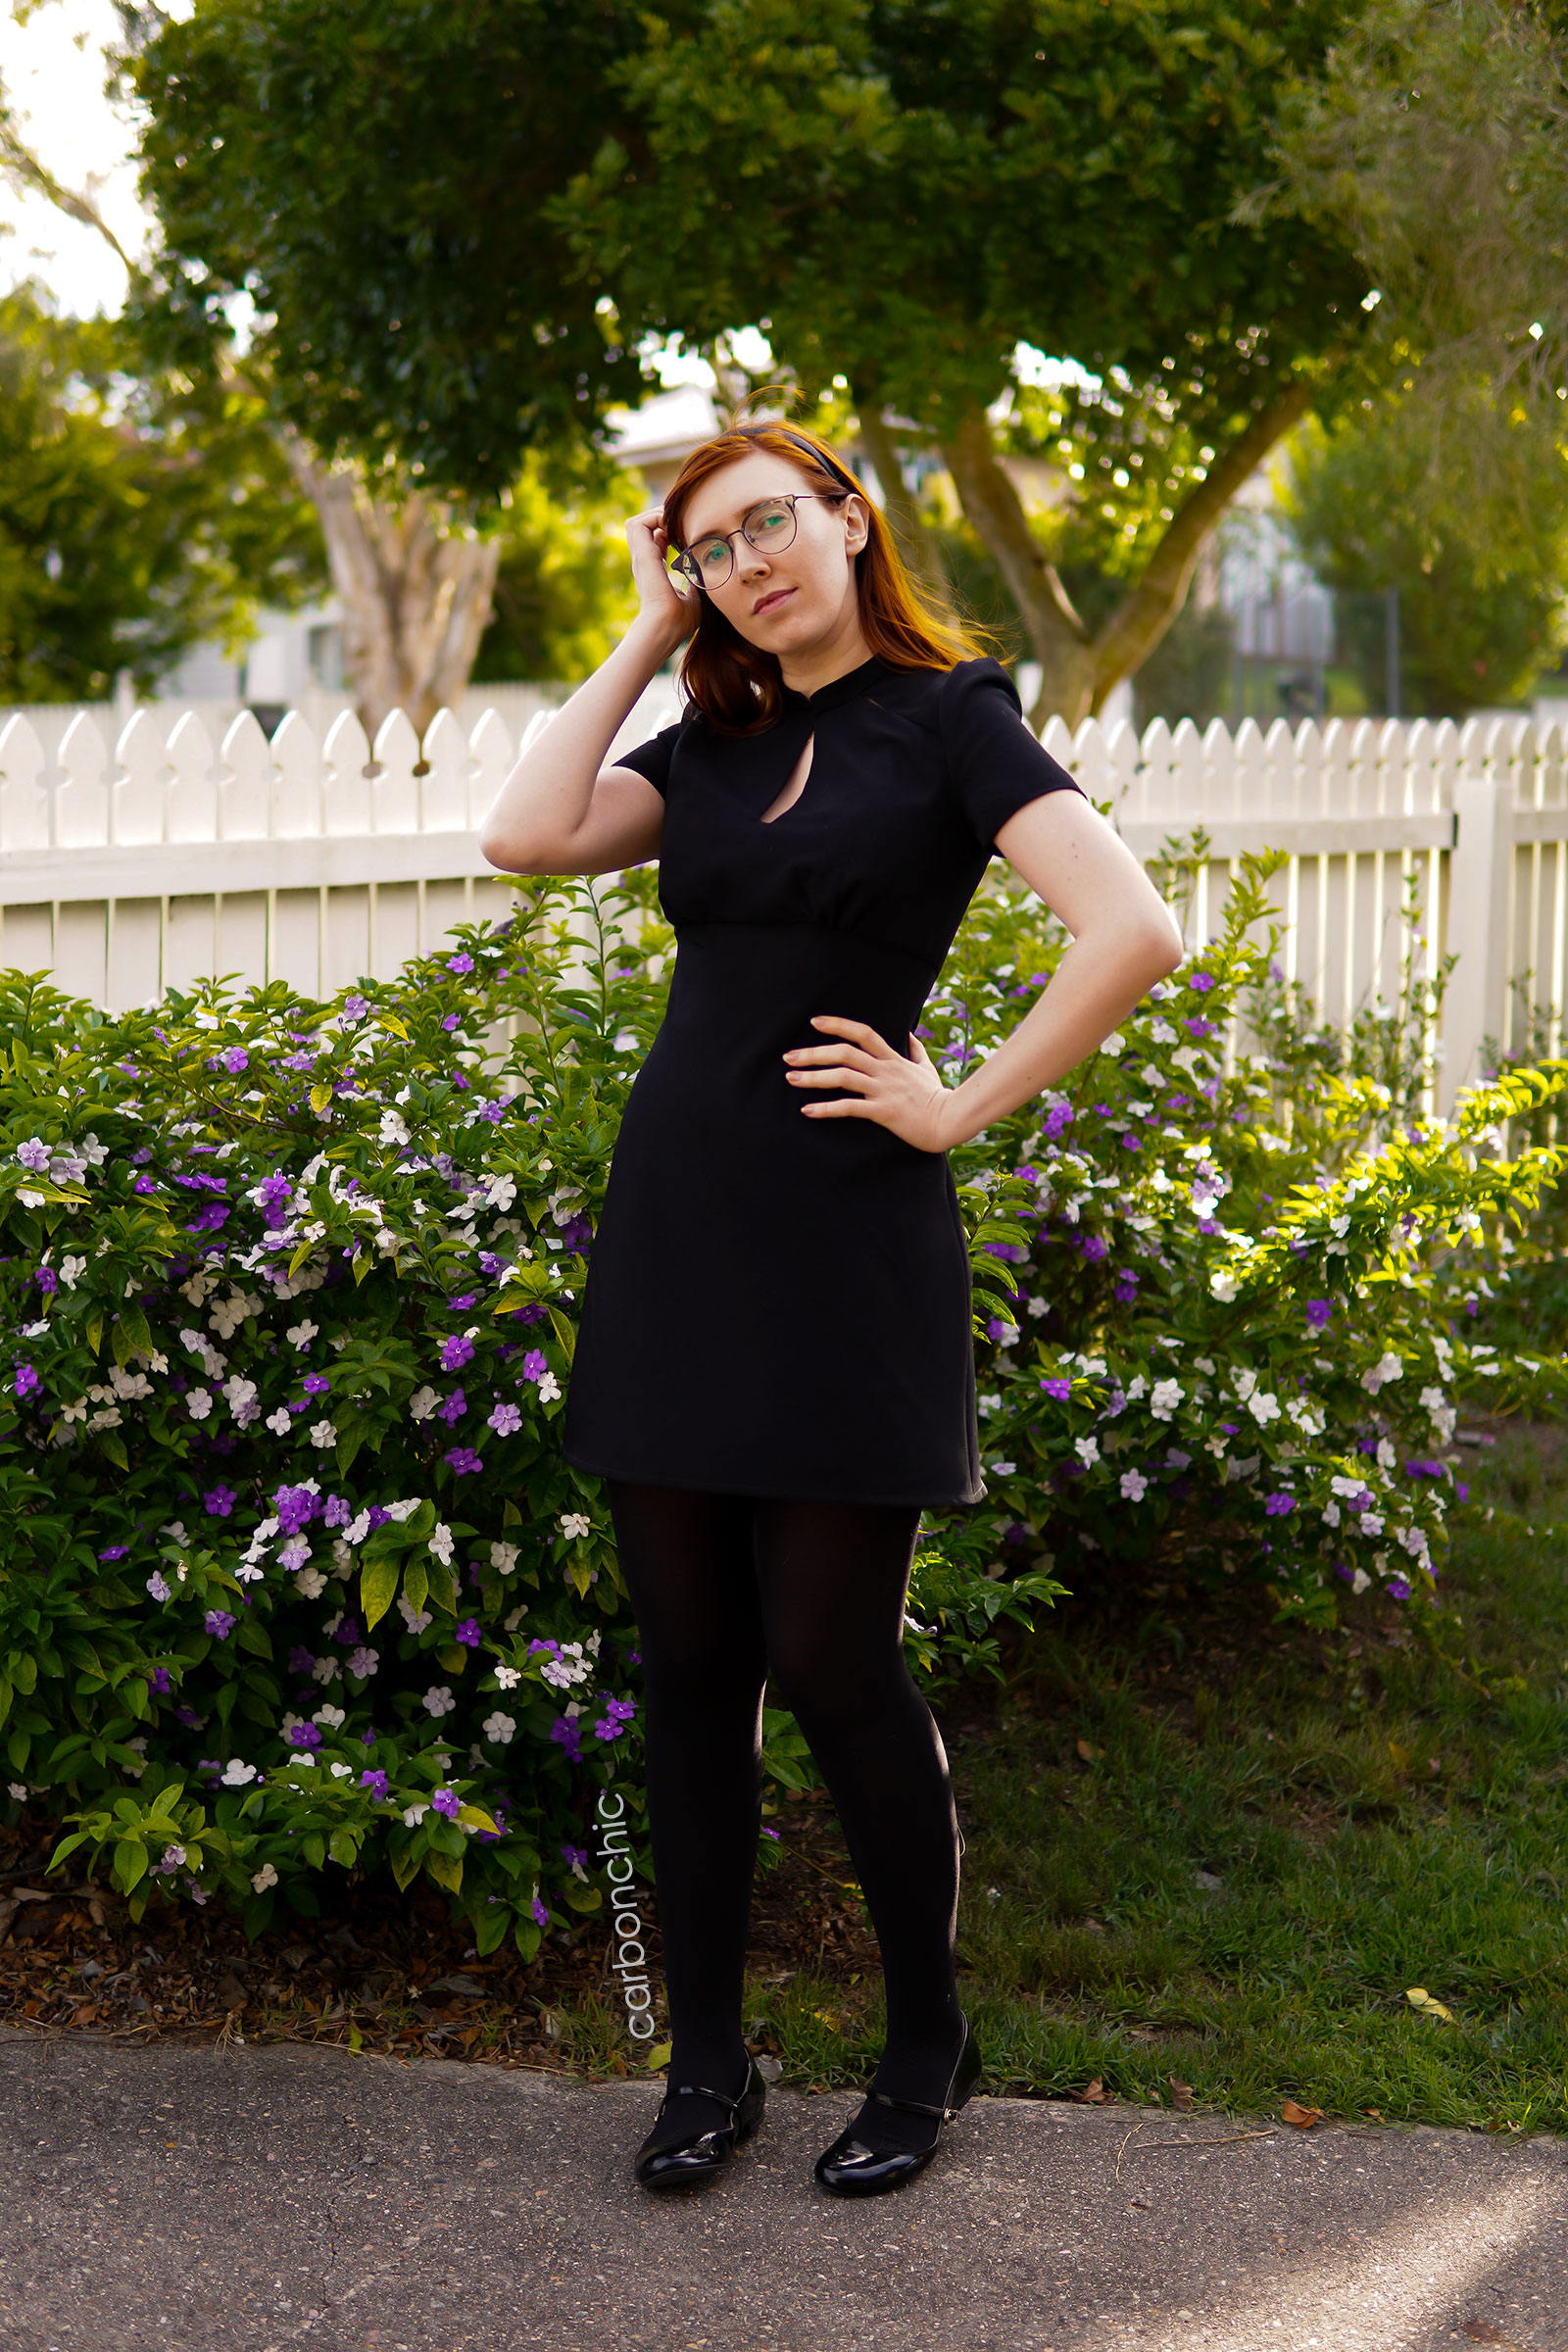
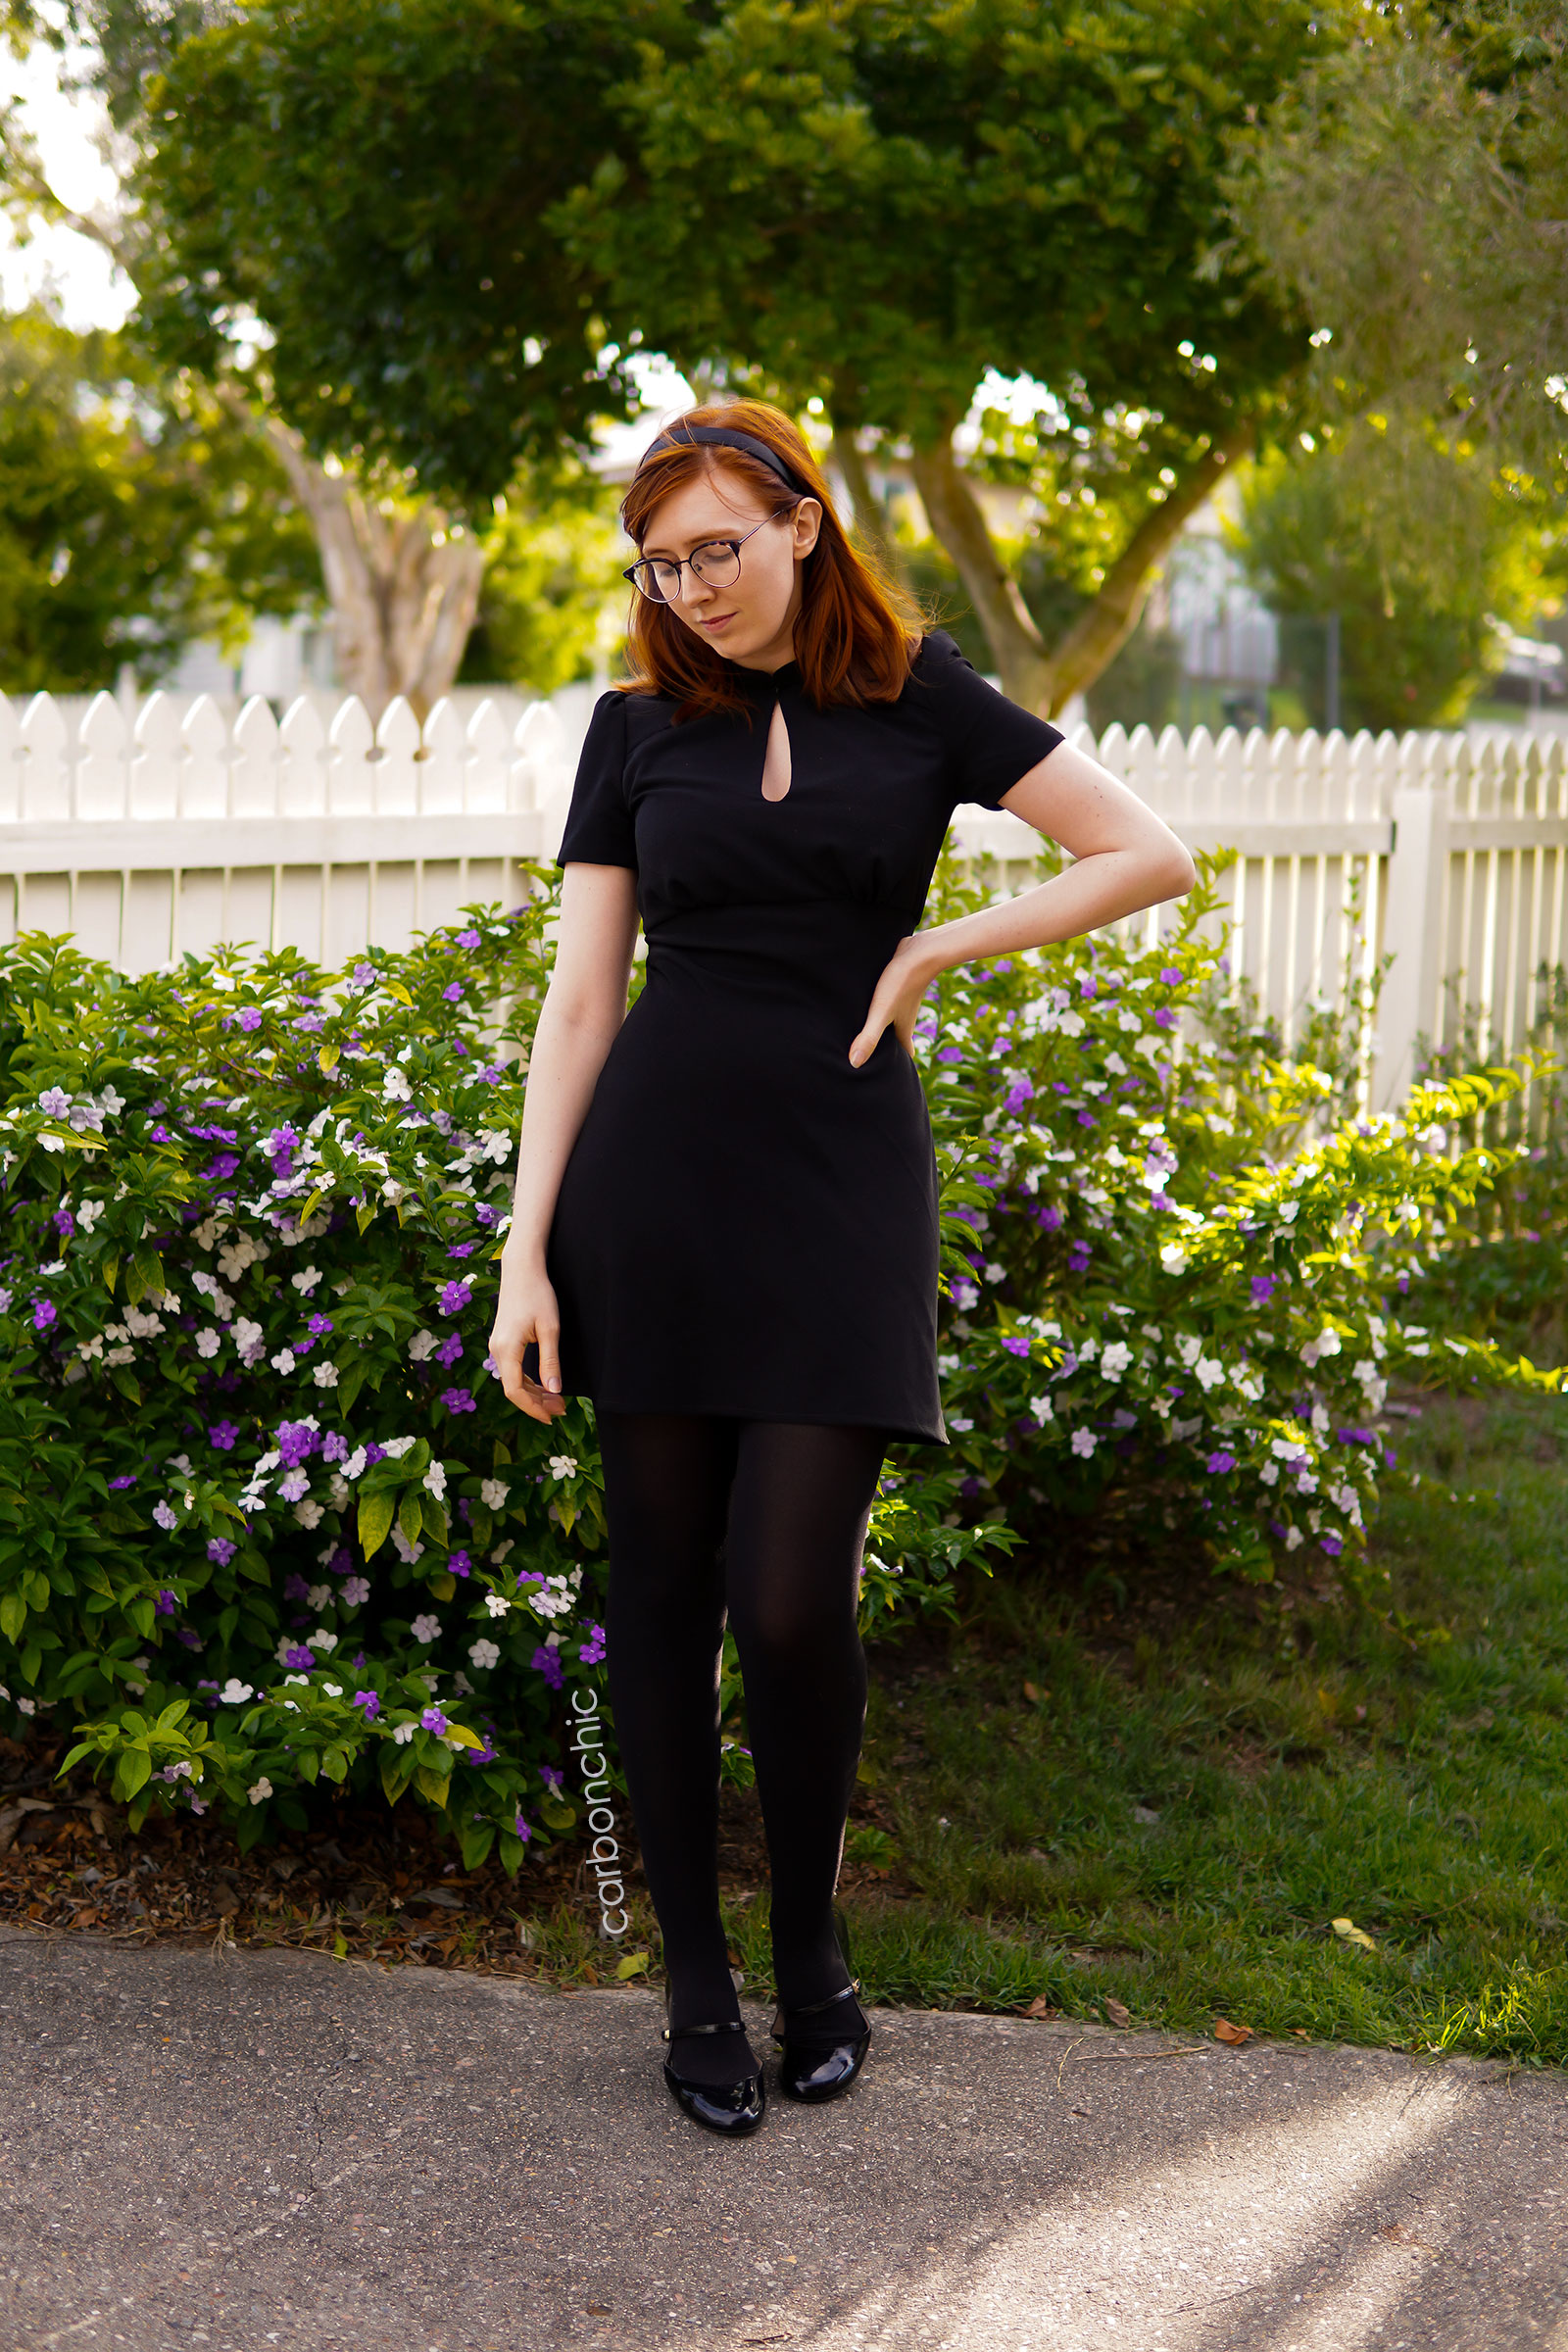
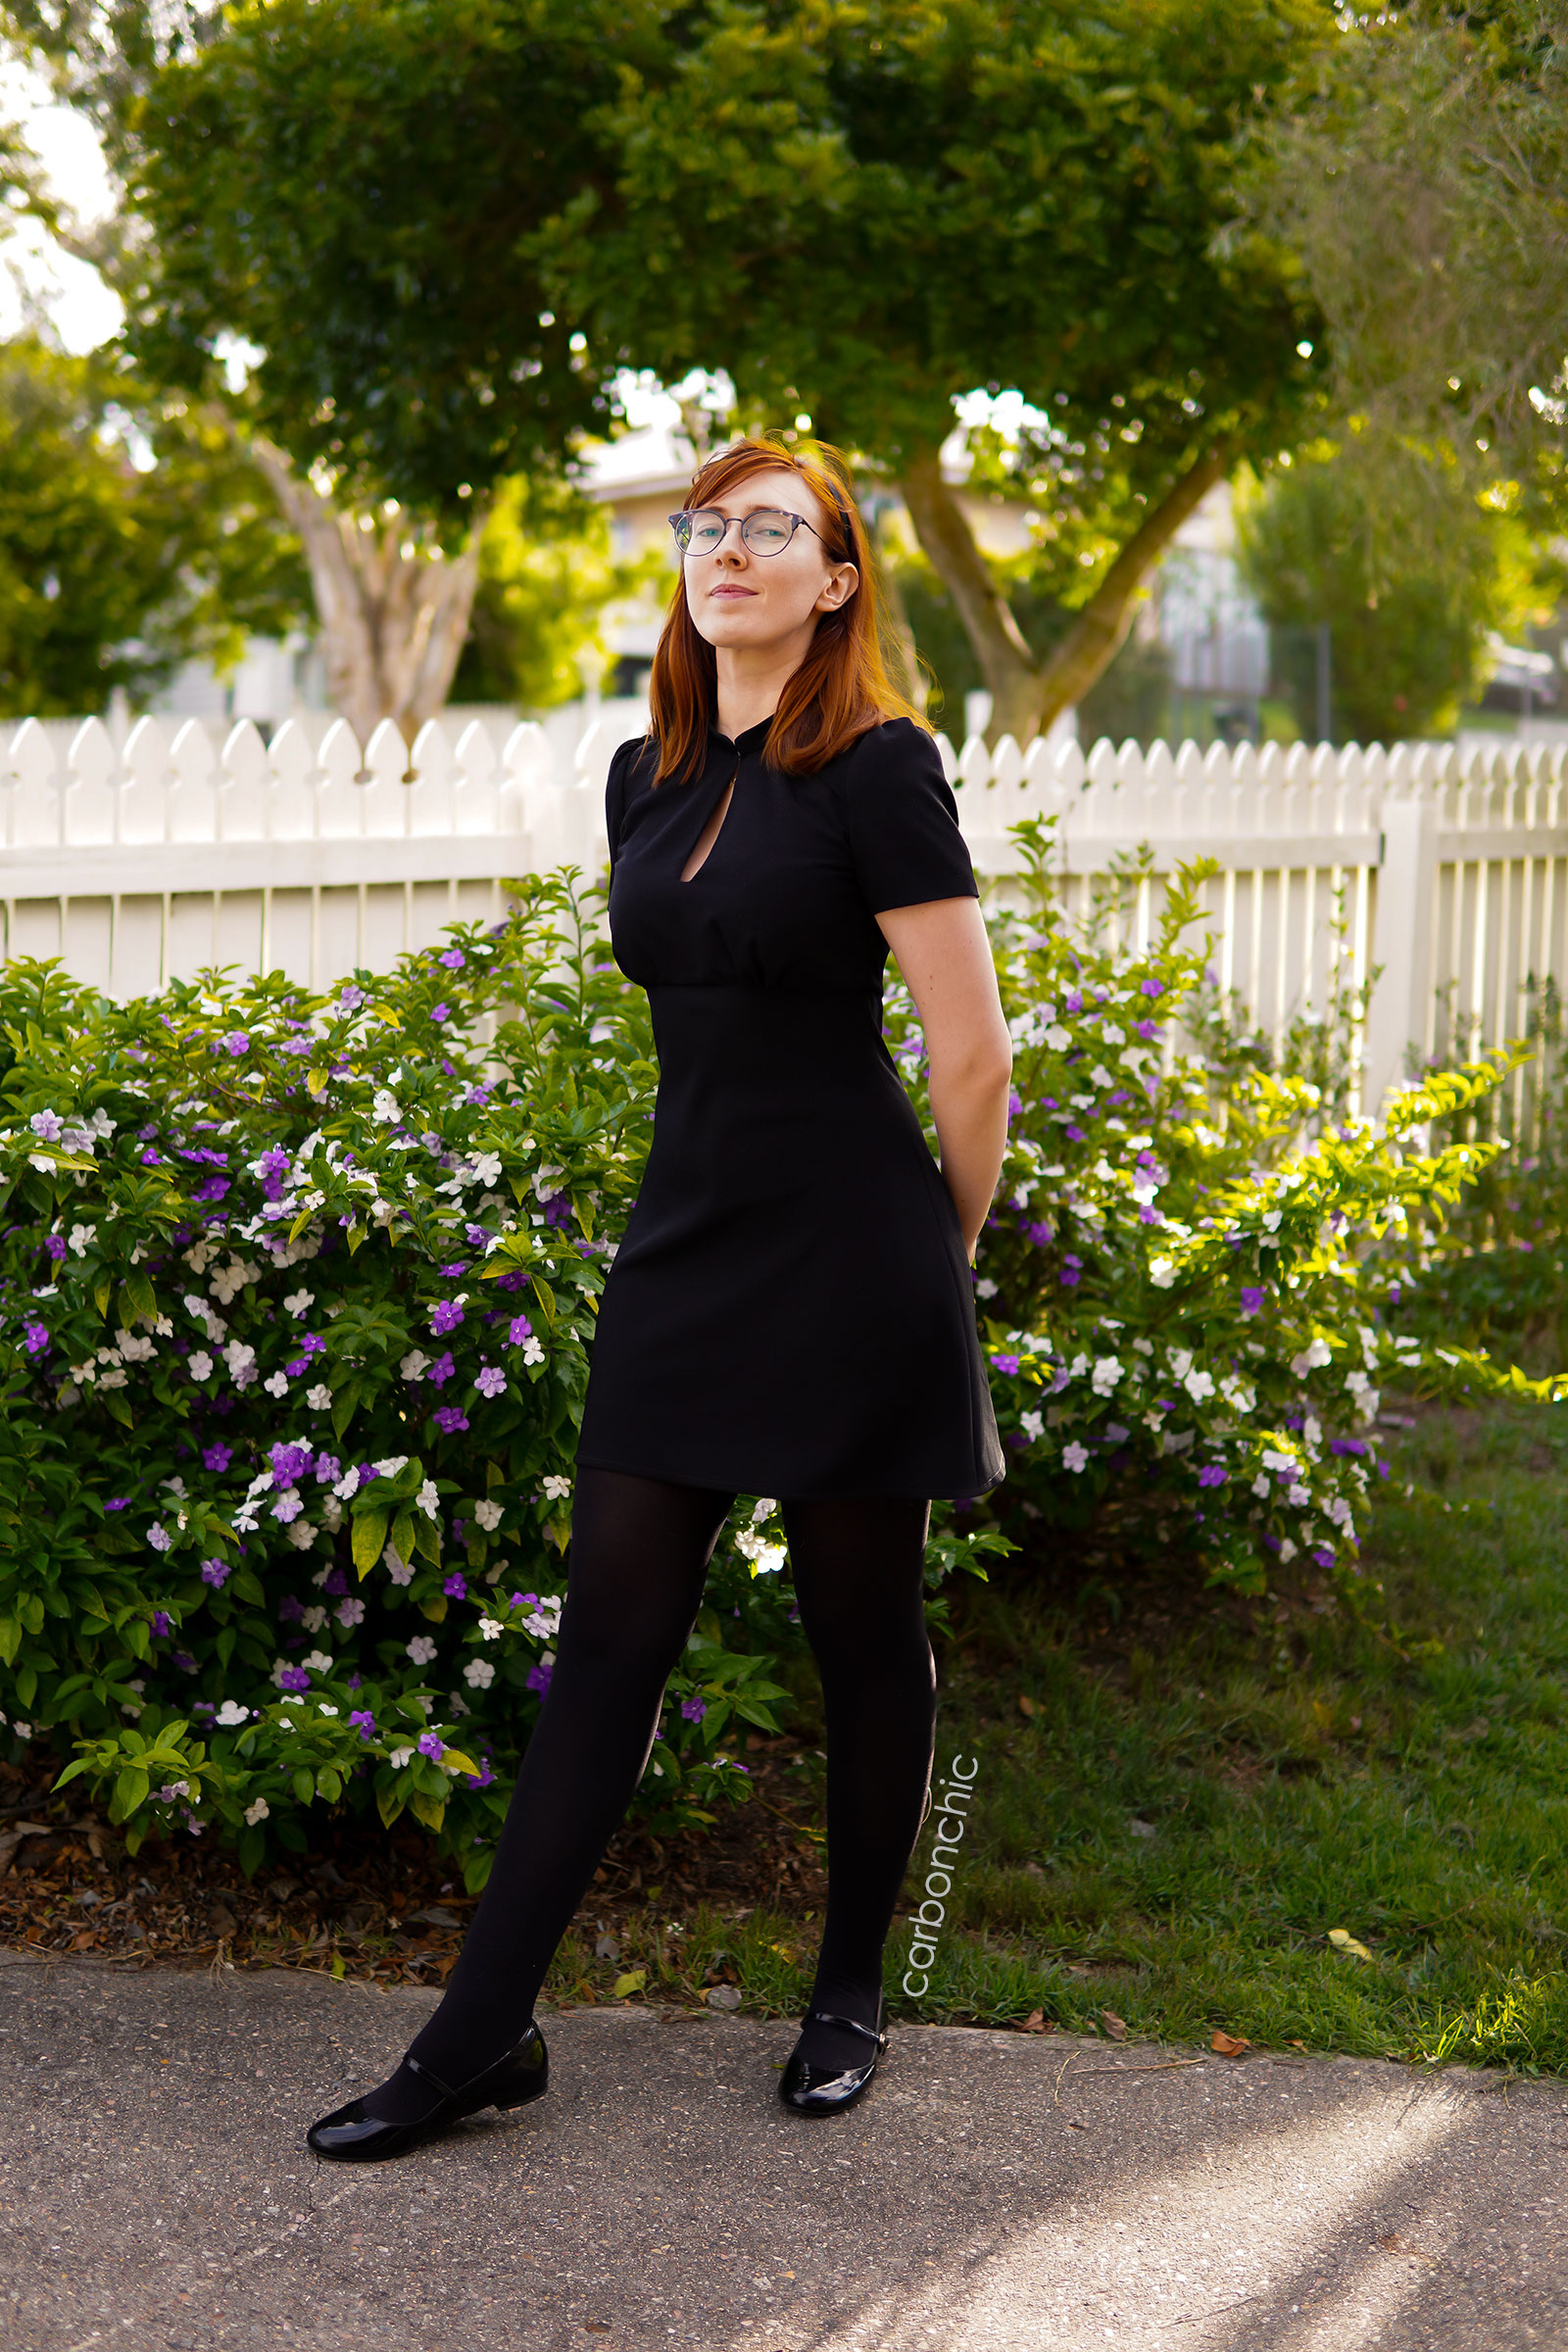
- No darts in the skirt or bodice
- Gathers under the bust (I think because she does not have a very large bust so they sit a little flatter than mine do unfortunately)
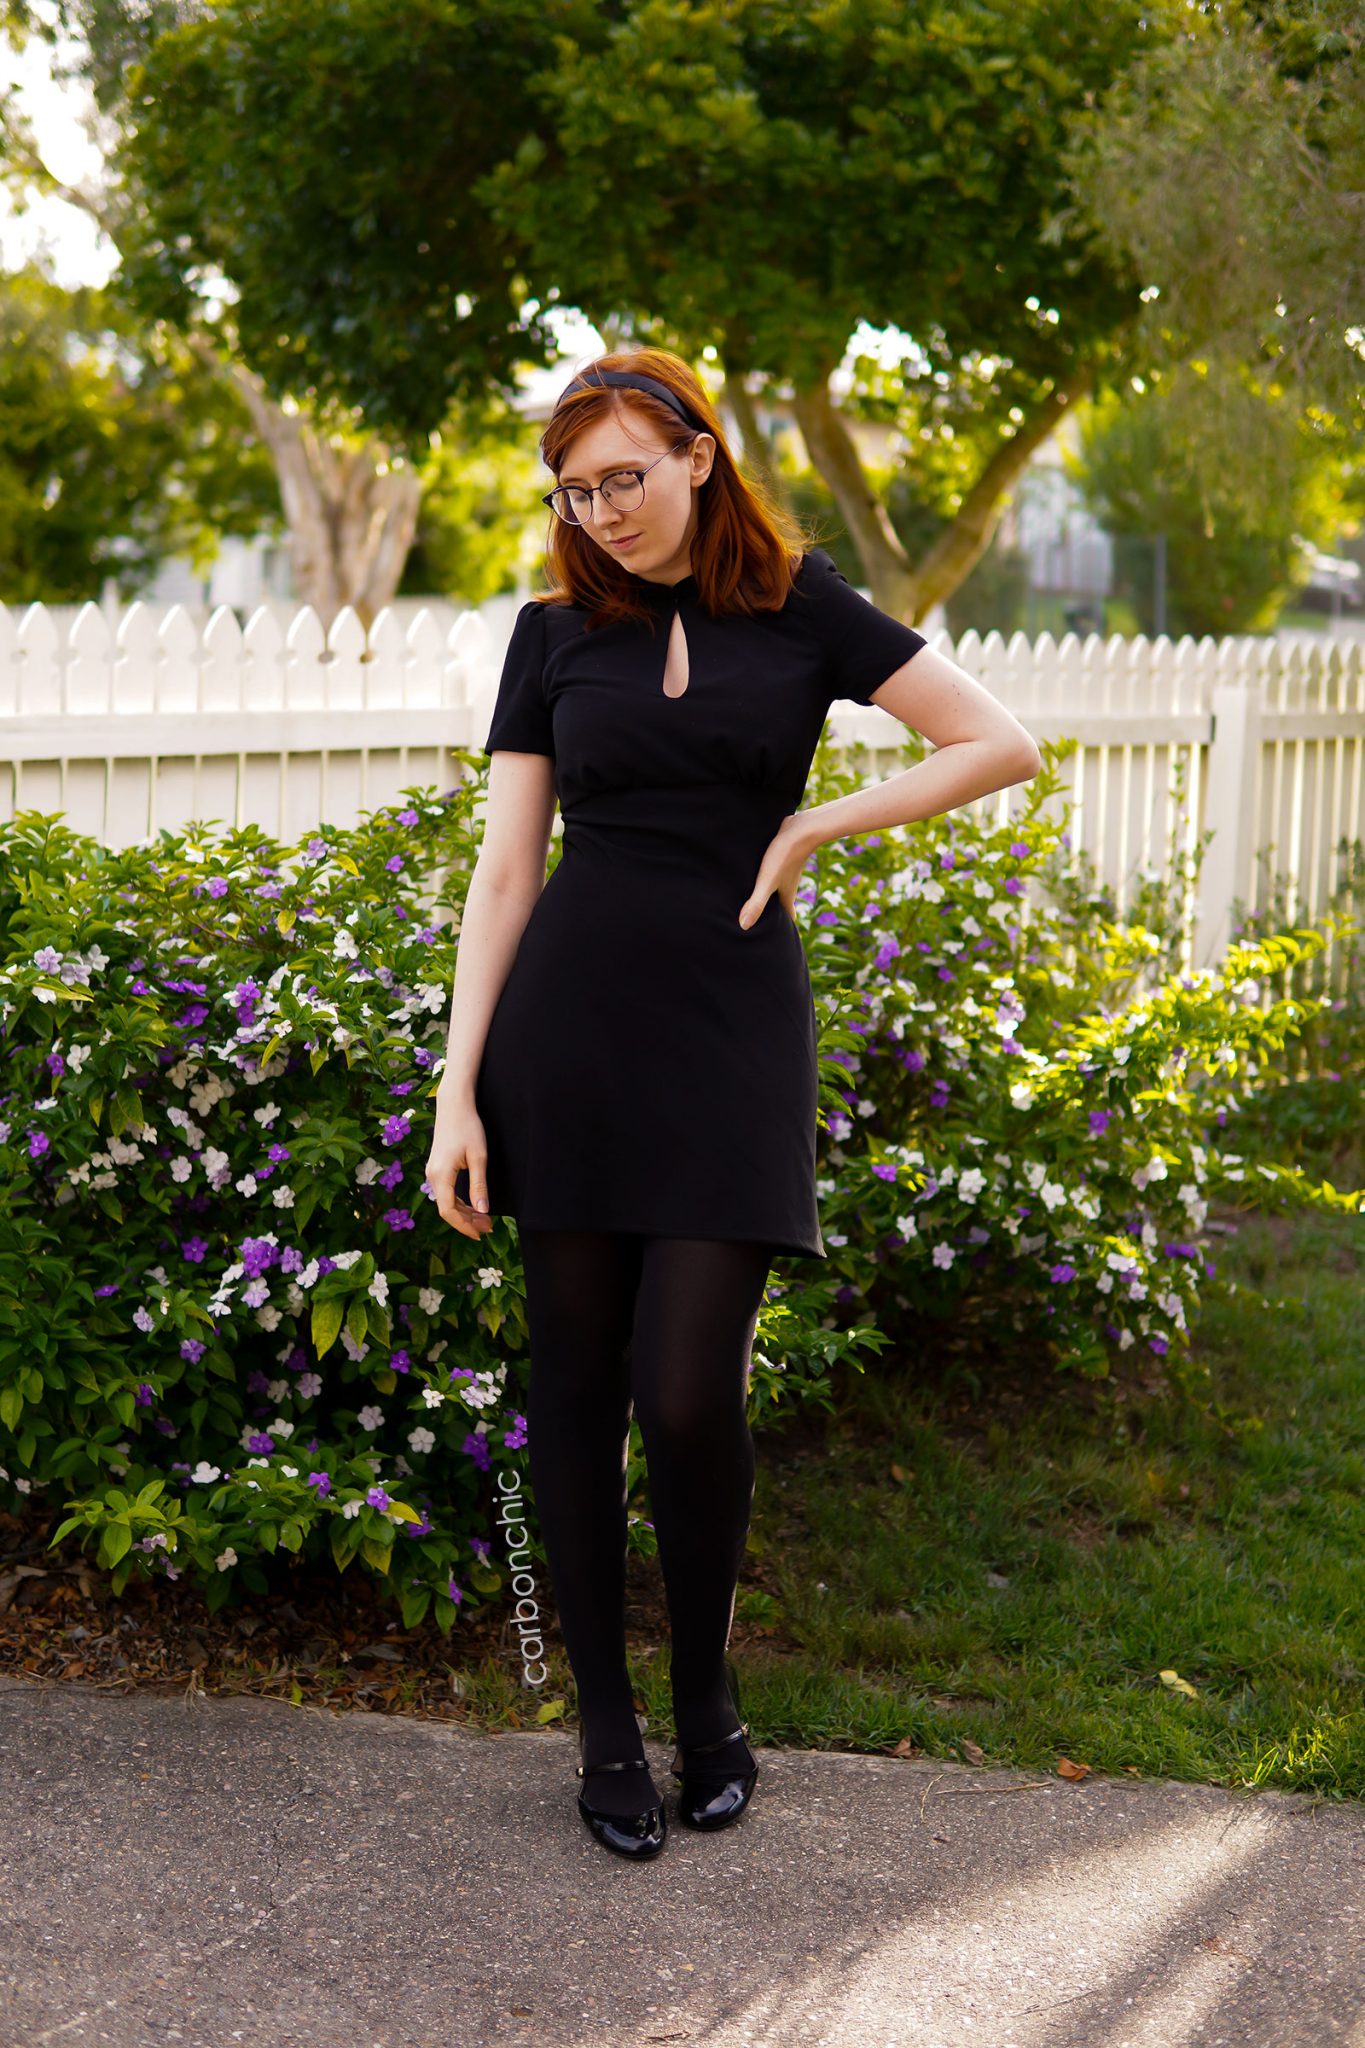
- Keyhole in the center front and splits from the collar to the sleeve that were joined at the center
- Sleeves with a tall cap
- Invisible zipper from the top of the collar
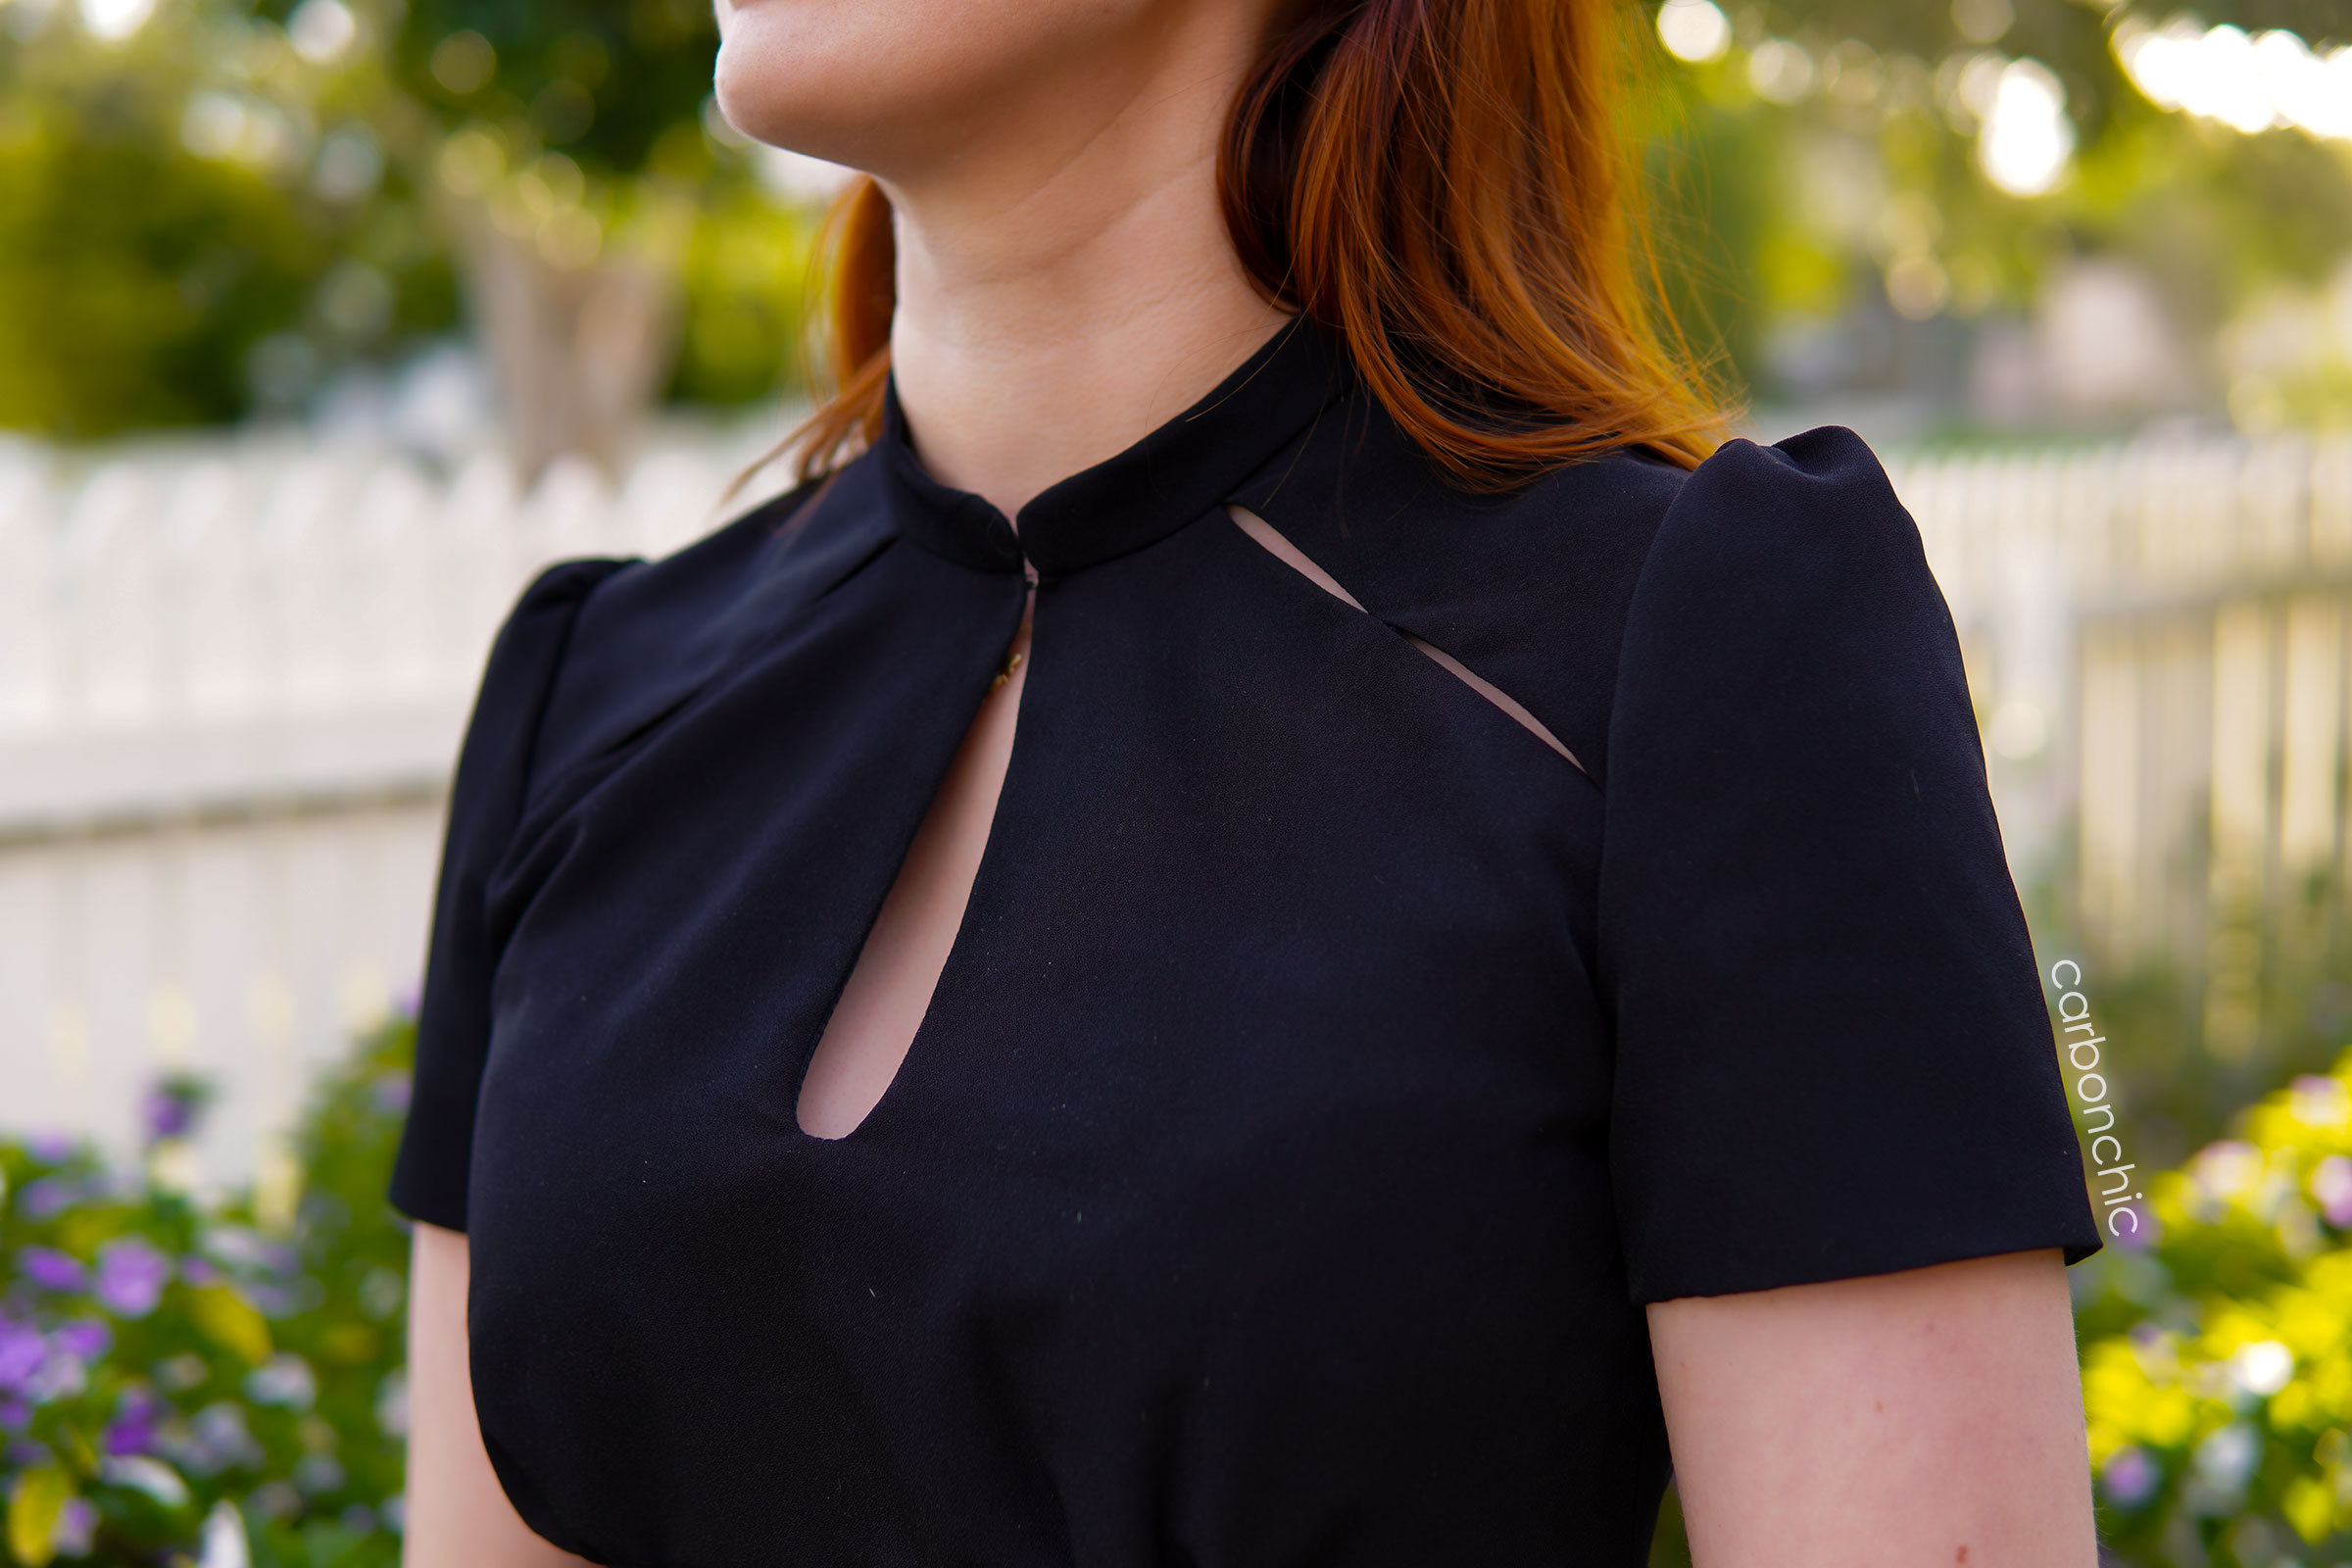
It is very important for me if I’m making a costume or cosplay to get the details as accurate as possible! I sewed several mockups of this dress to get the final fit and look just where I wanted it. Those sleeves were remade 5 times because every time the fullness was not enough or too much or spread out too far or creating the wrong shape hemline etc etc.
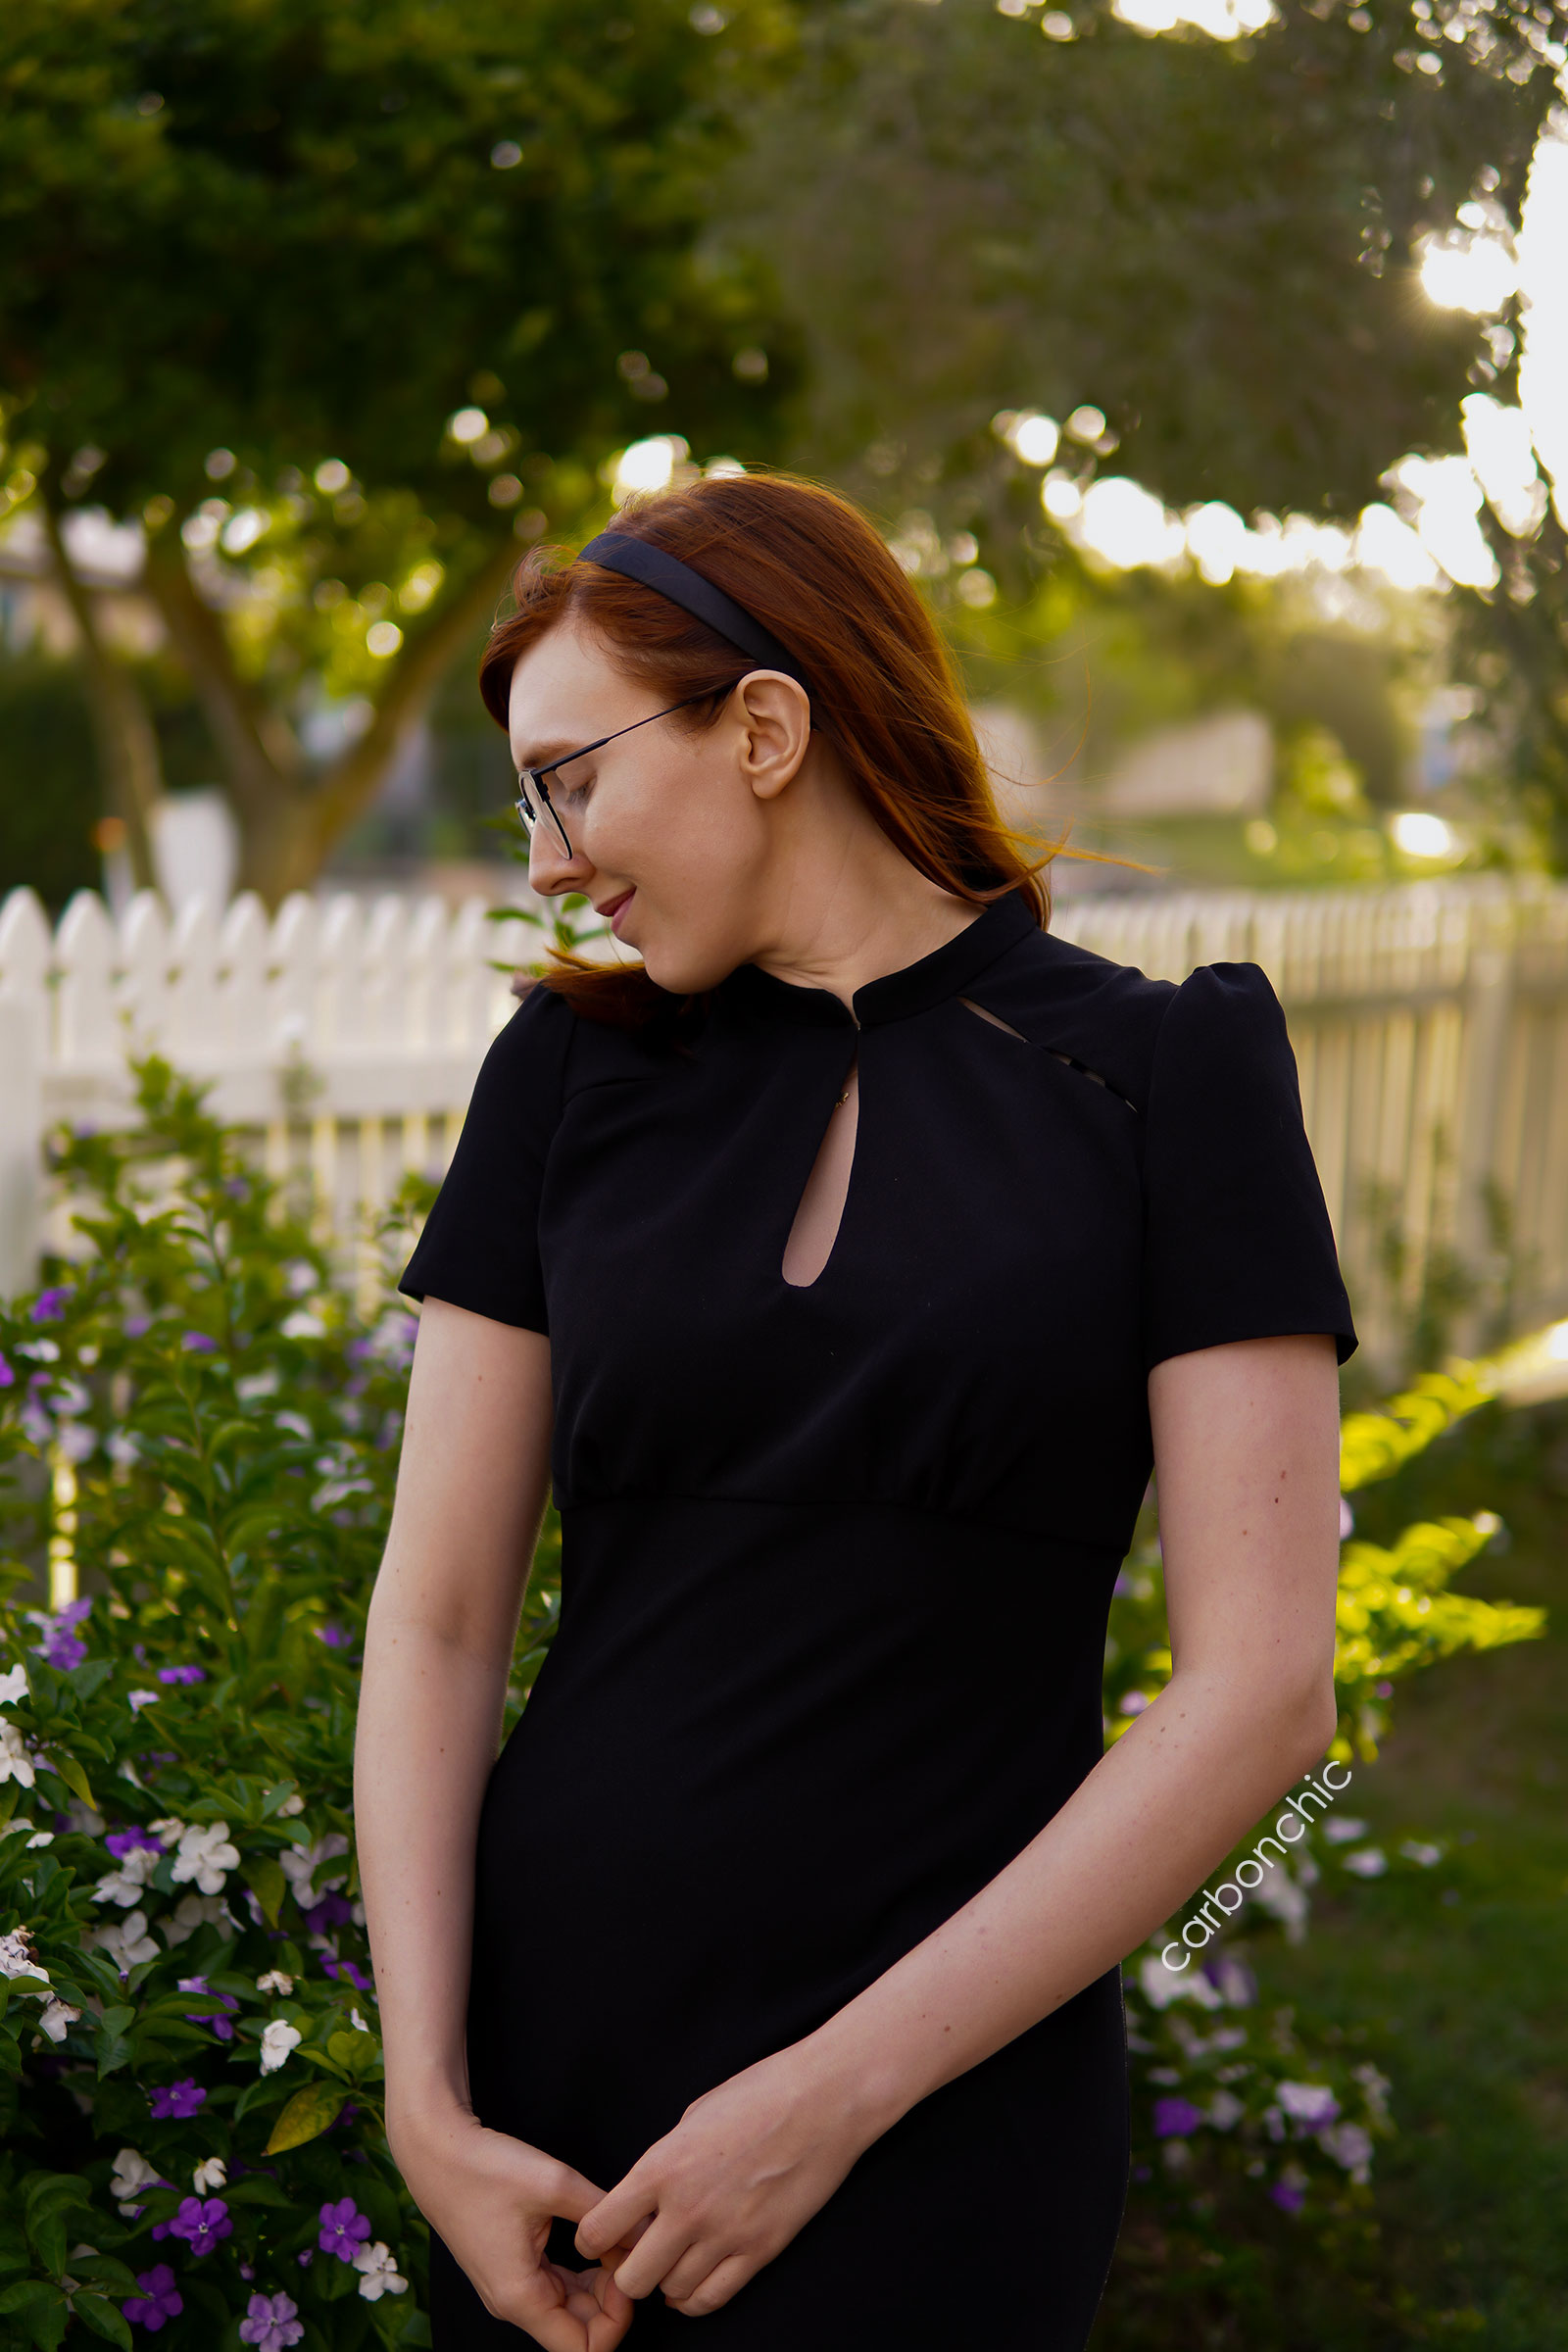
It was also my first time sewing a bias-cut skirt (circle skirts don’t count!) and that required a few drafts also because my hips are approximately four sizes larger than my waist. It was a little comical blending from the smallest size in the envelope to the largest. Yes, I said “envelope”. While the majority of this pattern was self-drafted, the skirt pieces came from McCalls 7116 (shortened, of course). I wasn’t above getting some help with my first bias-cut skirt.
Incidentally, I find that pattern has been pretty great at replicating Gertie’s famous Rita Blouse without spending an arm and a leg on it. It has the added bonus of a flat back, which has always put me off the Gertie pattern because it can get pretty blousy back there with all the gathers!
The materials
The dress itself is made from a lovely French crepe fabric that I bought for $8 per metre. It sews like a dream! It is not a dream to press though. It just refuses to hold a crease (except the crease in the bolt, which I just cut around). It only took about 1.5 metres total, including the sleeves and the bias cut skirt pieces, so I was very surprised at how economical it was.
Because I sweat like a monster, I lined it in cotton voile. Or lawn. I can’t remember which anymore, I have a bunch of it in my drawers that I line everything with. I even lined the sleeves which was EXTREMELY difficult. I had an invisible zipper laying around that was slightly too short but I guess I’m okay with pulling it over my head instead of trying to work it over my hips, whatever!
The construction
Seriously, on the note of the sleeves, I feel like I will never be able to fully communicate what I went through for this pattern to work. I will die with this work being unappreciated and written off as a simple little black dress. I want to break it down just so anyone reading this might feel my suffering even if only a little bit.

So, like, those cutouts right? The keyhole was one thing, that is just an extended neckline, nothing tricky about that. There is no shoulder seam because I merged the pattern pieces together knowing there was gonna be that divide of the side slits/cutouts. Why not combine where I can? All the pieces were lined. I had a big piece for the front that had the shoulders chopped off and the keyhole drawn in, and two mirrored pieces for the back with the longer shoulders.
I sewed the keyhole first to the lining and cut and flipped that one out, because then I had to sew the lower edge of the cutout, right sides together, so there was a nice finished edge of the cutout. I had to do the same with the back, just join the bodice and lining together at the edge of the cutouts and baste the neckline closed join the front and back bodice together but just specifically where the slits join to form an armhole and try not to go too far past that. This is very hard to explain, but I’m trying my best!

The sleeves are lined, so I had to manipulate the bodice, turn things inside out to try to avoid a mobius strip and sew sleeves on but stop just shy of the slits. I had to do this FOUR times! Then there was a little hole left where the slits were and I reached inside and sewed the outer sleeve to the bodice and I unfortunately had to slip stitch that little inch of the sleeve lining down.
It was such a miraculous feat I am surprised I was able to do it with as little hand sewing as I managed to get away with. It makes me sad that the majority of people won’t understand the absolute trickery involved to get those seams together without just hand-sewing the whole thing.
After this, I also had to reach into the bodice and sew that little join in the center of the slit, and I refused to do it by hand so I had to fit the foot of that machine into a very small area where I was essentially sewing blind just to join a tiny section of the slit.
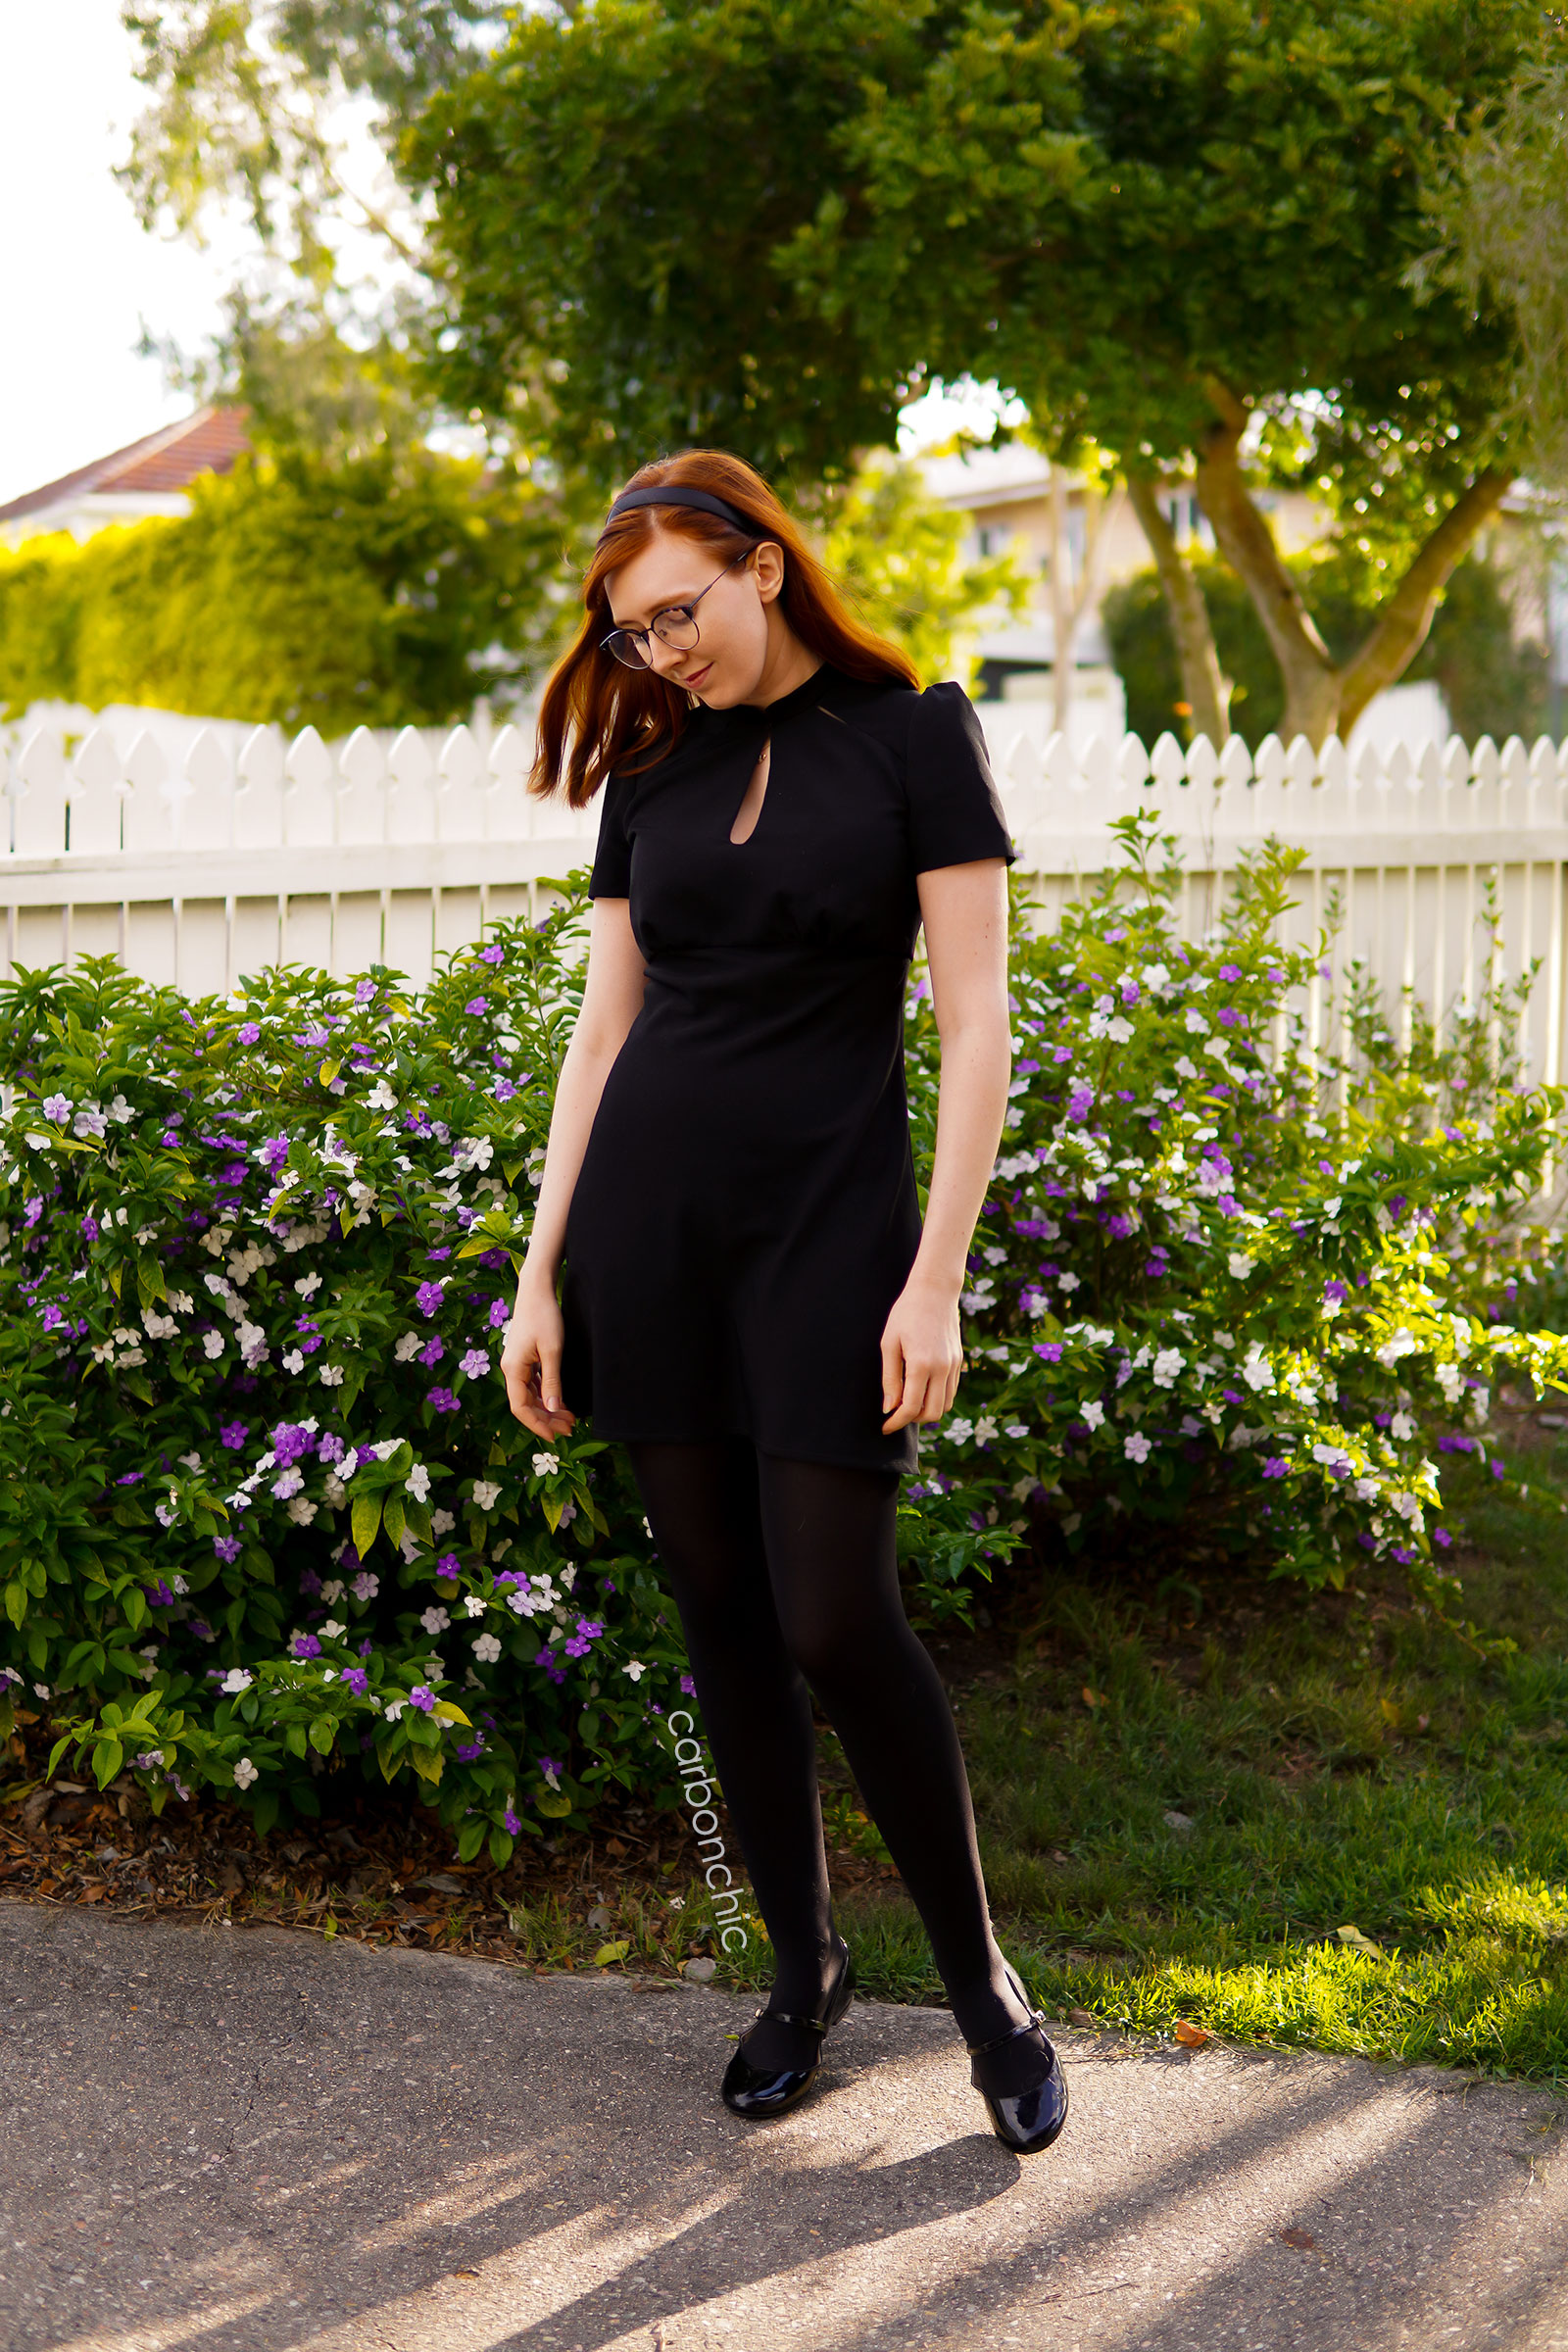
The collar also had to sandwich all of the seam allowances at the neck, similar to the way the sleeves had to (or you would see seam allowances in the slit instead of skin). So I tried to use the burrito method where I could but unfortunately most of the collar had to be hand-stitched on the inside. The fun thing about the collar is that because I wanted to enclose the zipper between the outer and the lining, I had to stop sewing at sections and treat them as separate pieces. Patterns never call to do this even when they should because it’s very complicated to communicate the concept of “sew this separately, and a few inches in, then you can sew it as one piece”. So that’s why there is so much hand-sewing going on that really isn’t necessary.
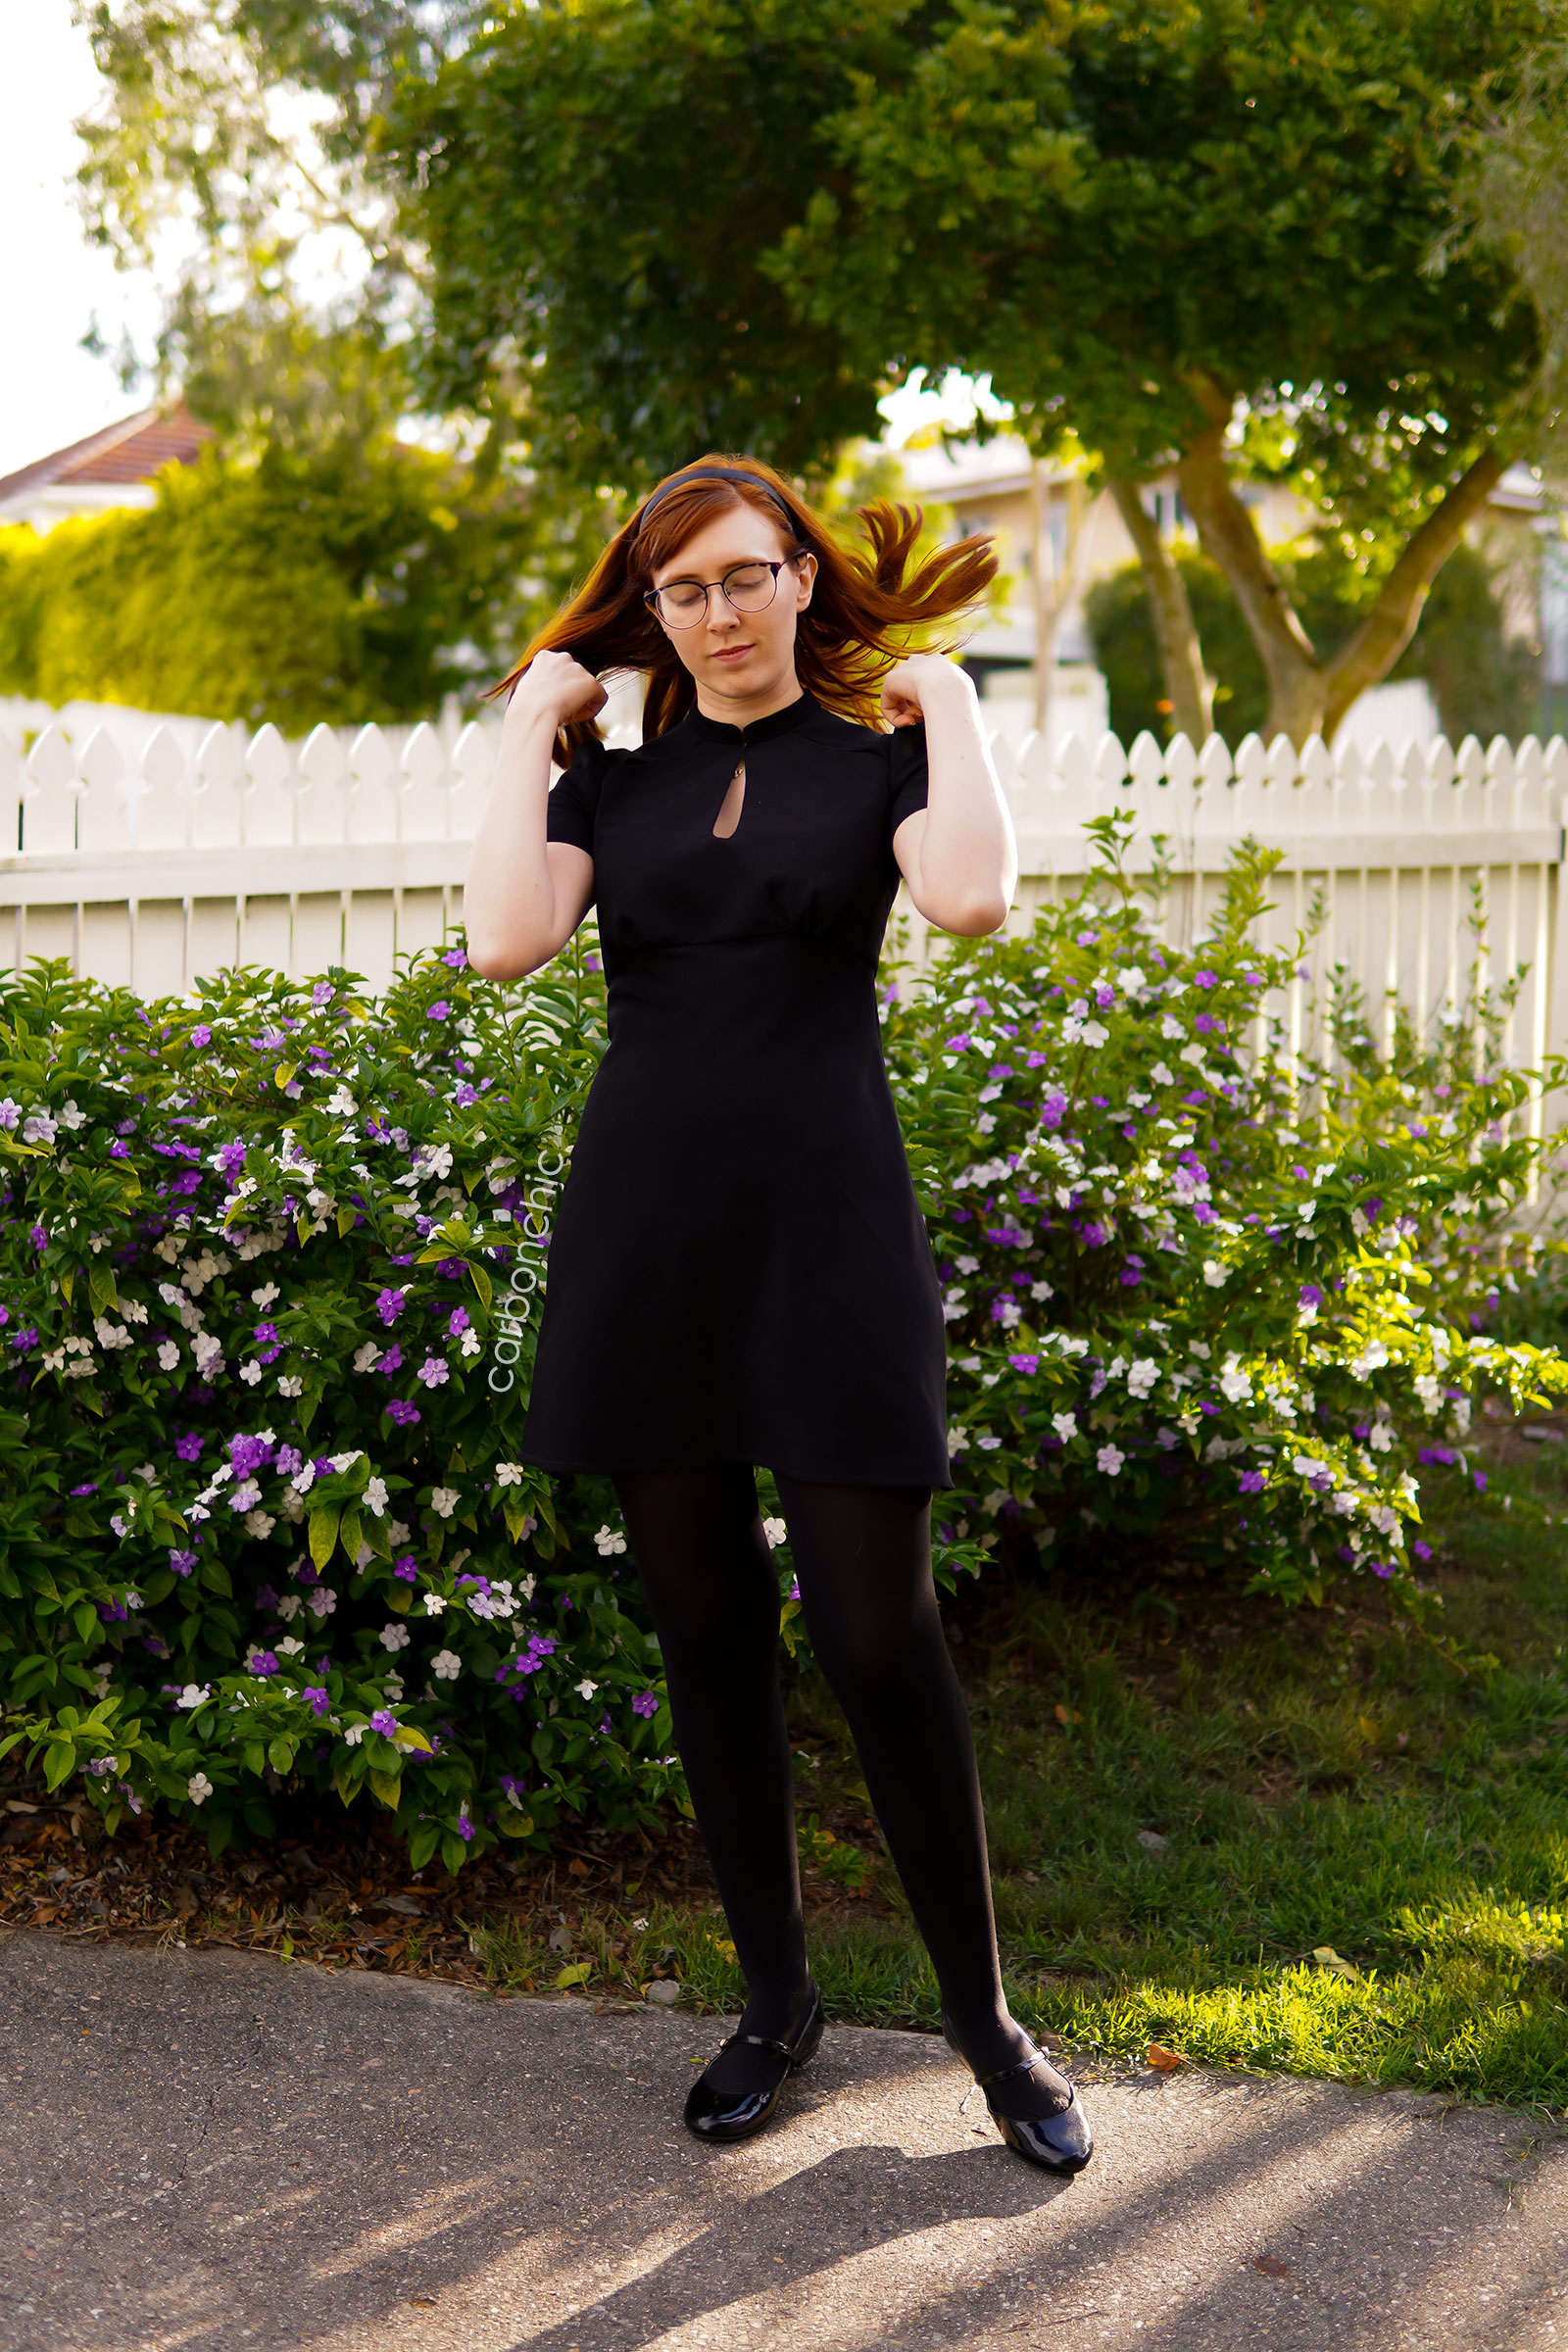
The skirt remained unlined so I had to connect them together at that underbust seam and that is honestly my one regret that I didn’t put darts in the lining instead of gathers because they’re kind of puffy and I can’t crush them into submission. That perfect hemline that you see (vaguely) is due to a little technique I’ve previously scoffed at but have well and truly been converted by–Glue basting. I leave a little stick of paper glue (it washes right out) in my sewing kit and I just turned the hem up, glued it in place, and clipped it for extra security before I sewed. I think I can officially say goodbye to slightly wavy hems and I am SO HERE FOR IT. If you haven’t tried it before and you find yourself with ripply hems no matter how much you iron, pin and offer sacrificial goats to the heavens, do yourself a favor and get a glue stick.
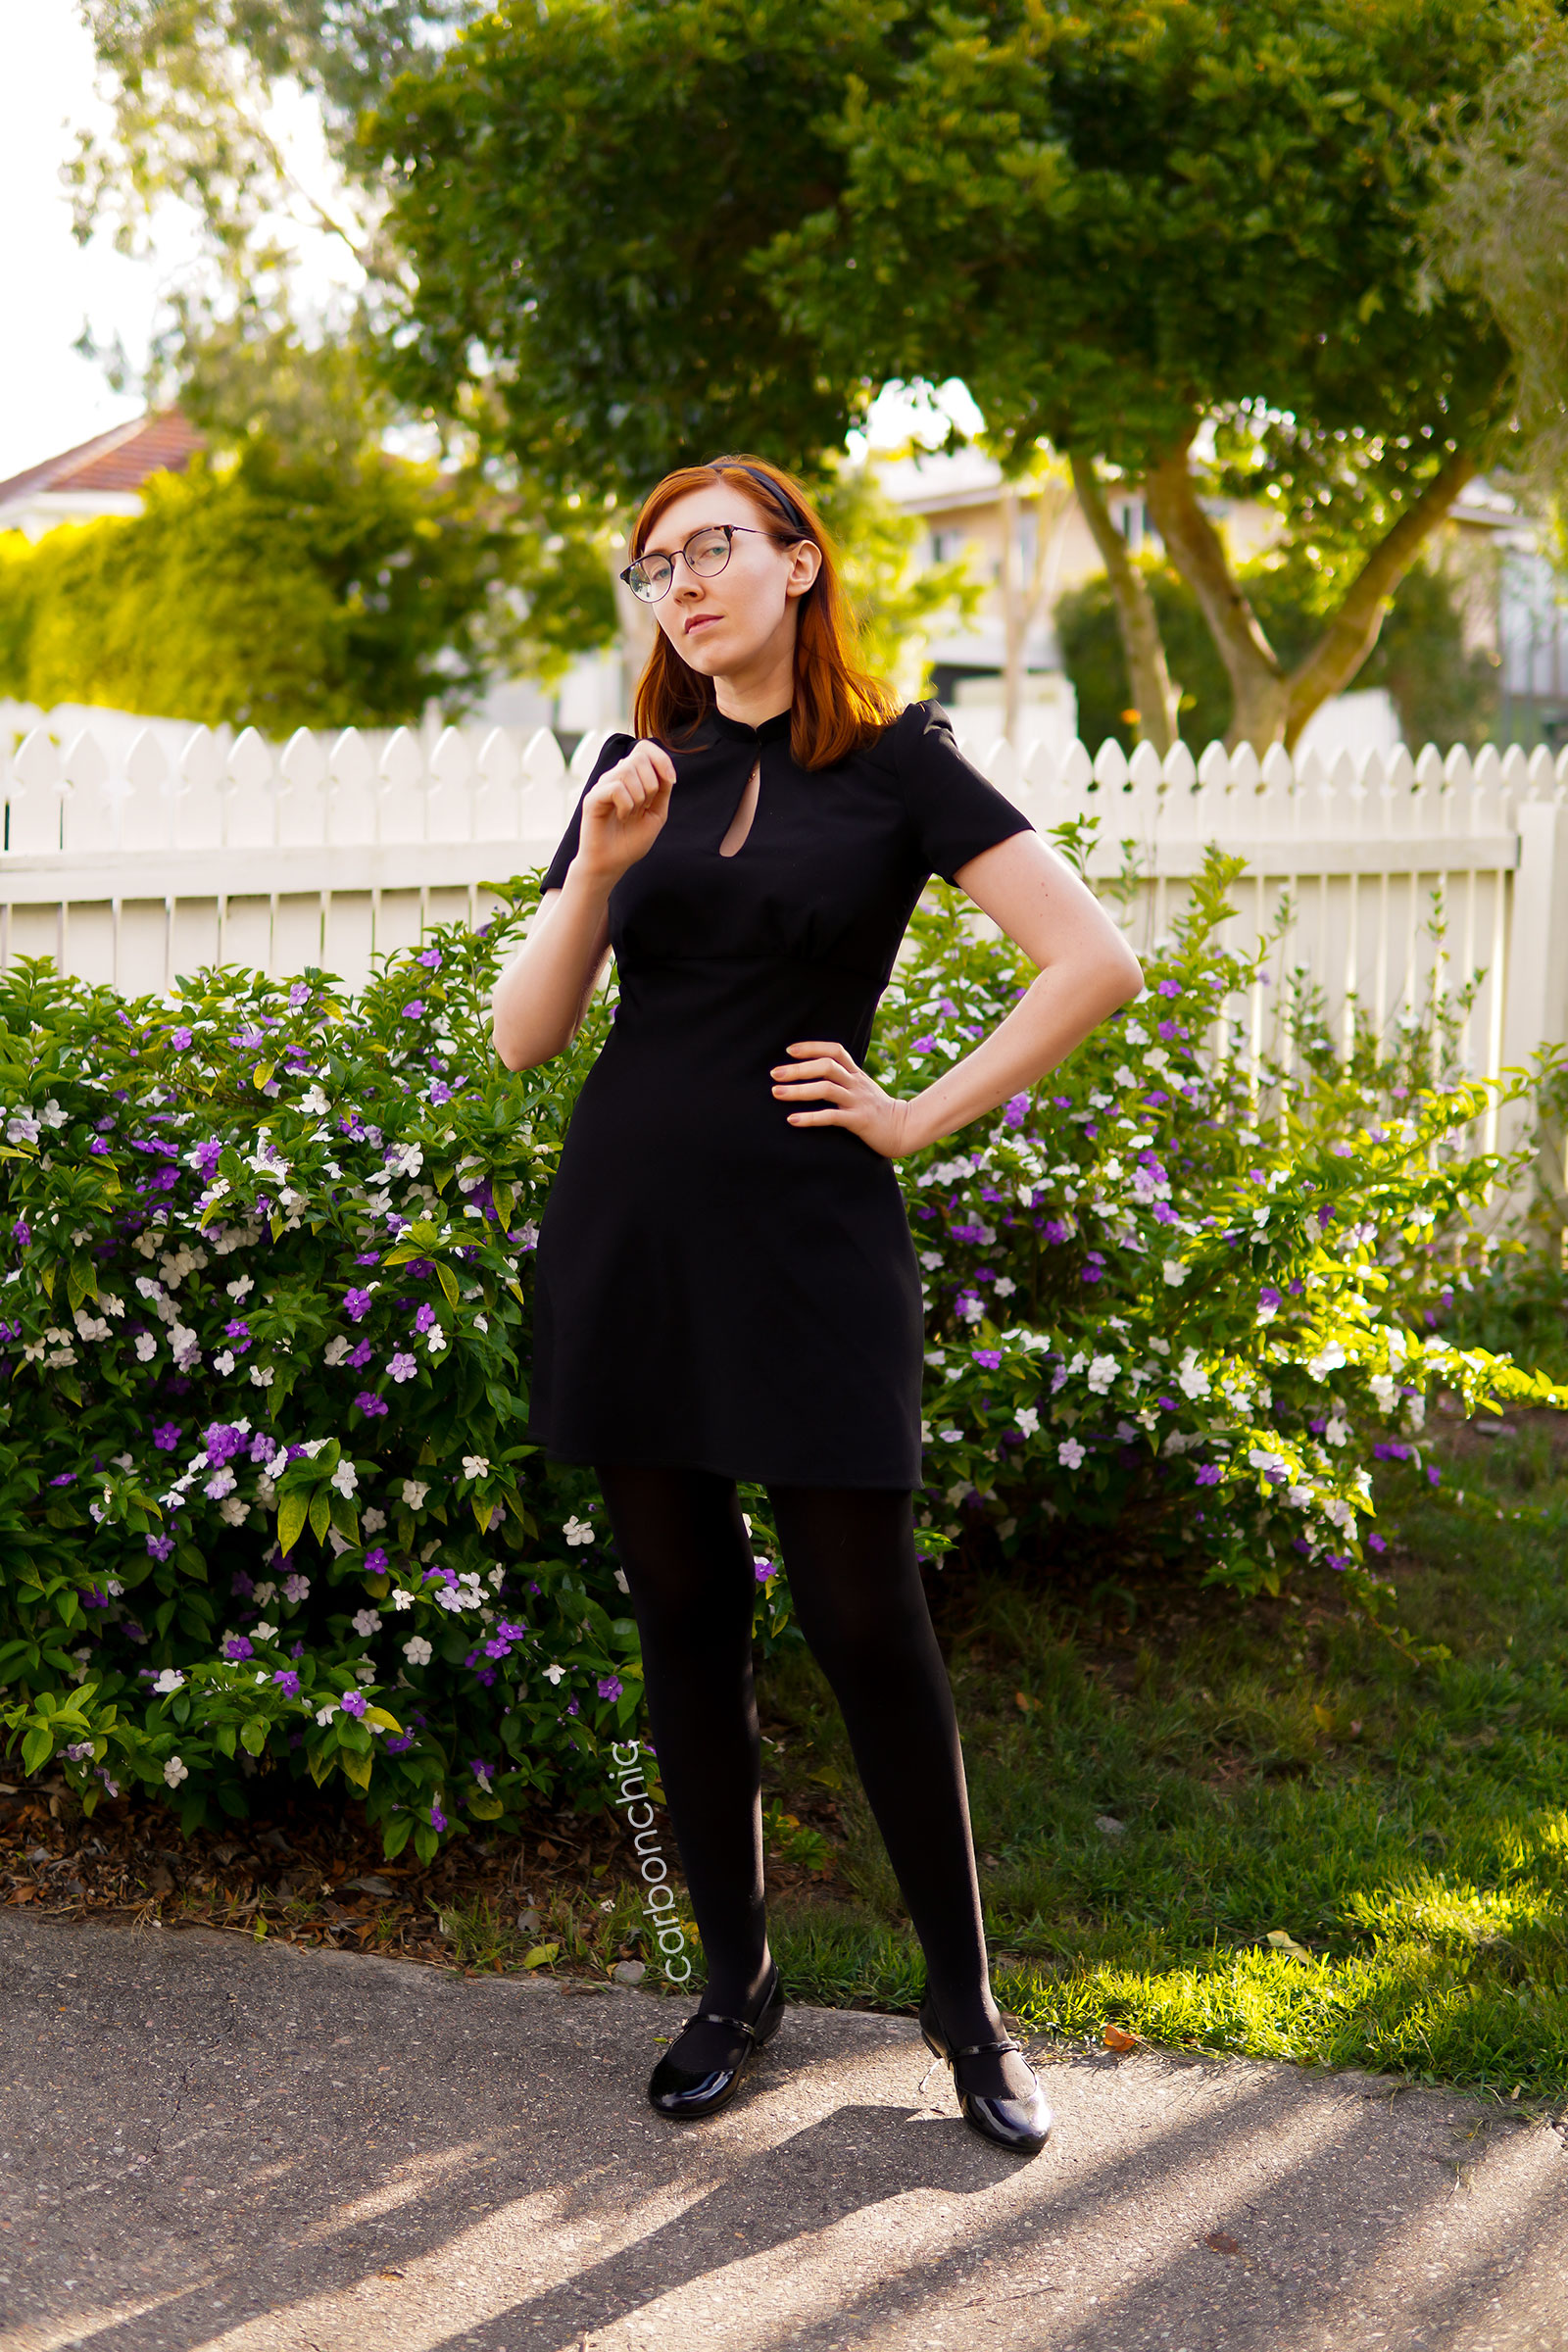
Anyways, that was entirely too wordy but it’s my blog and I can spew if I want to. The long and the short of it is that this little black dress was deceptively complicated and it’s amazing to think that after all these years of sewing I’m still learning something new (I hope you are too!).

3 Comments
Two more months and Halloween is on the way! I love Demi from the Chilling Adventures of Sabrina as well as her cute dress and hairband! I agree when you said that dress may look simple but by what you’ve shared it’s not easy to make. I admire you for taking pride of what you made and it reflected in your work! Great patternmaking.
Really cute dress – and the over-the-shoulder pattern cut looks great, and you do eliminate that extra seam allowance bulk in the collar that way.
Nice dress