")
As usual, if you’re here from Facebook, welcome! And if not, please feel free to join us in the B6413 Sewalong group and post your works in progress, finished dresses, or even if you want to complain about my crappy instructions ;) Freely use the hashtag #b6413sewalong if you don’t feel like joining yet another Facebook group.
So. The ability to sew up projects without using instructions definitely requires some prior knowledge in garment construction. I will be taking you through all the steps today as though you have a basic understanding, but you will still need some prior knowledge and the ability to be brave and Google terms and techniques you don’t understand. Google is your friend, fellow seamstress! I will try and take you through my logic as well so maybe it will assist you in putting together future projects too.
Note: I try to avoid using pins in most of my projects unless I’m trying to perfectly match my seams, and even then I sometimes prefer to use tailor tacks. So you will not see me use many of them in this tutorial, but if you’re not quite confident with where you’re at as a sewer, feel free to use them where you normally would.
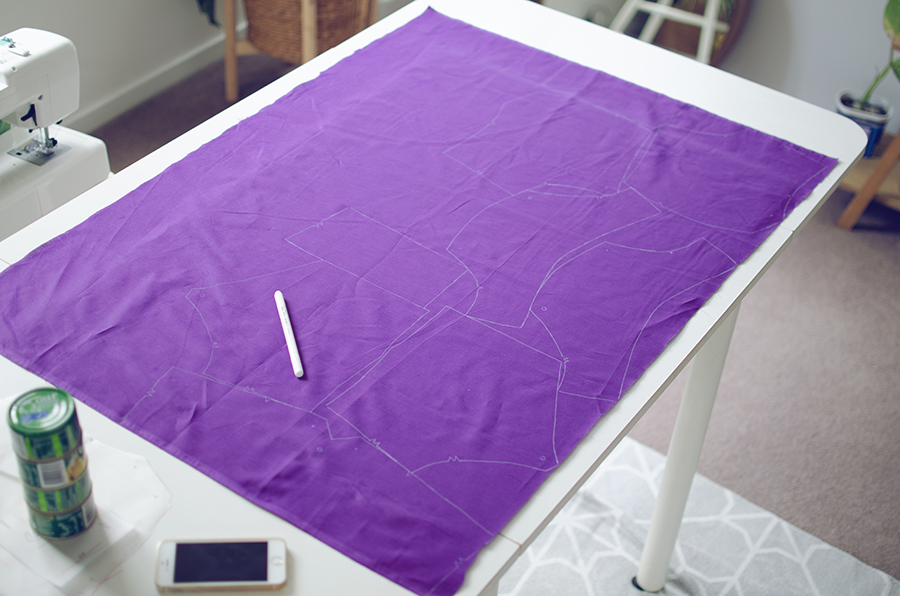
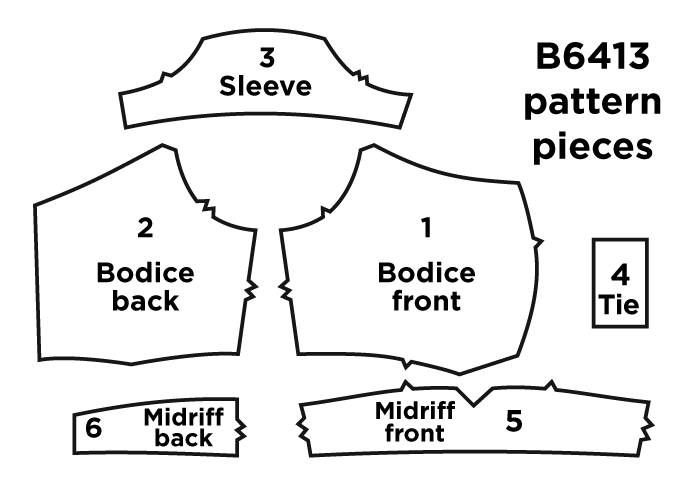
The Pieces
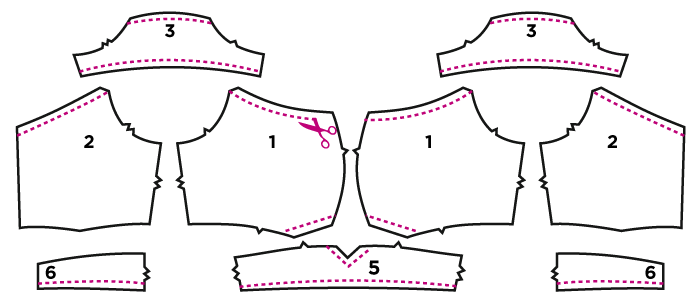
Just to remind you, here are the pieces for Butterick 6413:
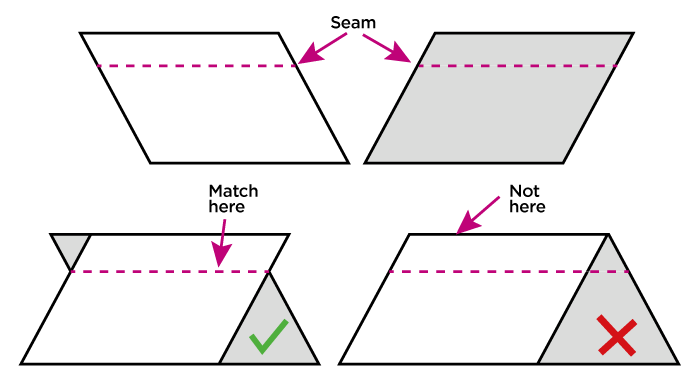
 Seams
Seams
The most important thing to remember is that you are matching your seams together, not the edges of the fabric. This is crucial. If you take away one thing from this tutorial that follows you in your future projects, it’s this. You are matching seams, not edges of the fabric. This may be really obvious to some people, but it was a game-changer for me when I figured it out so I hope it’ll be one for some of you as well.
The shell
You have a muslin that perfectly fits you, yay! If not, go back to the last lesson, what are you even doing here?
You will put together your fashion fabric in much the same manner as instructed for the muslin in the previous tutorial.
The darts
Sew up the darts first. This is generally the first step in any pattern (which has darts).
Line up the legs of the darts, right sides together and use your fingers/nails to make a crisp fold in the centre of the dart. Using your fingers to pinch the legs together, run it under your sewing machine from the seam towards the point. About an inch away from the tip of the dart, reduce your stitch length. Sew a few stitches at the very end almost parallel to the fold of the dart instead of just continuing on the angle you started with.
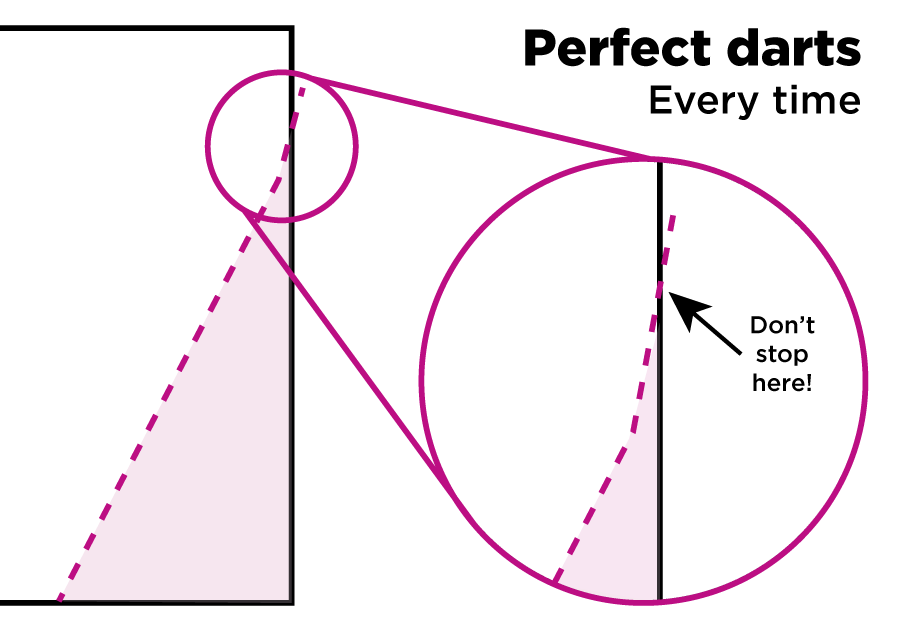
This technique, coupled with pressing the crap out of your darts (always toward the centre of your body) will help prevent bubbling at the tip of the dart.
The sleeves
Make sure you match the triangles/notches on the pattern piece. Double triangles are for the back, single triangles are for the front.
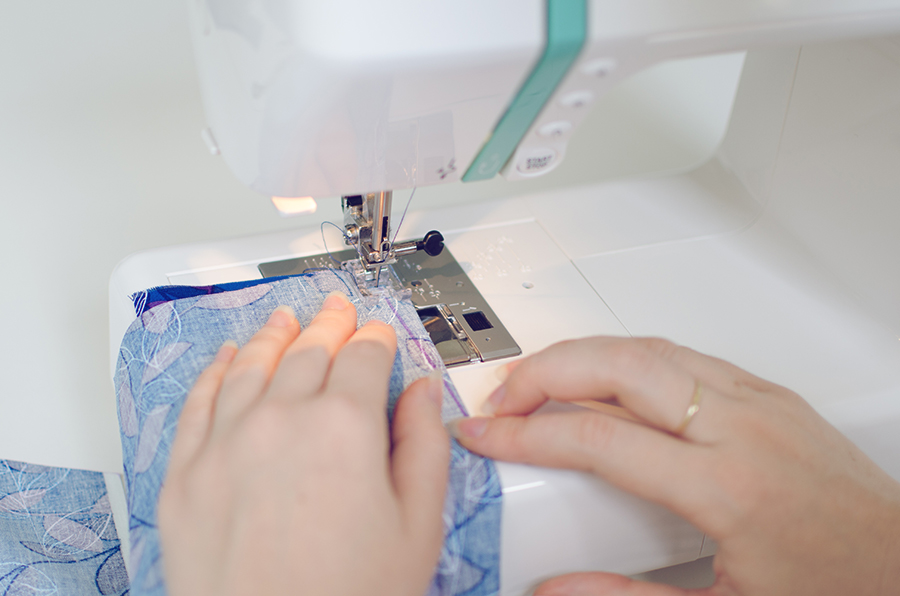
This is an easy one to practice not using pins with because the curves between the sleeve and the bodice pieces match each other pretty well, so it’s not like you’re trying to match a concave curve with a convex curve or anything that complex.

Right sides together, position both pieces under your presser foot so that the seams line up and hold the pieces together at the notches as you guide the piece through the machine. When you reach the notches, grab the end of your seams, pinch them together in place with your fingers, and continue guiding the fabric.
When you’re finished, trim the sleeve seams using your desired method.
My favourite tool for trimming seams is pinking shears. They are useful for taking the bulk out of your seams and also replacing the traditional “notching” for any curved areas (like necklines or collars) so you end up with a perfectly curved edge, every time.
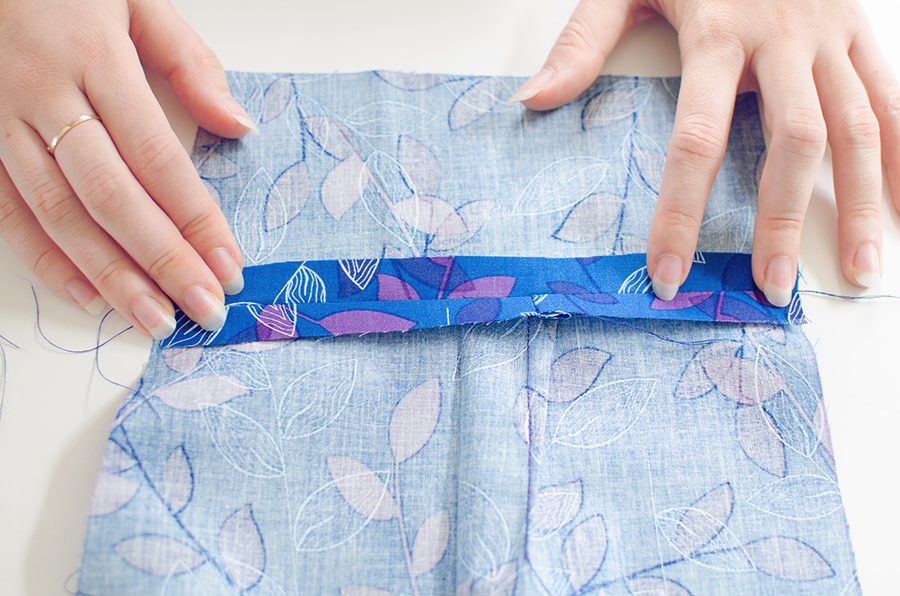
The bodice to the midriff
Start with the back of the bodice because it’s simpler.
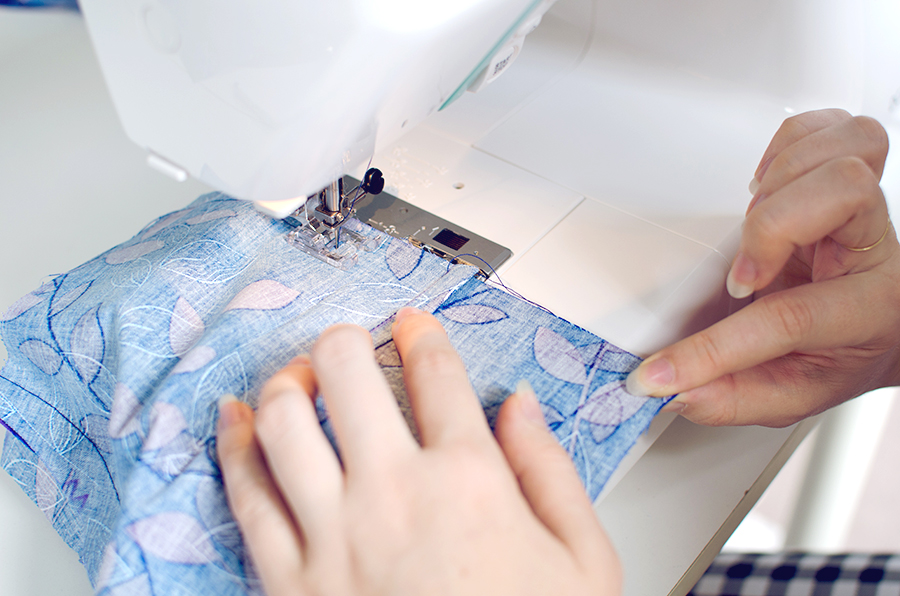
Position the fabric right sides together, seams together, under your presser foot, hold onto the other end of the seam, and run through your machine.
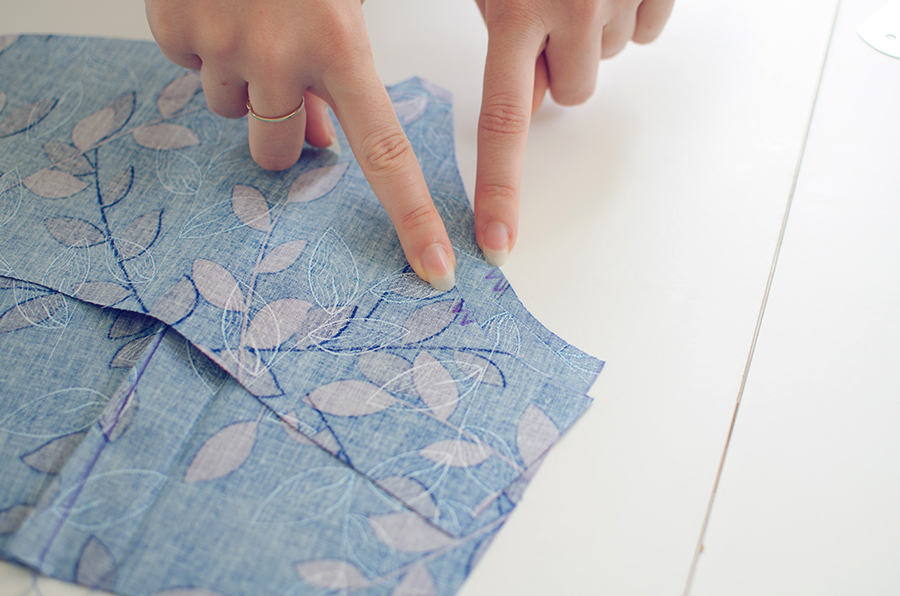
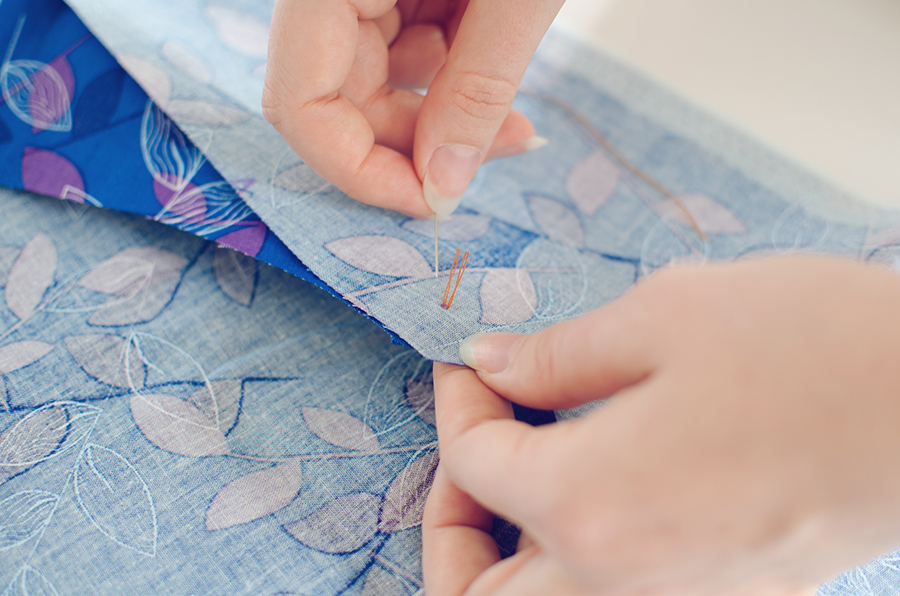
Now is the scarier part. You have to do this to the front, too. Keep in mind my mini-rant about the seams above. You can use tailor tacks to join the circles (pictured below) together where you’ve transferred these marking from the pattern.
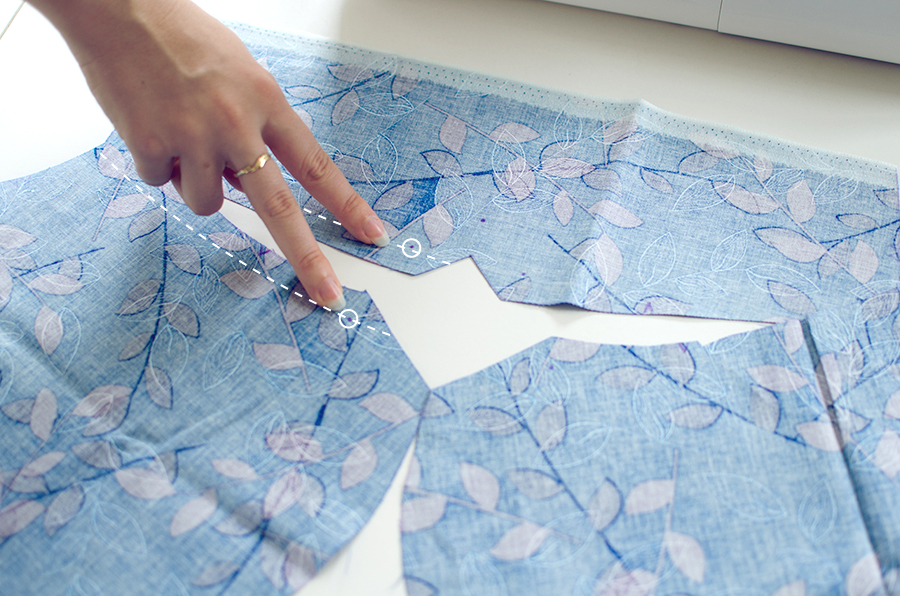
Sew all the way from one edge to the other. Press.

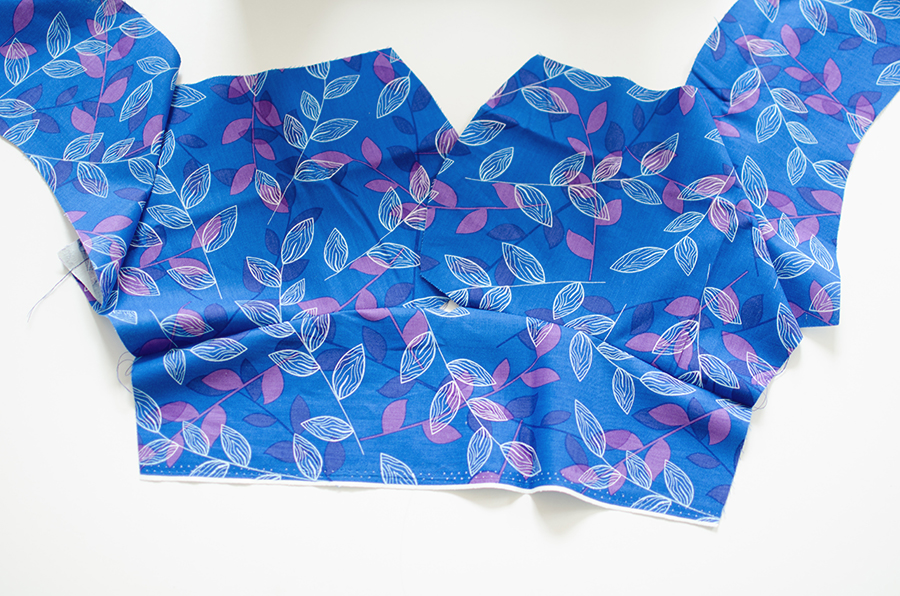
I never backstitch, much to my detriment, but it might be a good idea to do this when you get to the corners of the keyhole, because they may unravel with how much you’ll be handling the fabric.
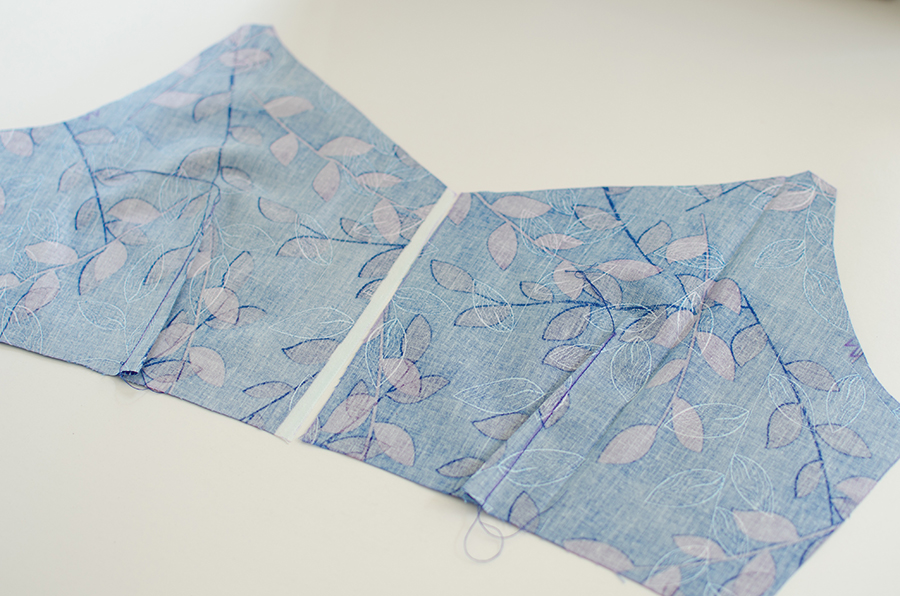
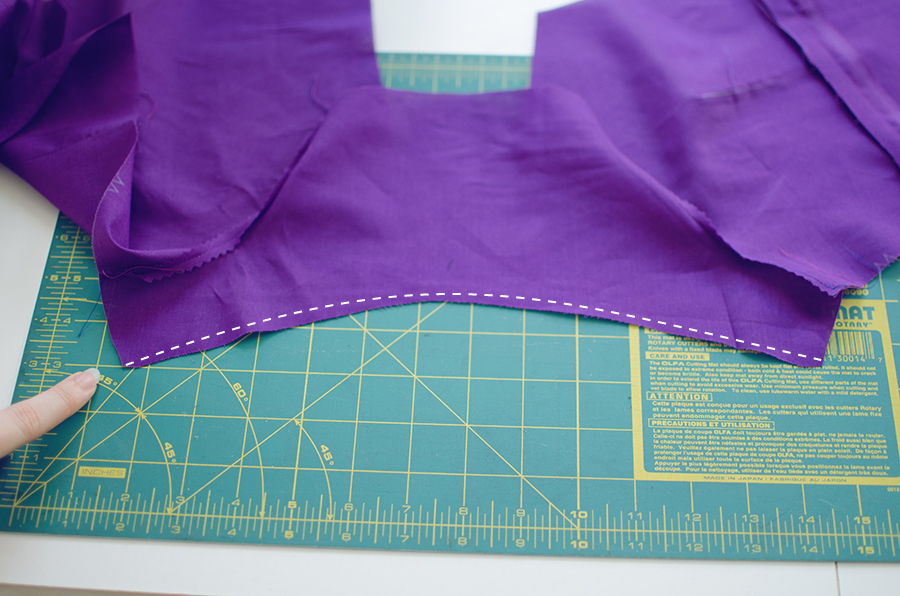
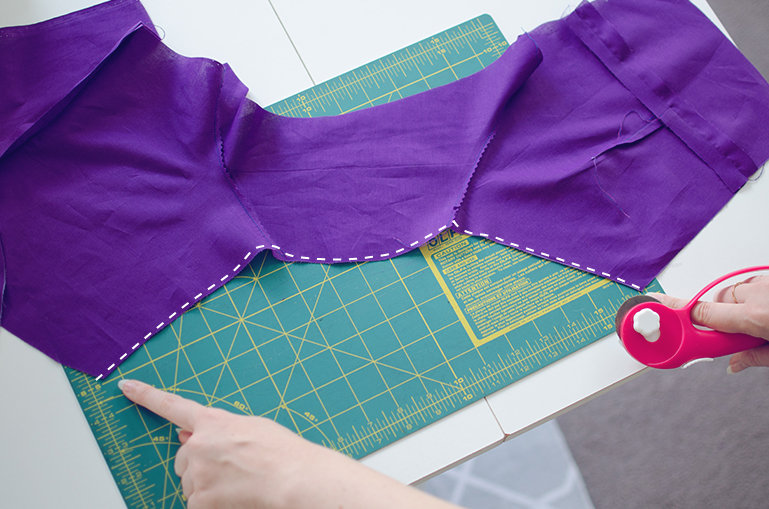
Your bodice will look mighty funny when you’re done, but if it looks like this, you’re going alright.
The bow
This is the easiest thing you’ll do yet.
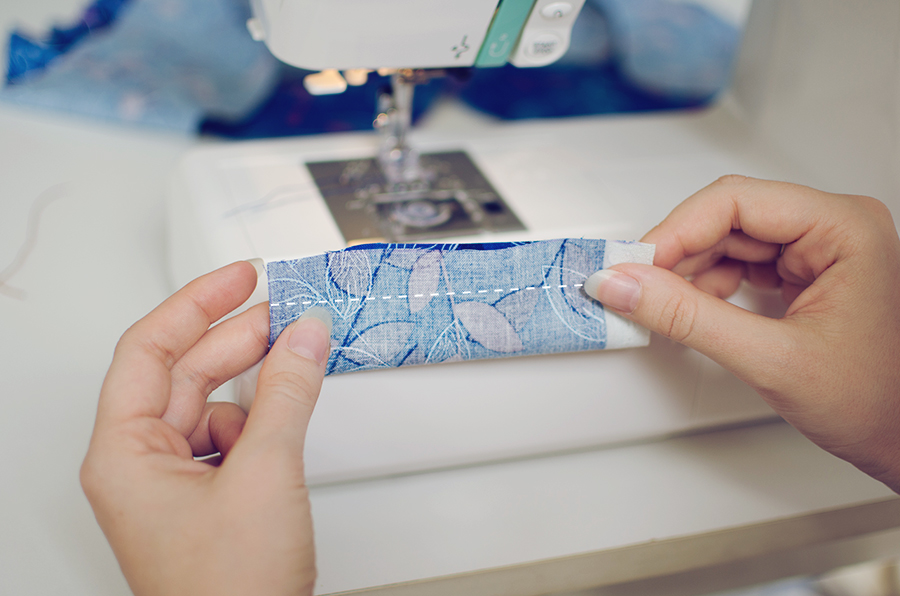
Fold your bow in half lengthwise, sew from one edge to the other using normal seam allowances. Trim the seams.
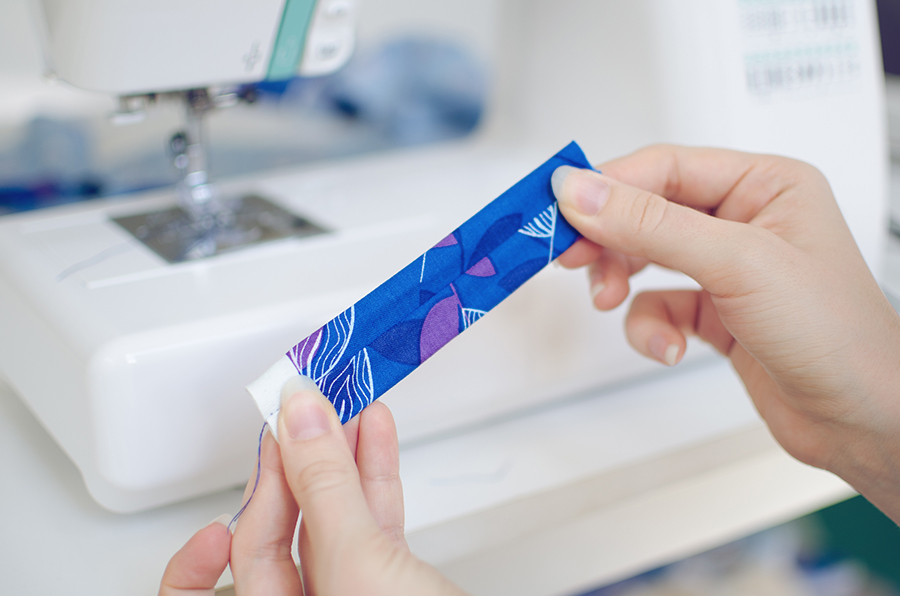
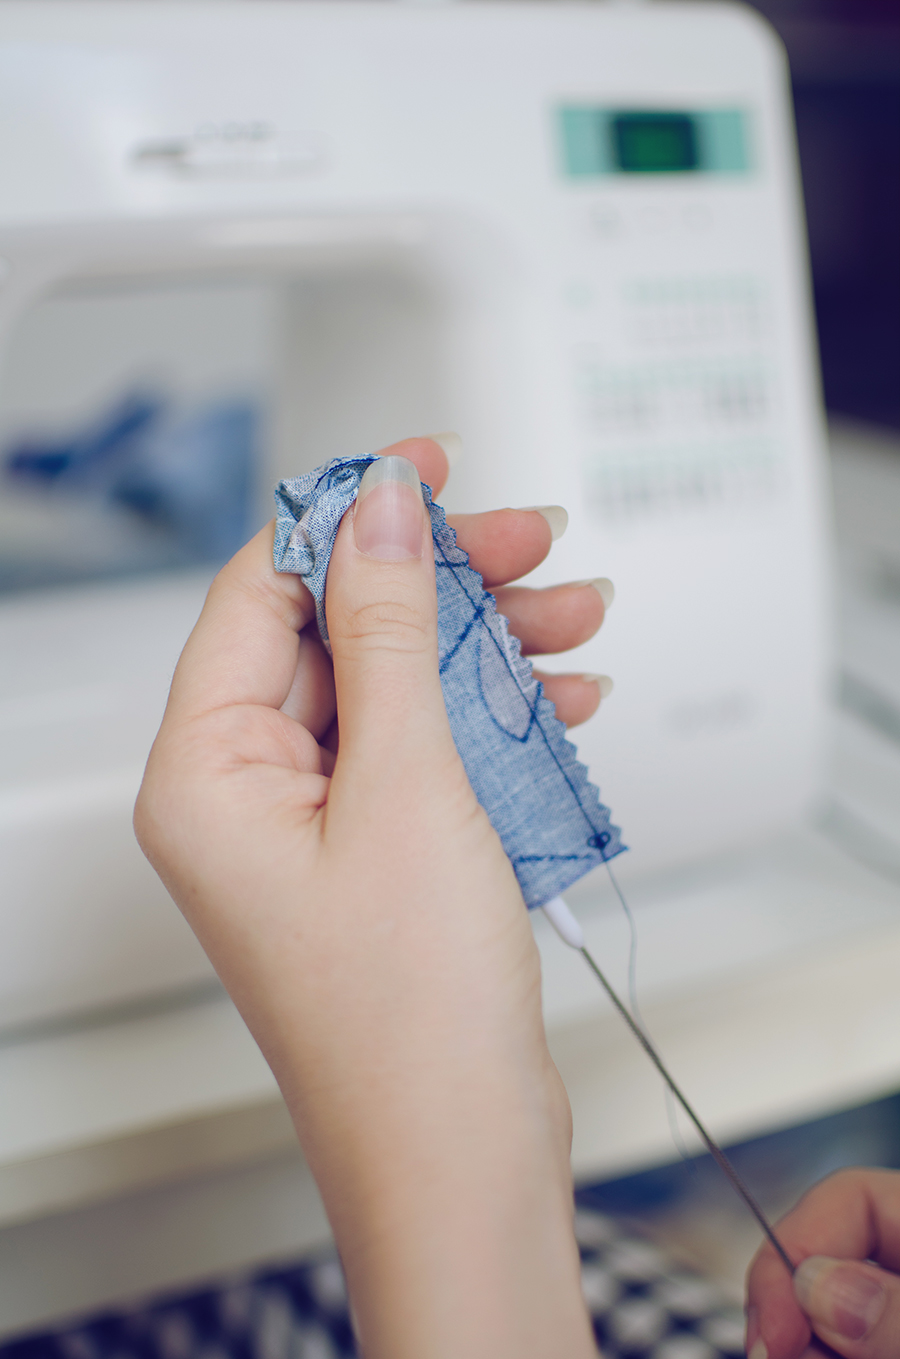 Turn it out and press with the seam along the dead centre of one side.
The lining
Sew your lining up exactly like you sewed your bodice. You should have two perfect replicas of your bodice now.
I’m taking this opportunity to throw in a few tricks of the trade into the mix with the lining, so let’s talk about turn of cloth.
Turn of cloth
This is a technique that works in a similar way to under-stitching to prevent the lining from peeking out. I don’t always remember to cut for turn of cloth, but when I do, the results are always superior. What is turn of cloth?

The theory is that when you make a lining that is a perfect replica of the outer shell (as is perfectly normal when making linings), the edges where they’re joined together are perfectly mirrored. In some cases, you can understitch and bingo bango, good enough. This can stop the lining from being visible, but sometimes, you should really go the extra mile (it’s not even really an extra mile, it’s literally one added step).
Turn of cloth can be especially troublesome to ignore when you are sewing coats. Modern patterns do not account for turn of cloth. Ignoring turn of cloth in some garments can immediately turn the most meticulously-sewn garments into amateurish looks. Even some retailers miss it sometimes. Have you ever seen the below (red) on a coat you own?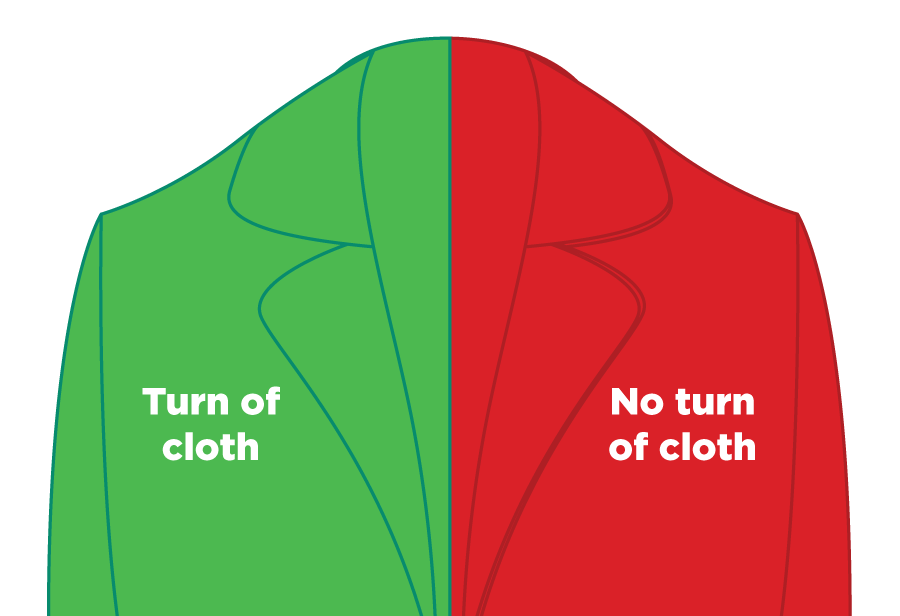
If you’re anything like me, you won’t be able to unsee it now that you know what causes it.
The rule of thumb is if you don’t want it to show, cut it smaller where you don’t want it showing.
I’m reusing the diagram from the first part of the sewalong because conveniently, these are the places you want to trim in your lining. I will repeat, you’re cutting your lining pieces only.
DO NOT CUT OFF THE SEAM ALLOWANCES. You are trimming, not cutting, so don’t take off more than 4mm (1/8 inch) from your lining pieces at the above points.

For other projects, this number won’t always be consistent; for thicker fabrics you will have to cut more off, and with thinner fabrics, less. I’m going to assume you’re using a medium/light-weight fabric.
I like to do this step after I finish sewing everything together but you could just as easily do it before, just don’t forget the pieces you’ve already trimmed.
After trimming, your seams between the lining and the shell won’t match up anymore. That’s fine, you’re fine. When you sew your lining to your shell, always have the shell against the feed dogs so they can do their job and ease your fashion fabric in. So to recap: The longer seam (shell) is against the feed dogs of your machine, and the shorter seam (lining) is touching your presser foot. You should do this whenever you have to ease anything (not just lining), be it princess seams or set-in sleeves.
But we’re getting ahead of ourselves. Joining the bodice to the lining will be the entire focus of the next lesson next week. Stay tuned…