We can all feel a little bit blue sometimes. Some of us seemingly feel it harder than others. Whether you’re blue in the clinical sense or not, most people can empathize! Over the last few months, I feel like it’s been hitting me particularly hard and that’s why it’s been so hard to keep up with this blog. Who knows if anyone is still reading it anyways?
I mean, I hope someone is still reading. At some level I do like sharing my work online. Nothing makes you feel more powerful than sharing a skill you enjoy both enjoy and excel in with others, especially if they also share those traits! I guess that’s why I’m here.
It doesn’t completely take away the blue, but here’s hoping the medication will solve part of that equation. It’s helping a little bit, at least. I am certainly very productive, even if the blog doesn’t have anything to show for it.
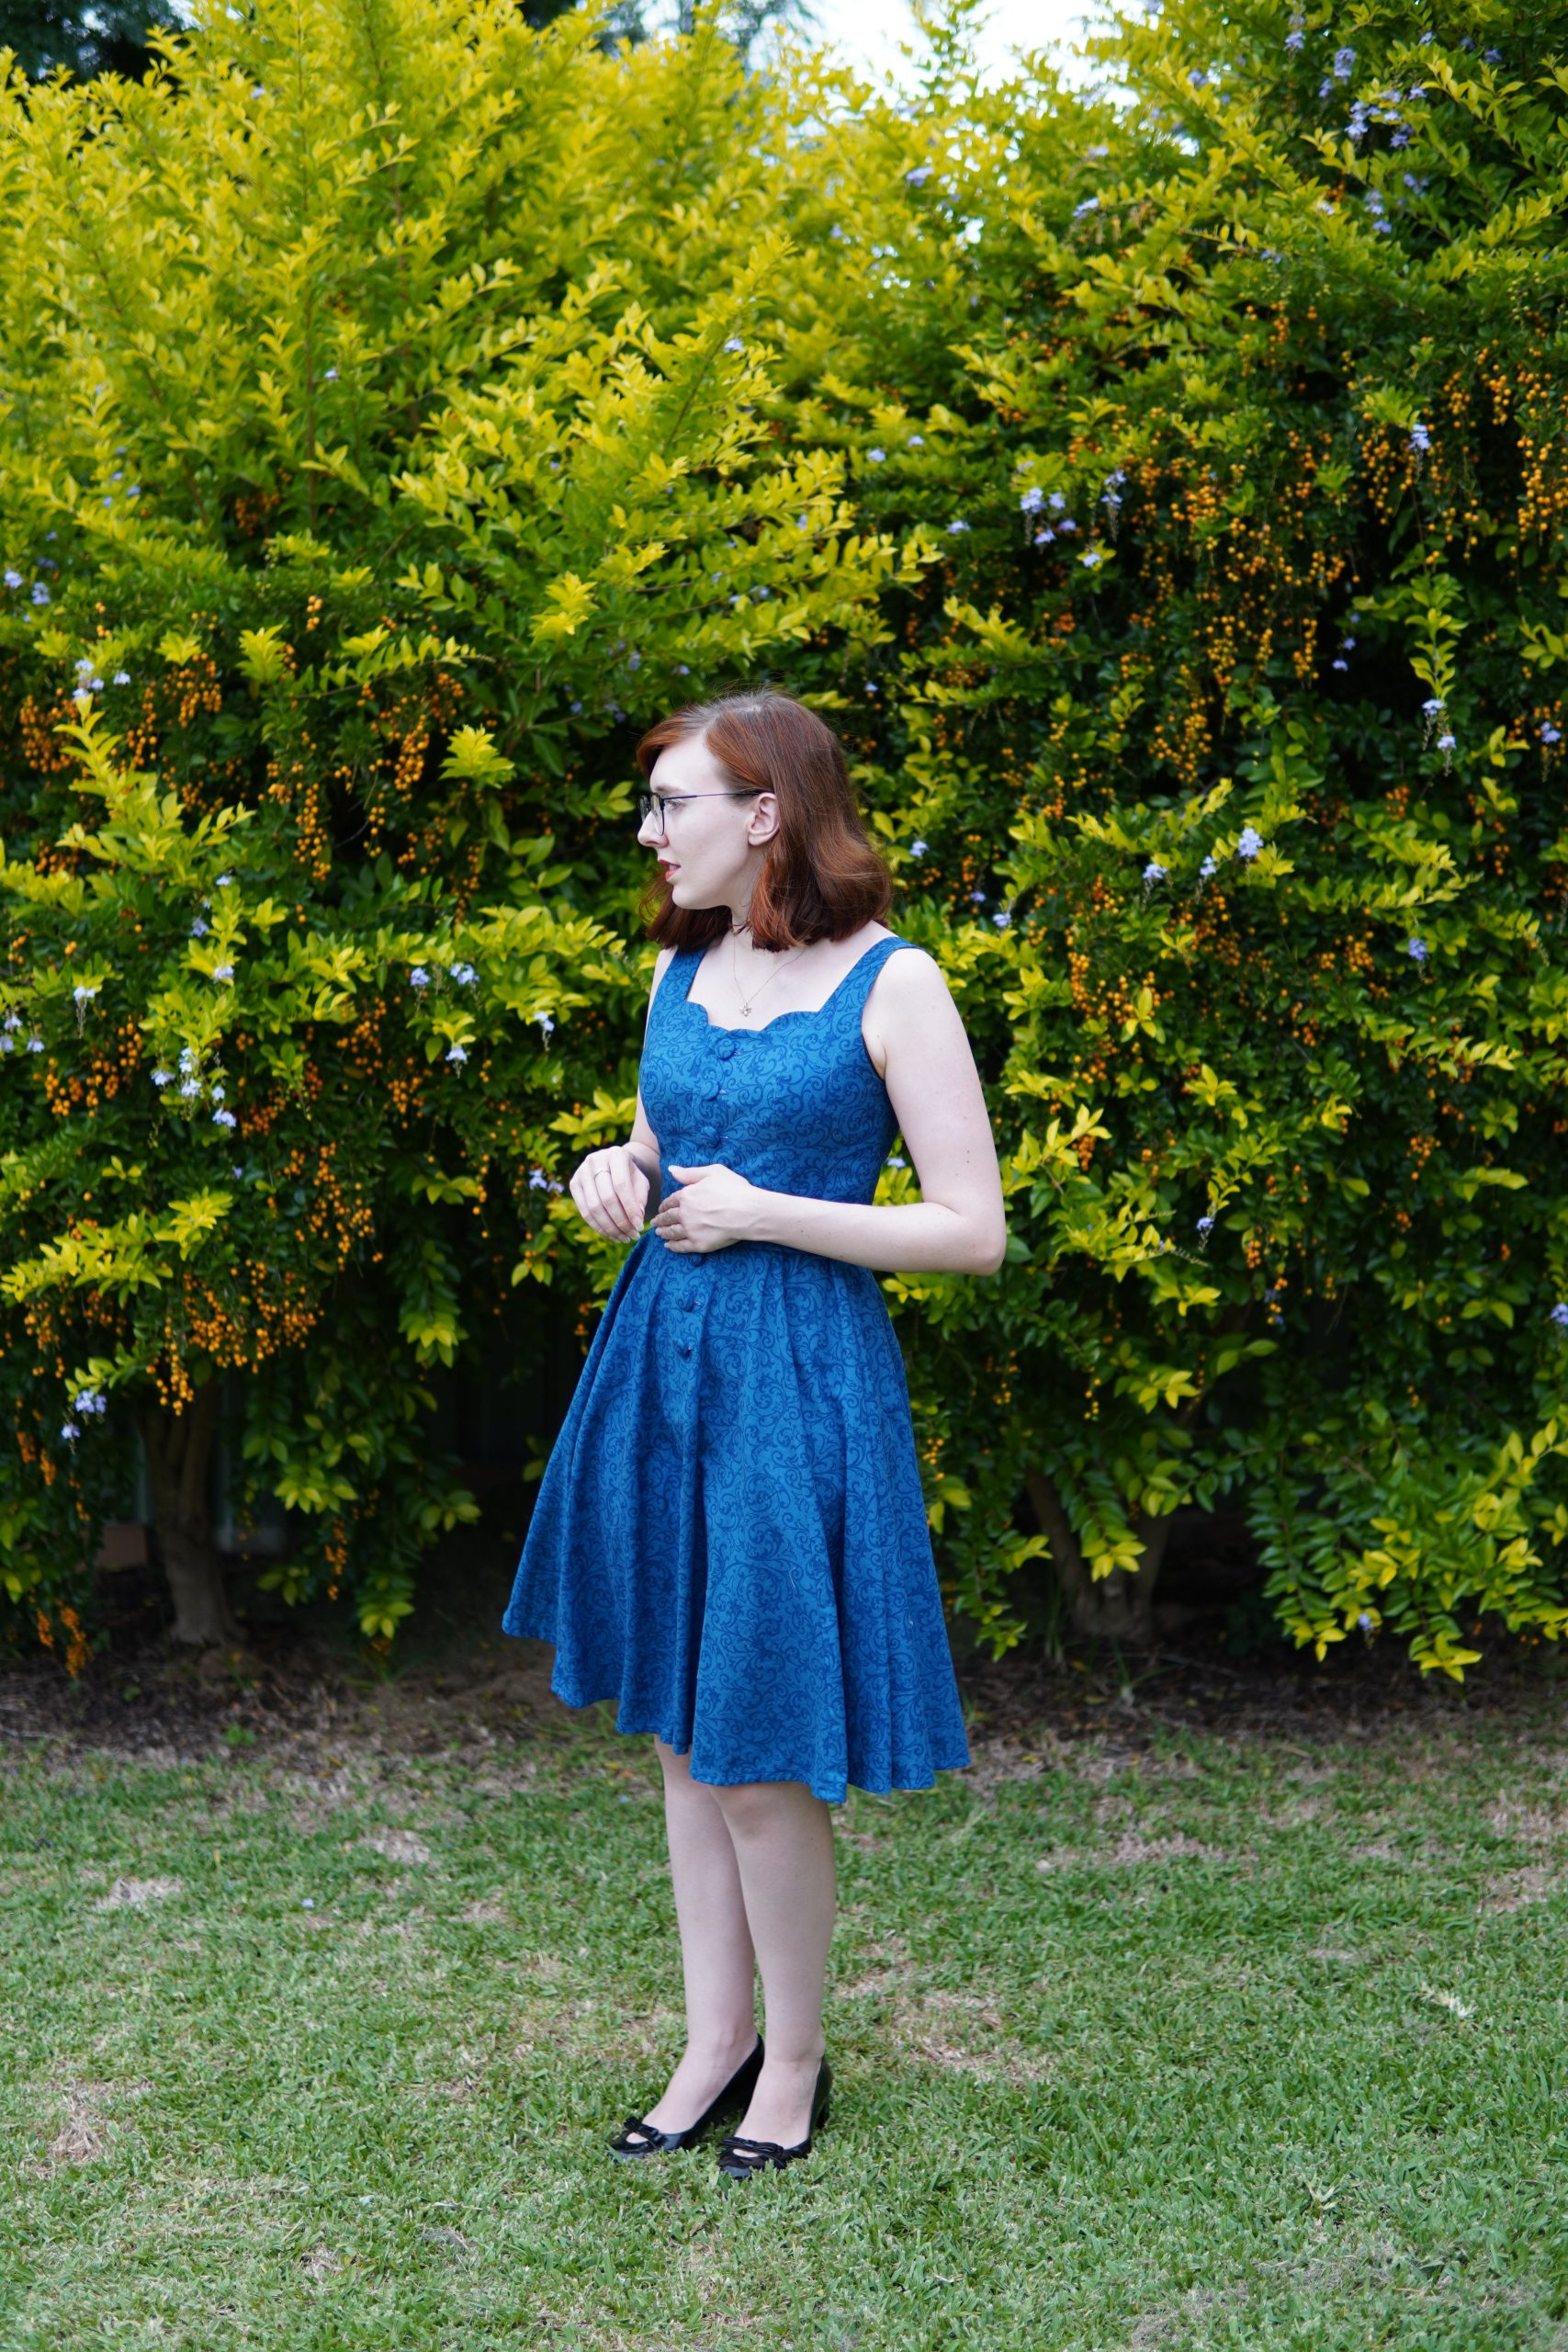
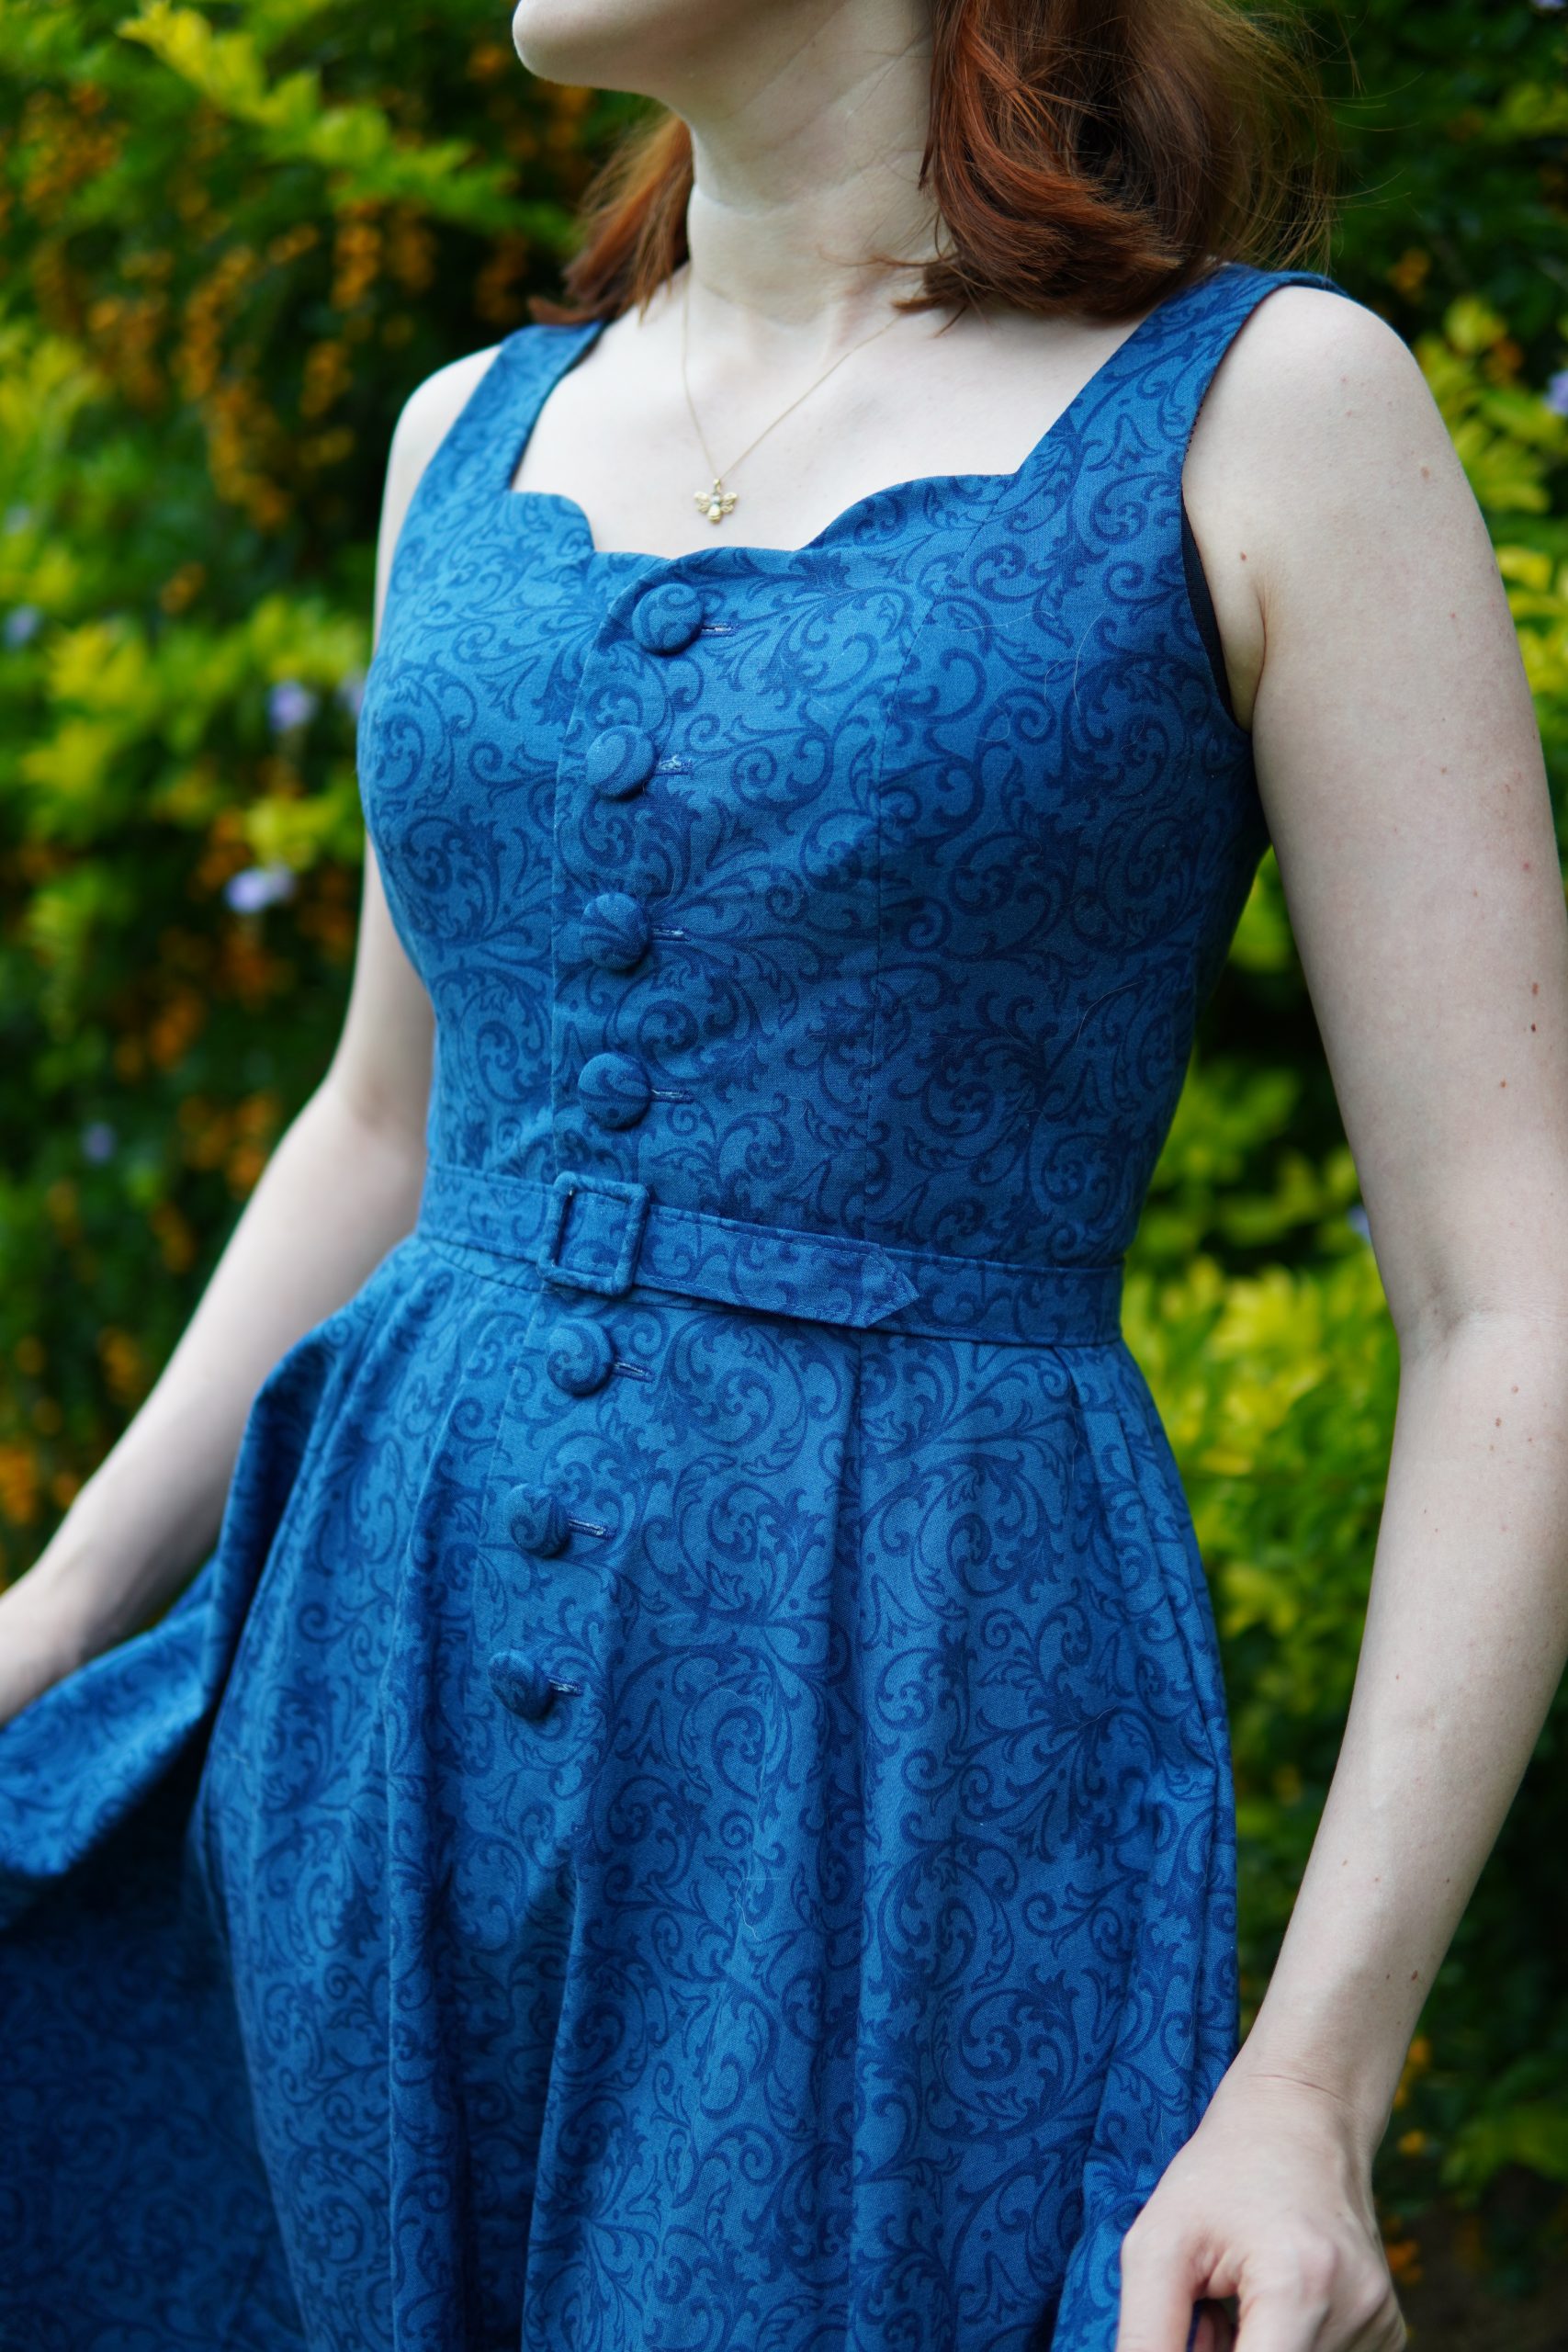
This is a dress I made almost directly after the previous post, having suddenly grown an obsession with buttons and the automatic buttonhole feature on my modern Janome. That belt was something else. I was dissatisfied with tutorials on the web on how to create these covered buckles because it left raw fabric at the corners where you had to snip in to fold it into the corner so I devised my own method. I really have to start documenting this stuff.
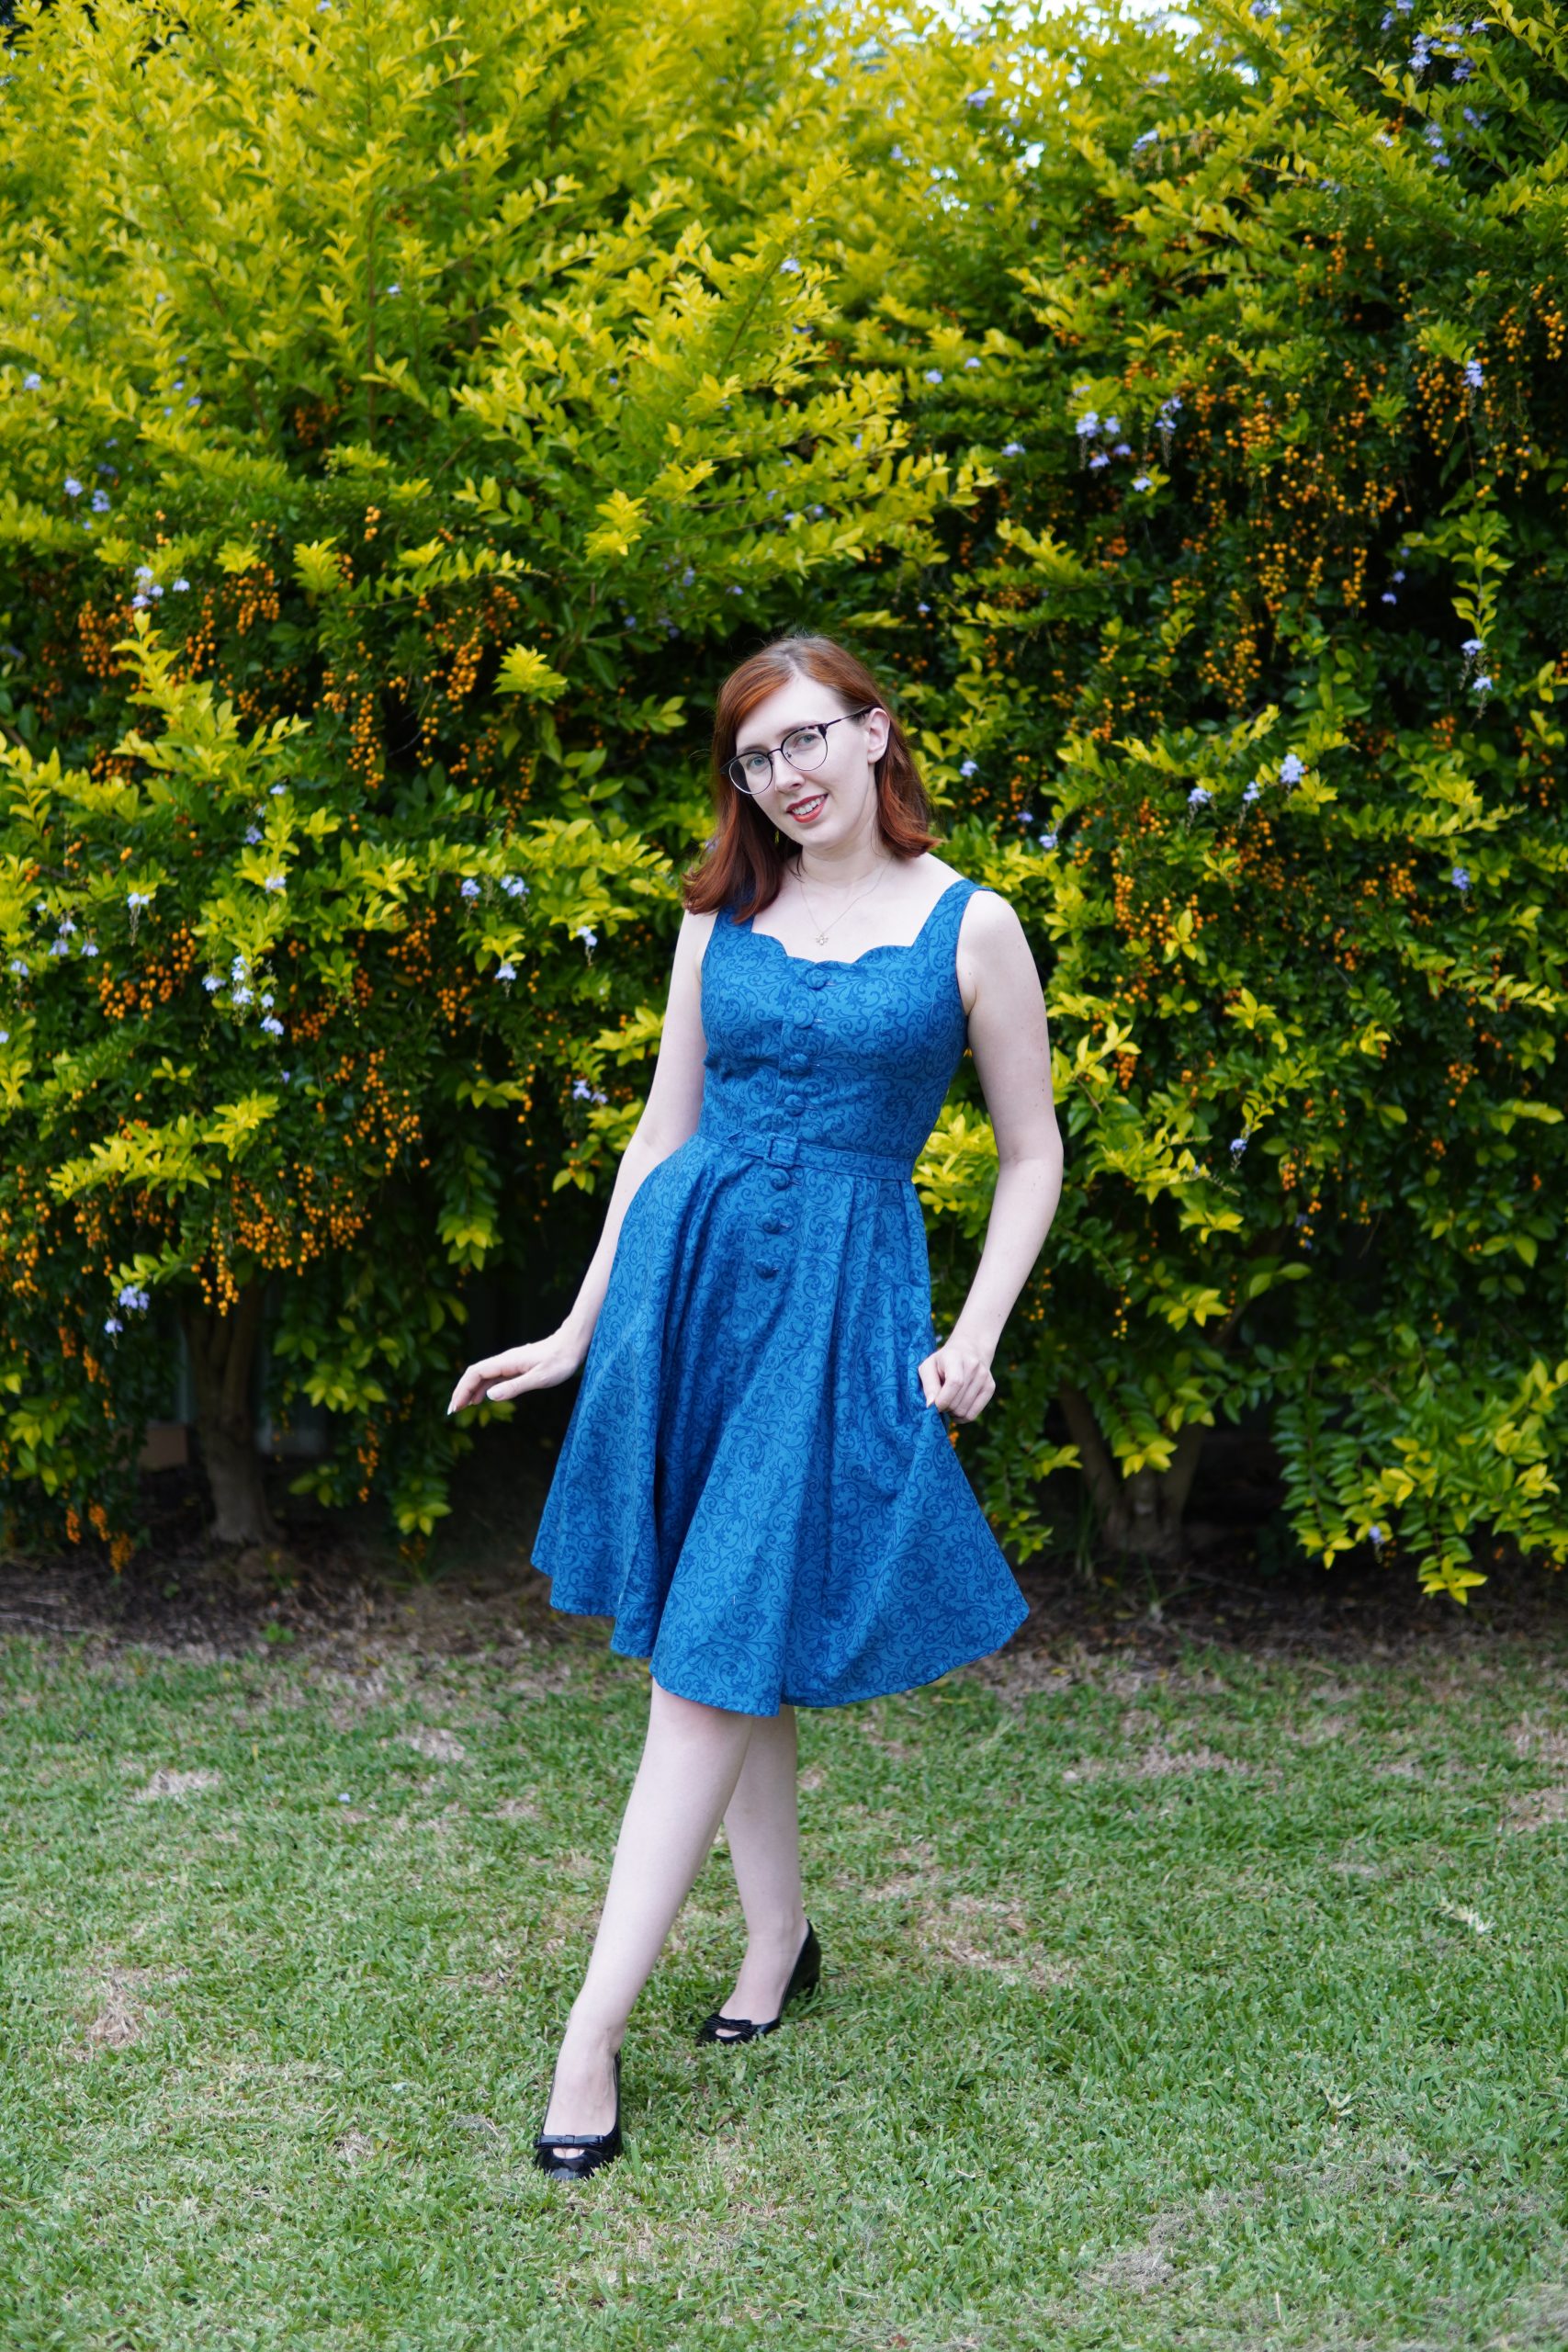
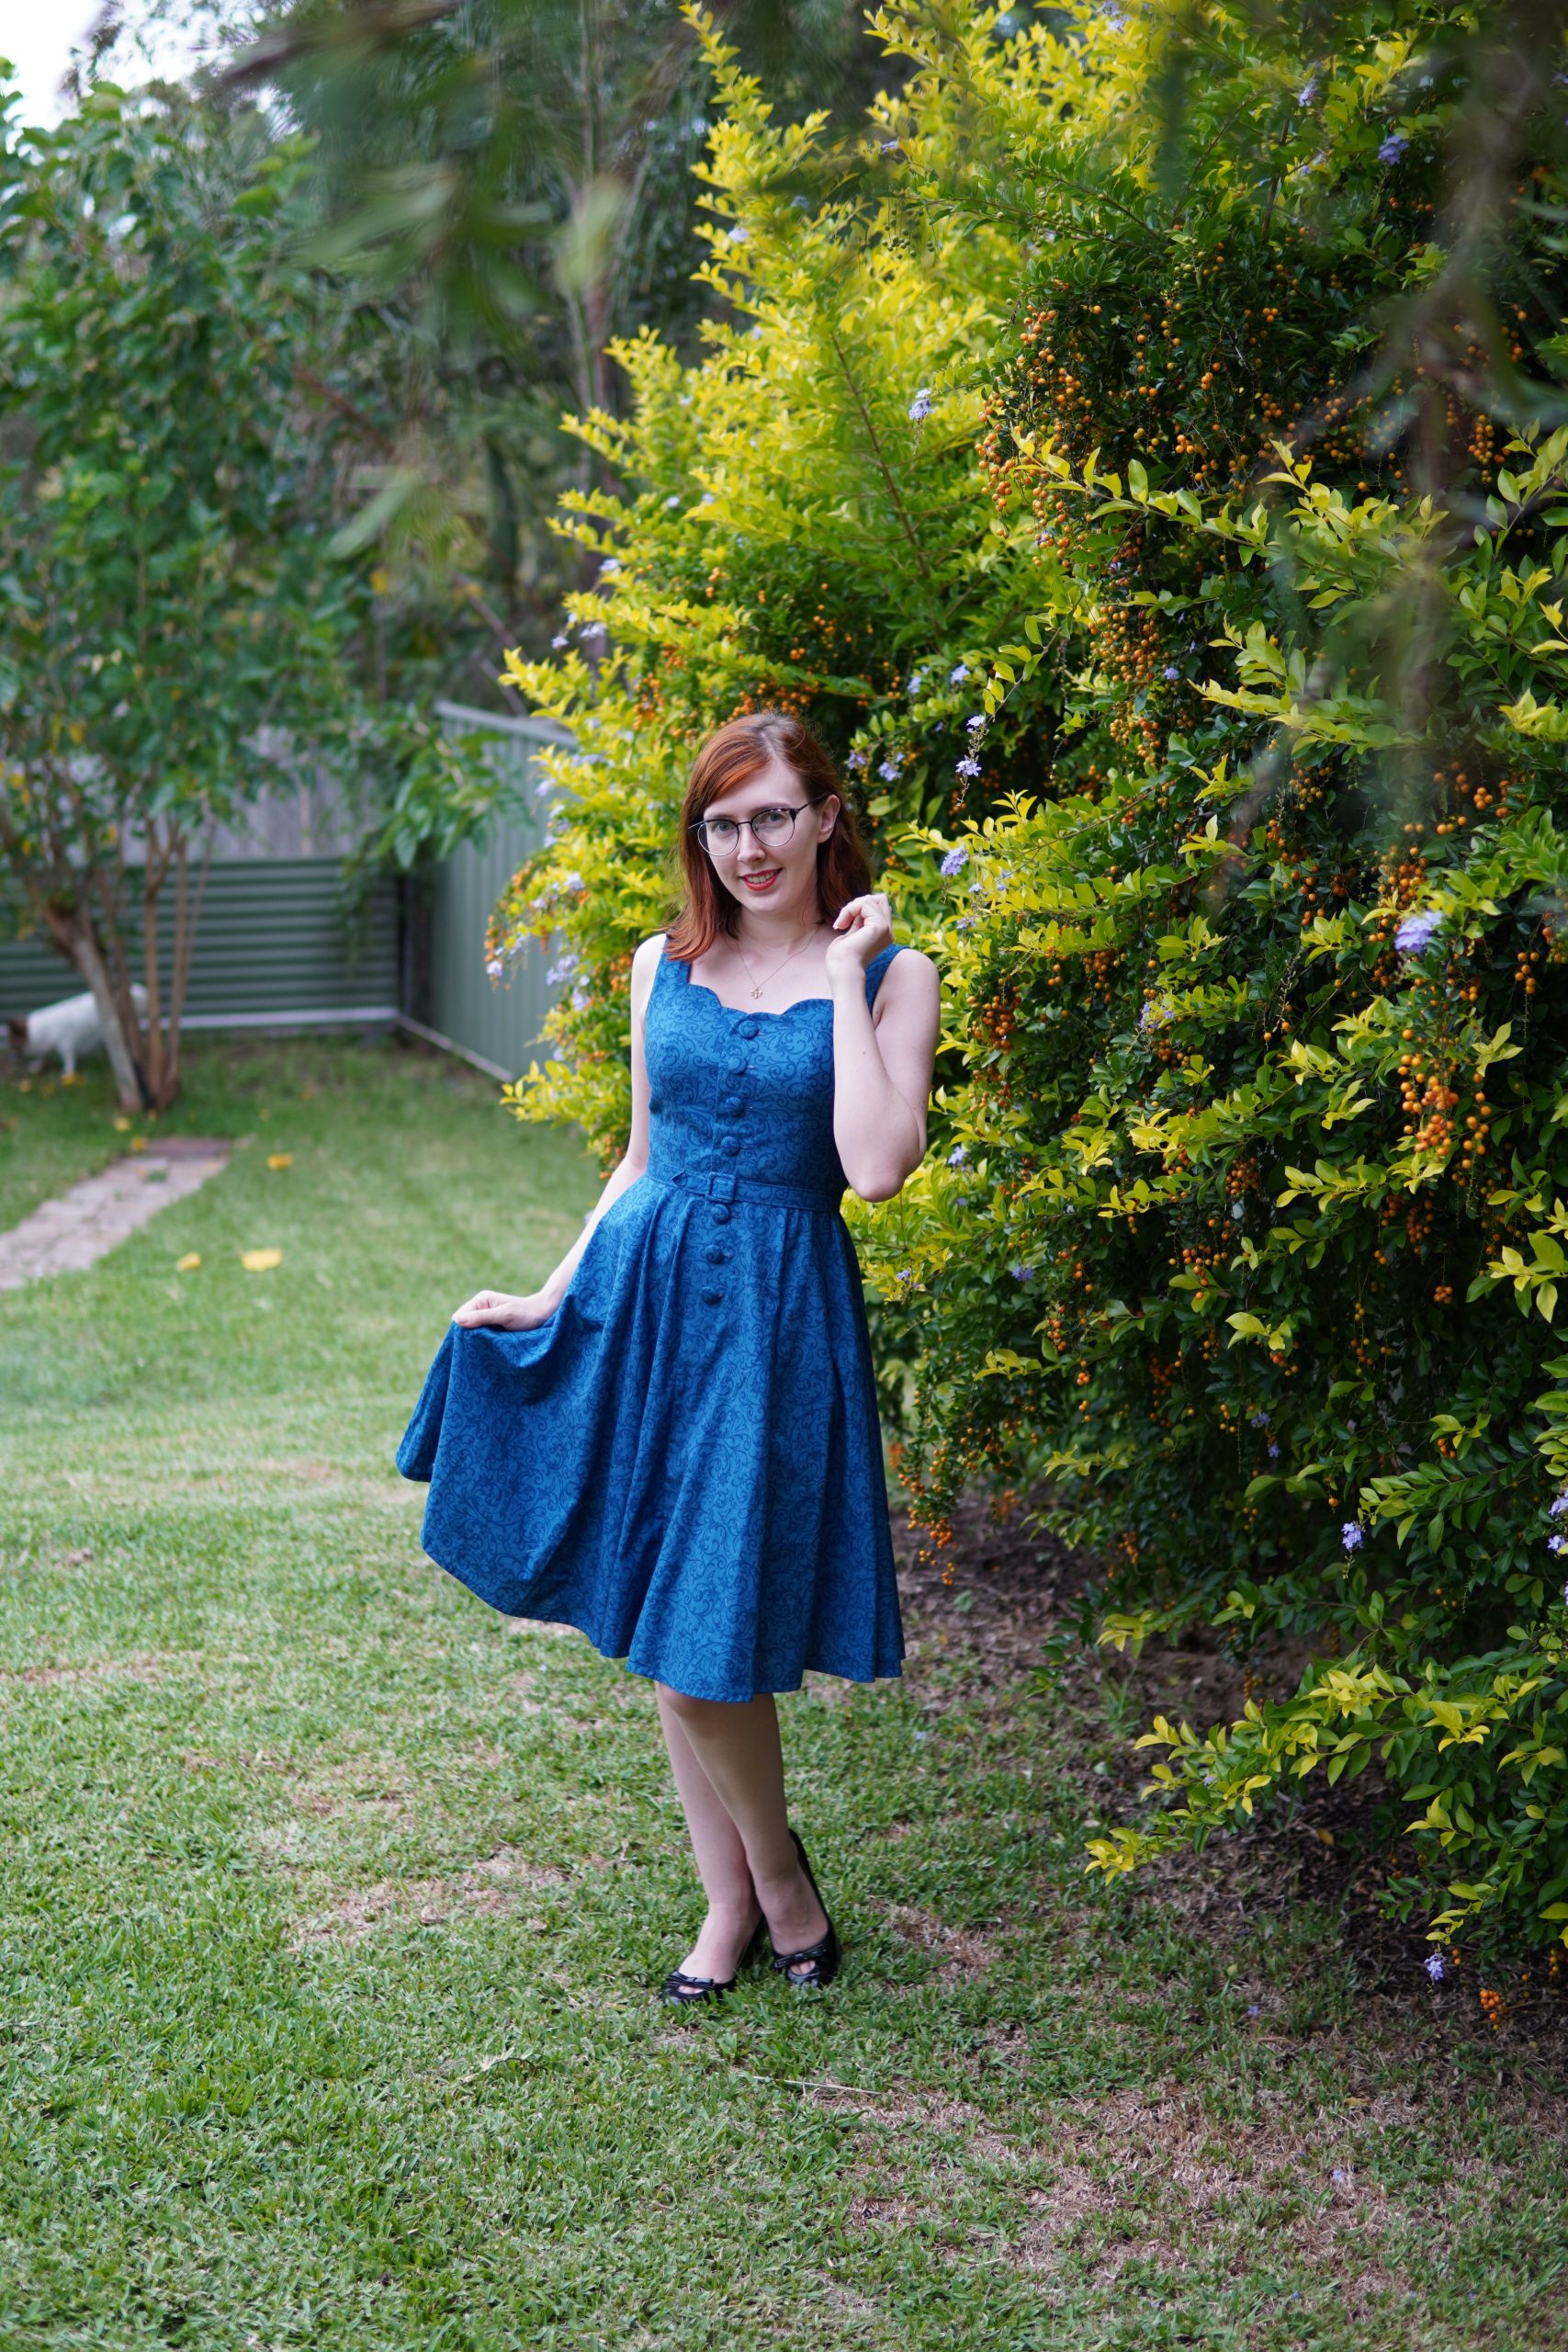
 Despite having made this entire dress out of fabric which I believe was supposed to be cotton quilt backing, it’s still definitely one of my favorites. I created it like a sort of jumper dress to wear on blouses but as I took these photos in Summer (yes I know I’m late), I didn’t wear anything underneath this time.
My ex-boyfriend actually bought this 1950s Anne Adams pattern this dress was based on for me, several years ago, before I even thought about pattern drafting for myself. If I knew anything about drafting back then, I would not have coveted it so blindly over the scallops!
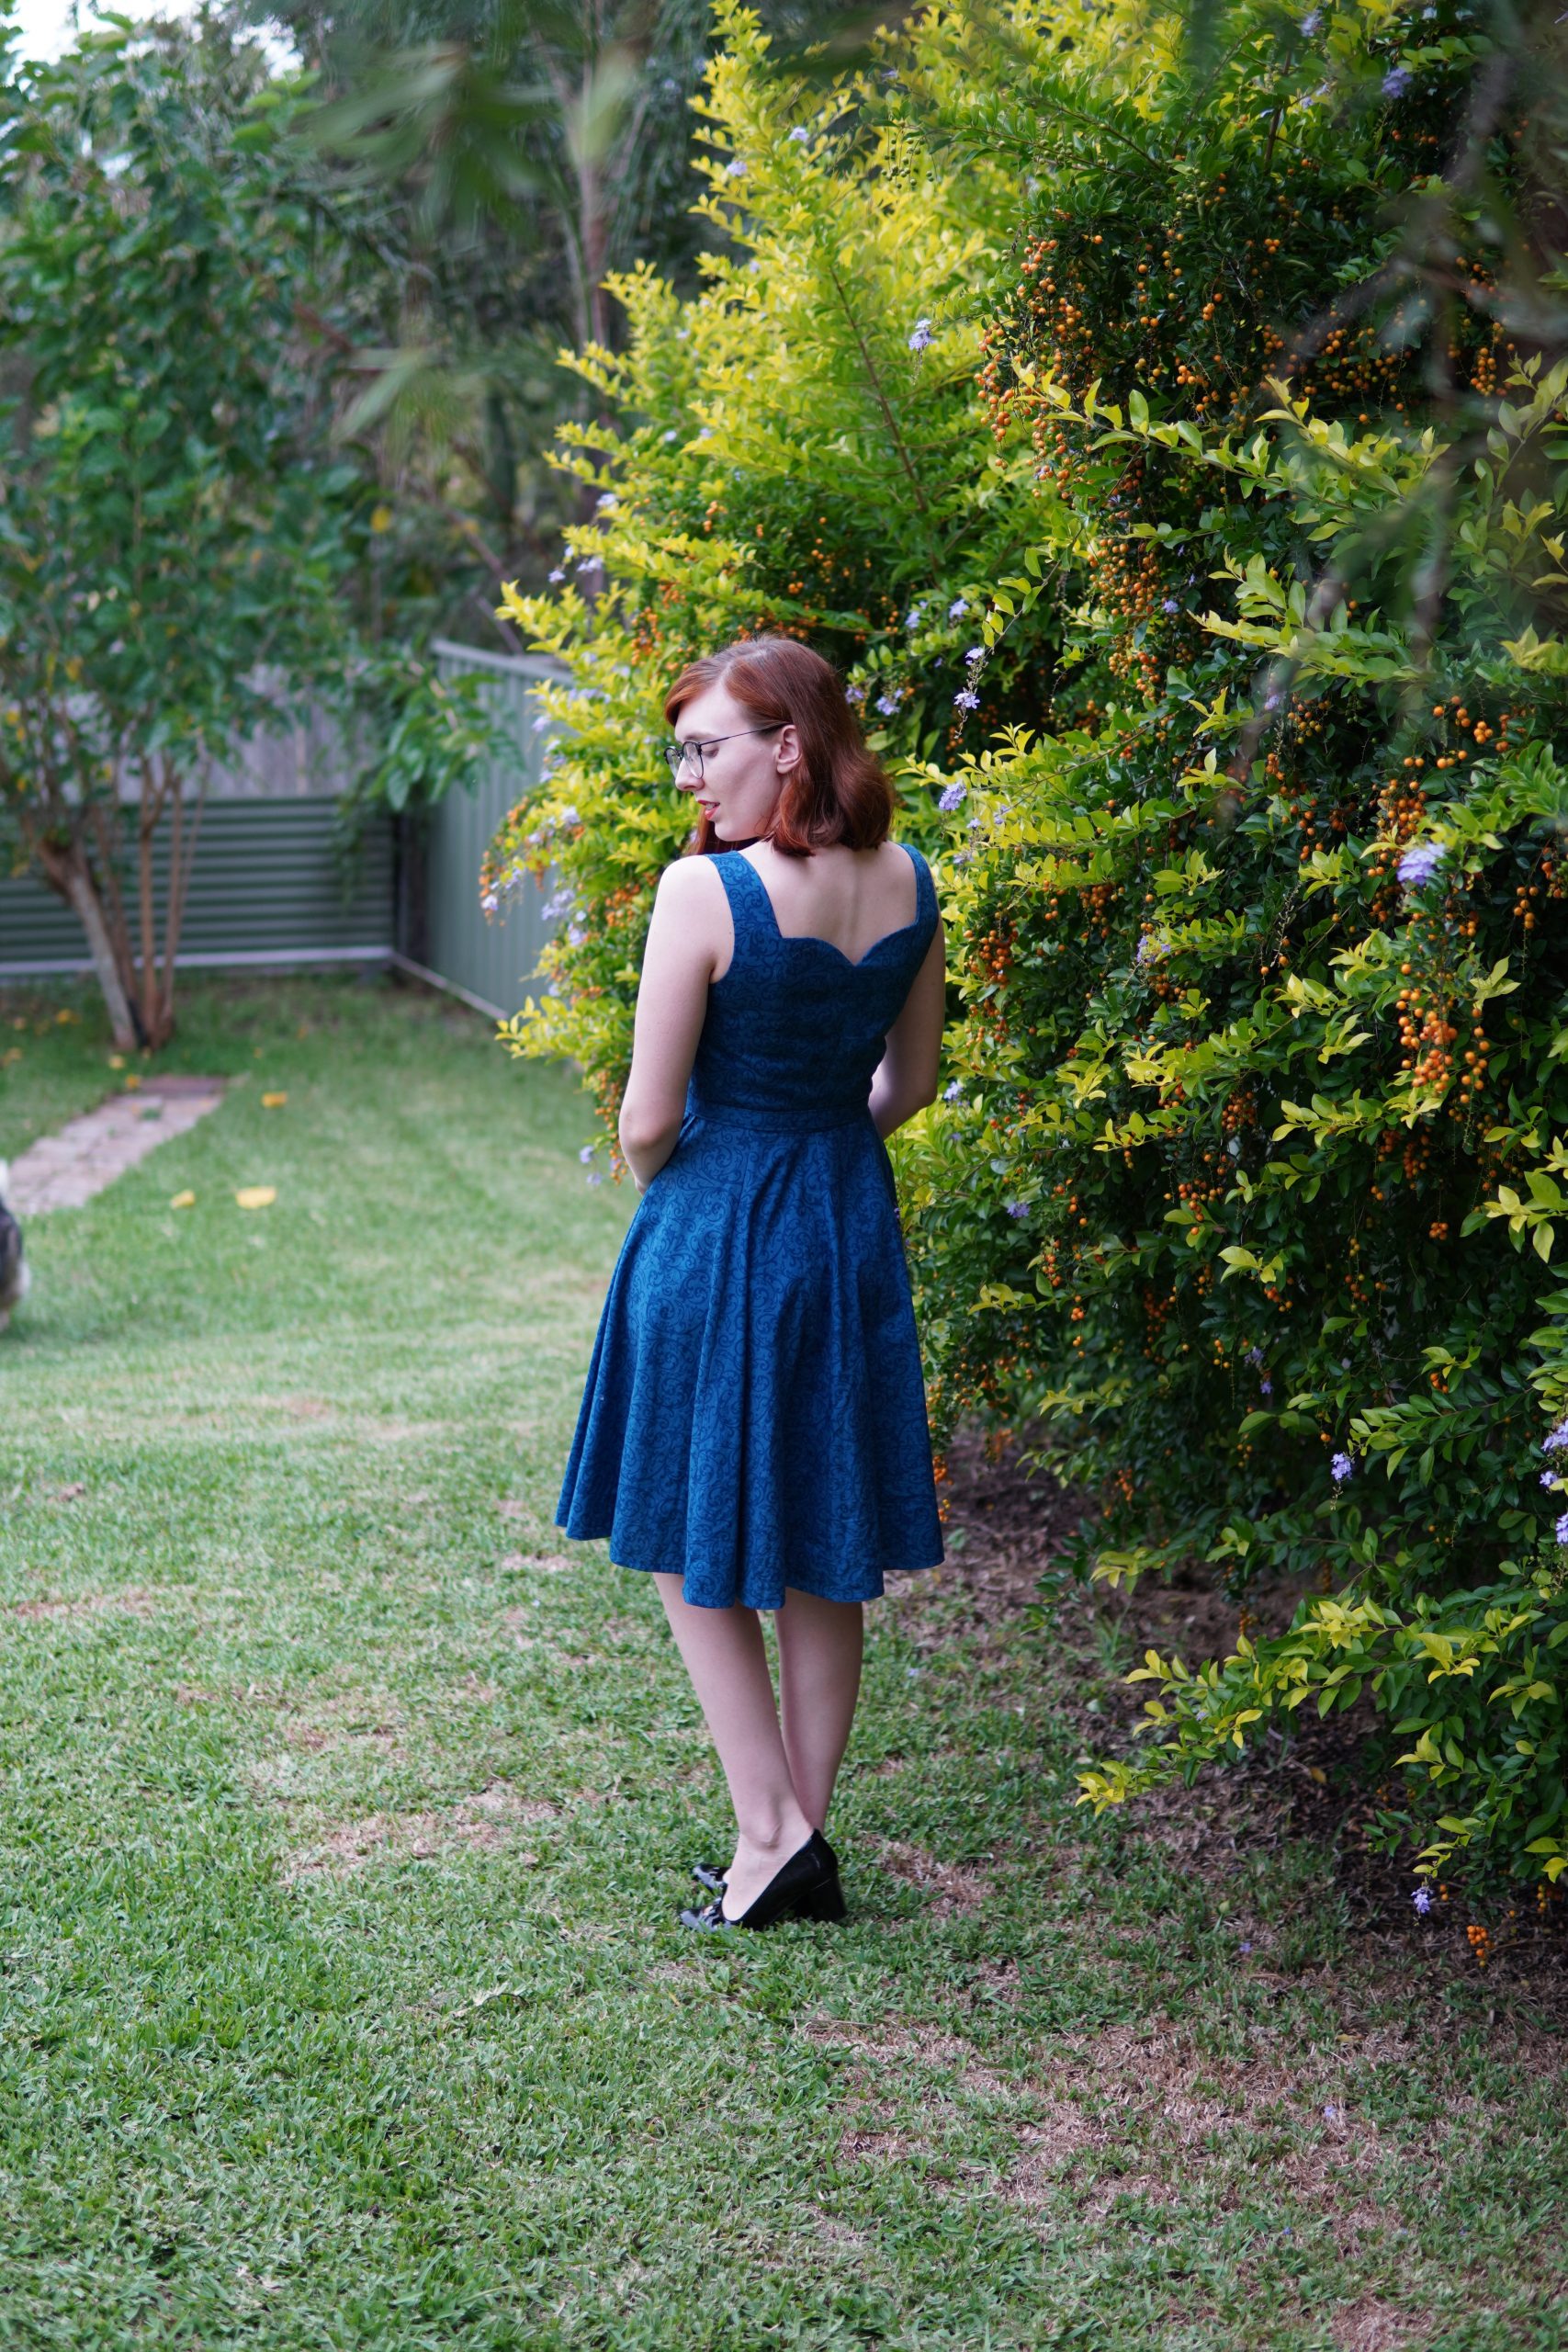
It was in face a terribly simple dress to draft. Looking at the diagram, you can see it is a simple waist-to-shoulder princess seam where the neckline has been cut away to the princess seam. Lining it was an interesting experience because of the neckline but by no means was it difficult.
I used some tuna cans to draw the scallops along the neck. Somehow I think the diagram’s scallops turned out nicer but alas, diagrams don’t always perfectly translate.
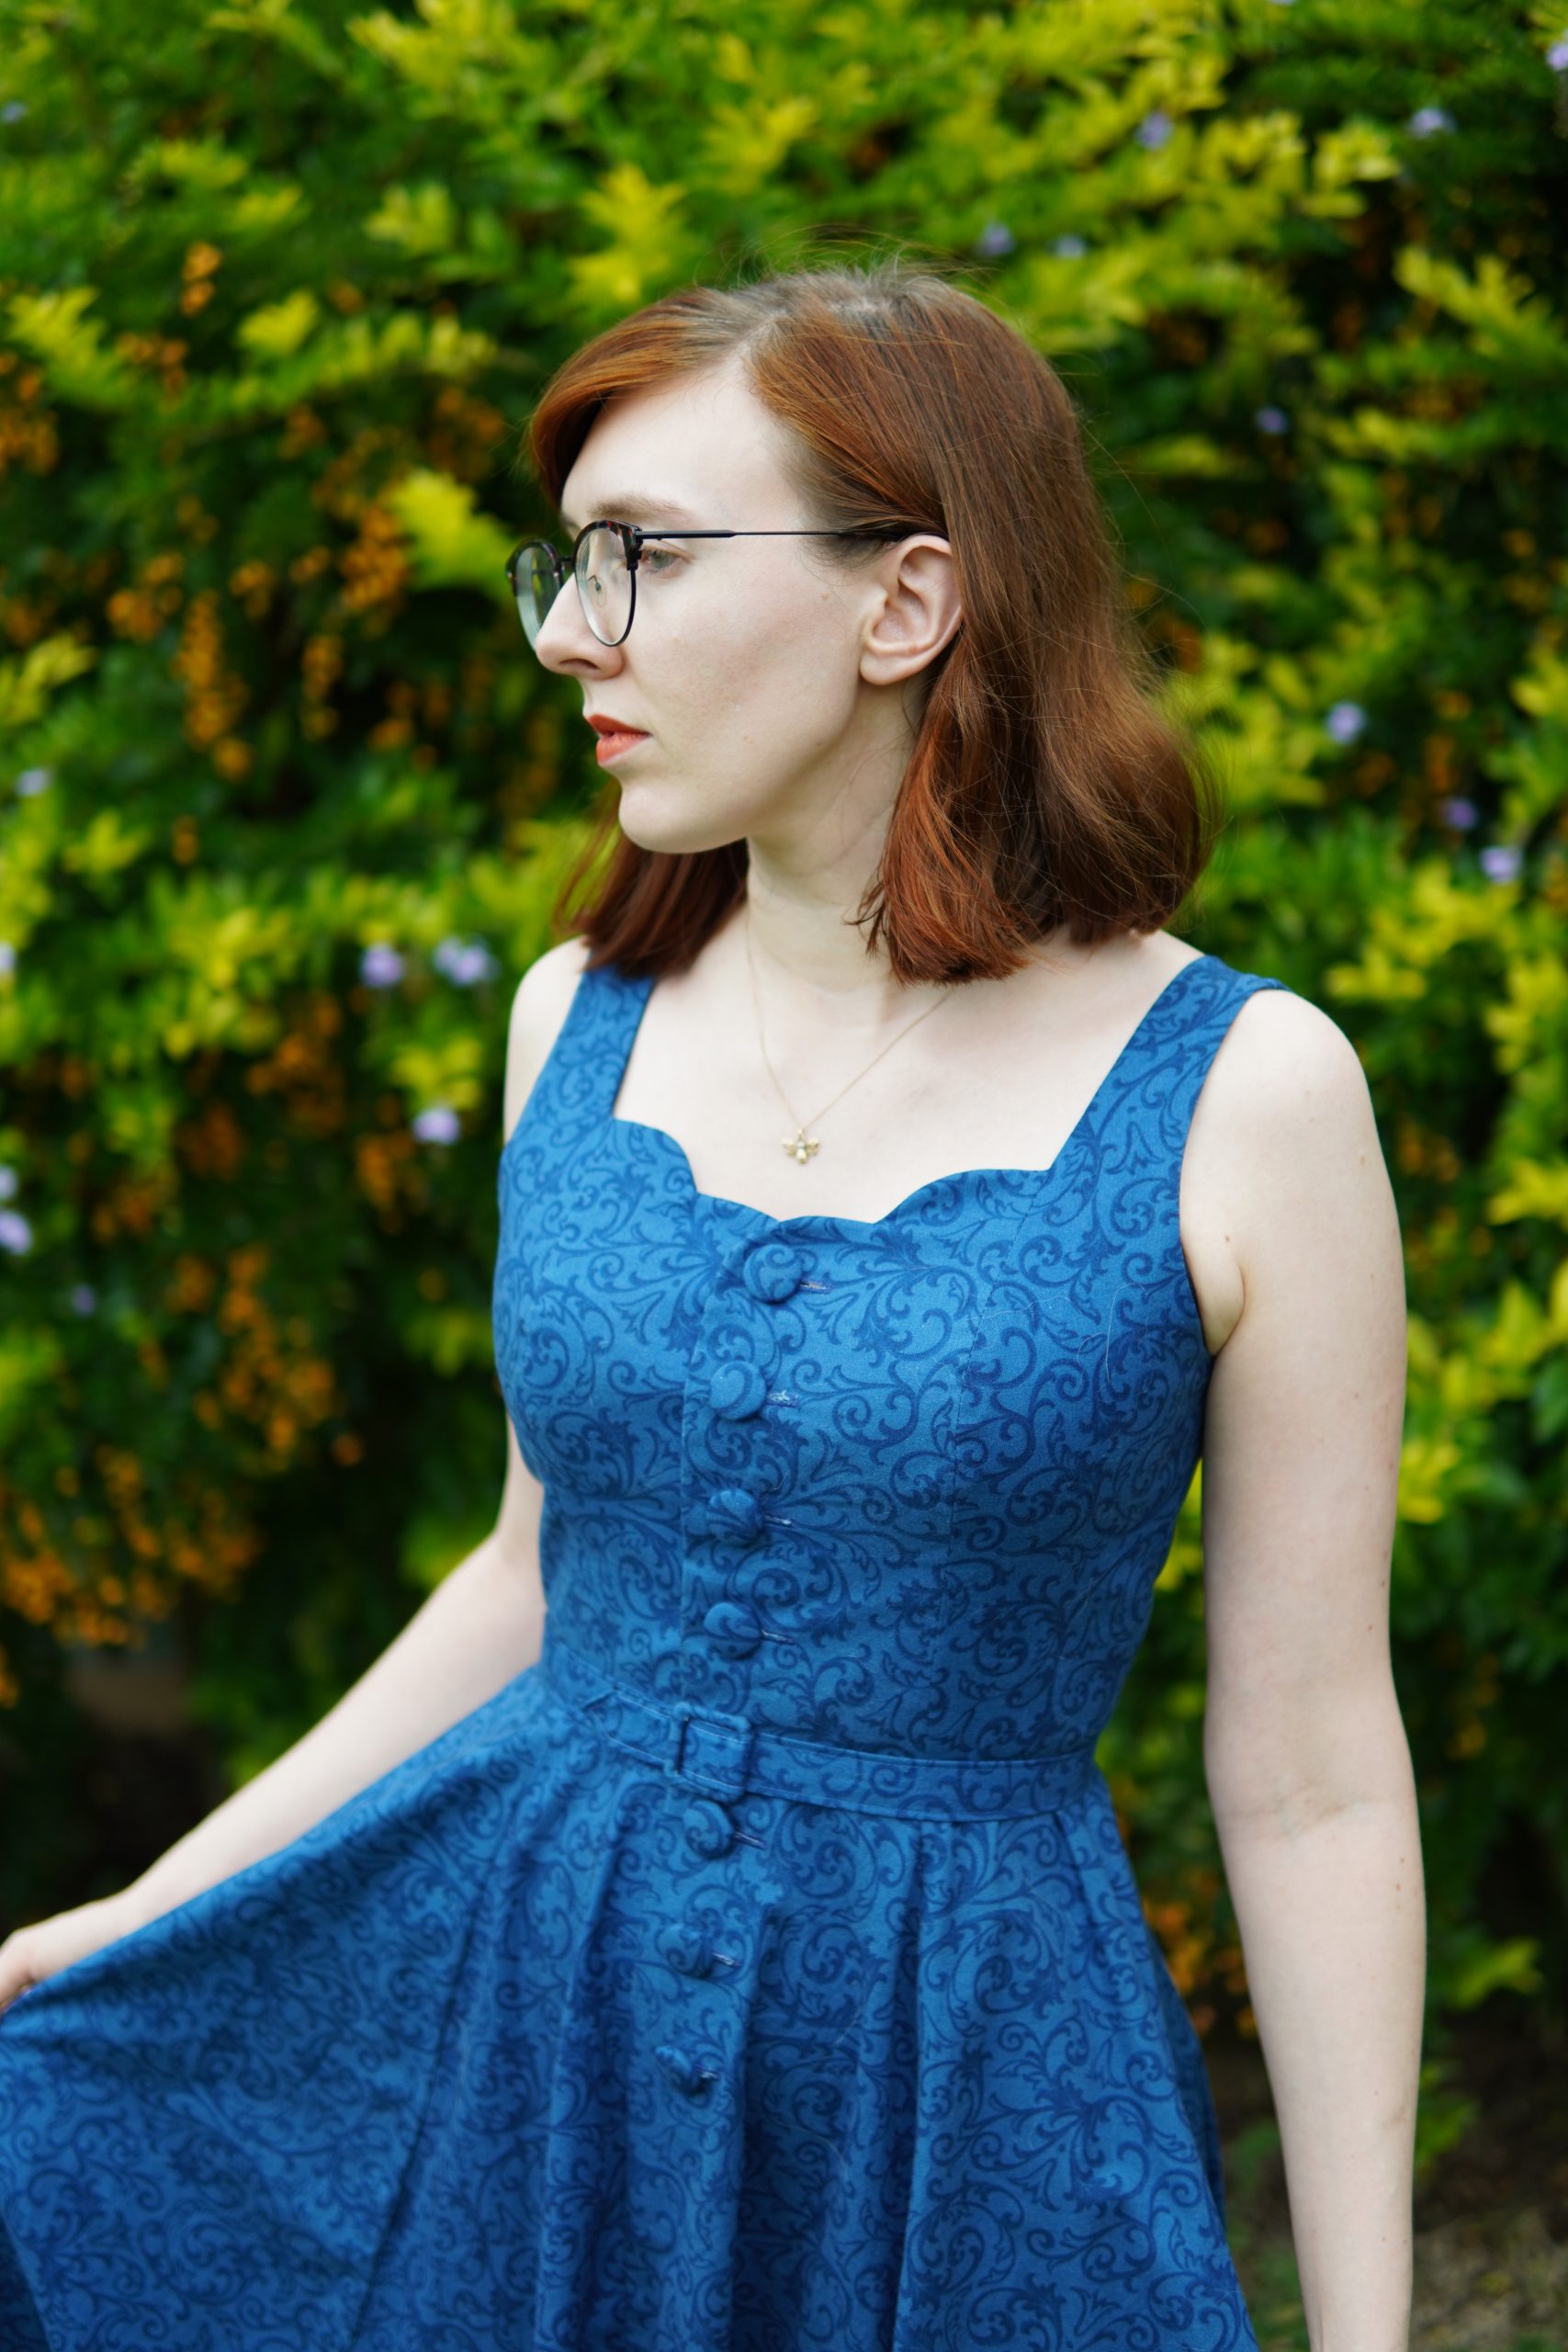
I would say my favorite deviation away from the pattern was the way I made the opening down the front. Of course to have the buttons end at around crotch height, it would have been super impractical to have the lower part of the dress open and free to flap in the breeze.
So at the bottom of the buttons, hidden away, is an ingenious little upside-down kickpleat! If you’re finding it hard to imagine, take any skirt you own that has an overlapping kickpleat and turn it upside down and imagine it with buttons on one side and buttonholes on the other. Pretty clever, huh?
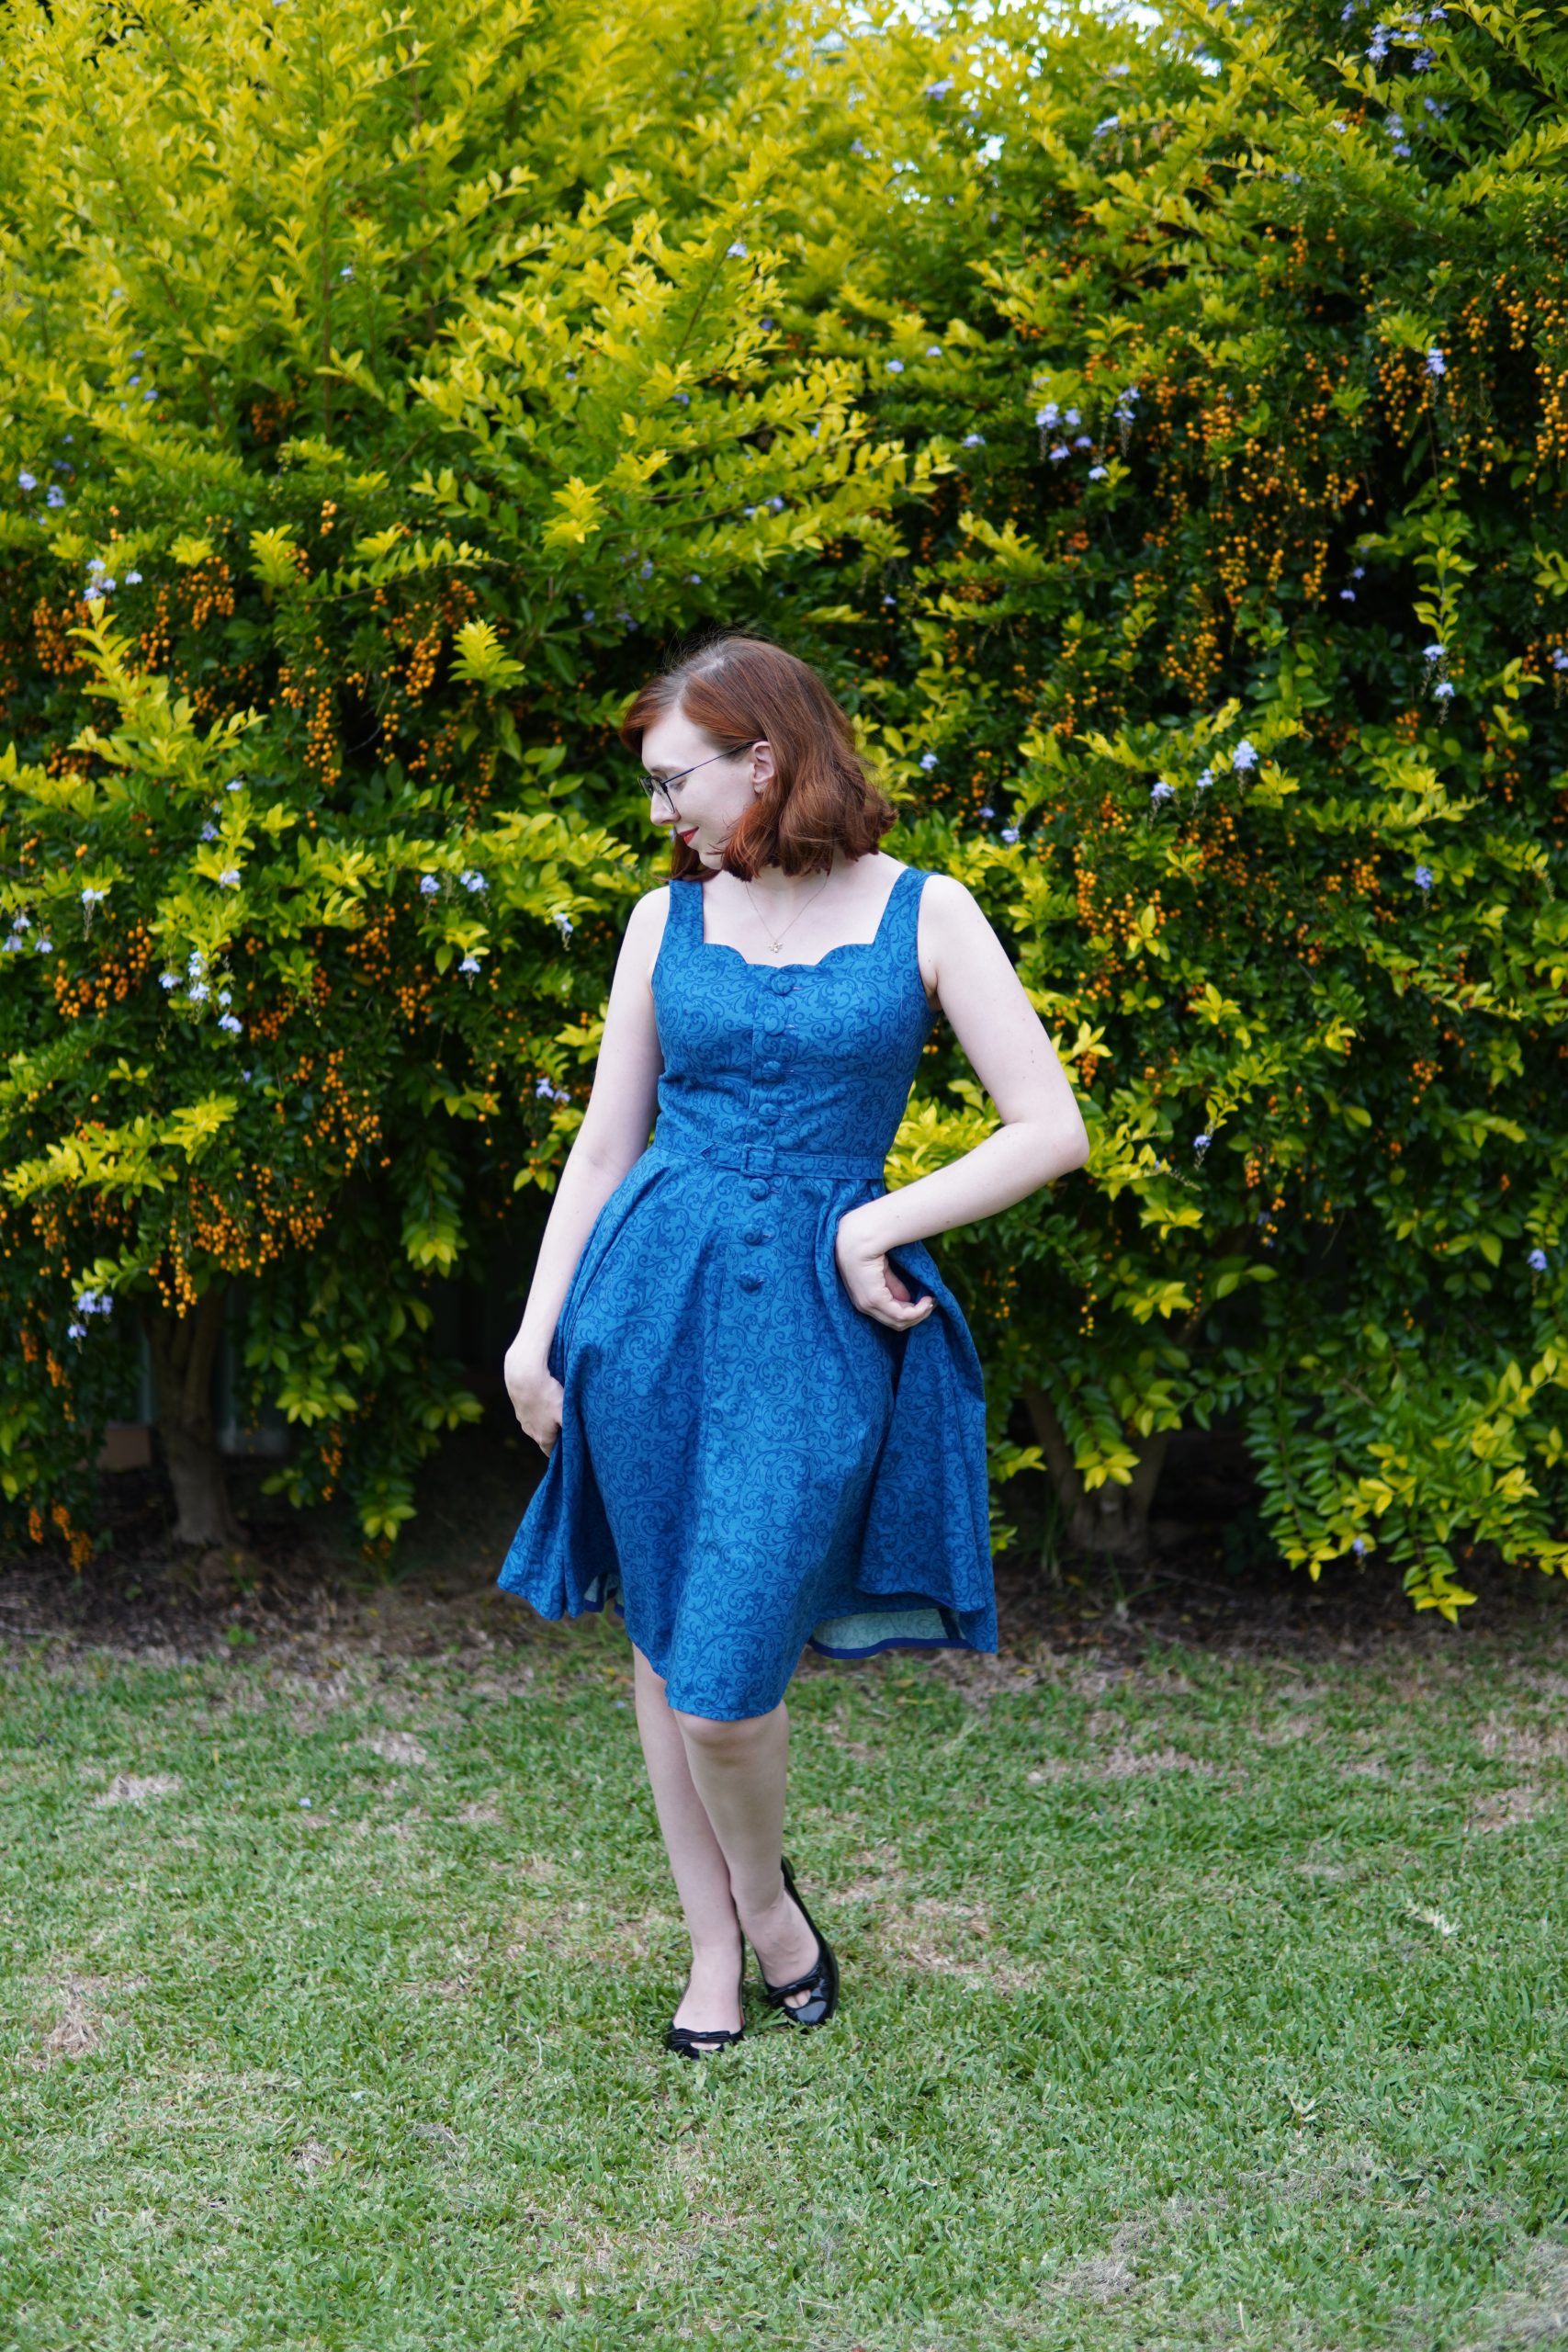
Add a simple 3/4 gored circle skirt and you have yourself a winner! As you can see in the above photo, I hemmed it using a bias facing. It’s not a great match in color but you don’t particularly ever get to see it, so I’m not too worried.
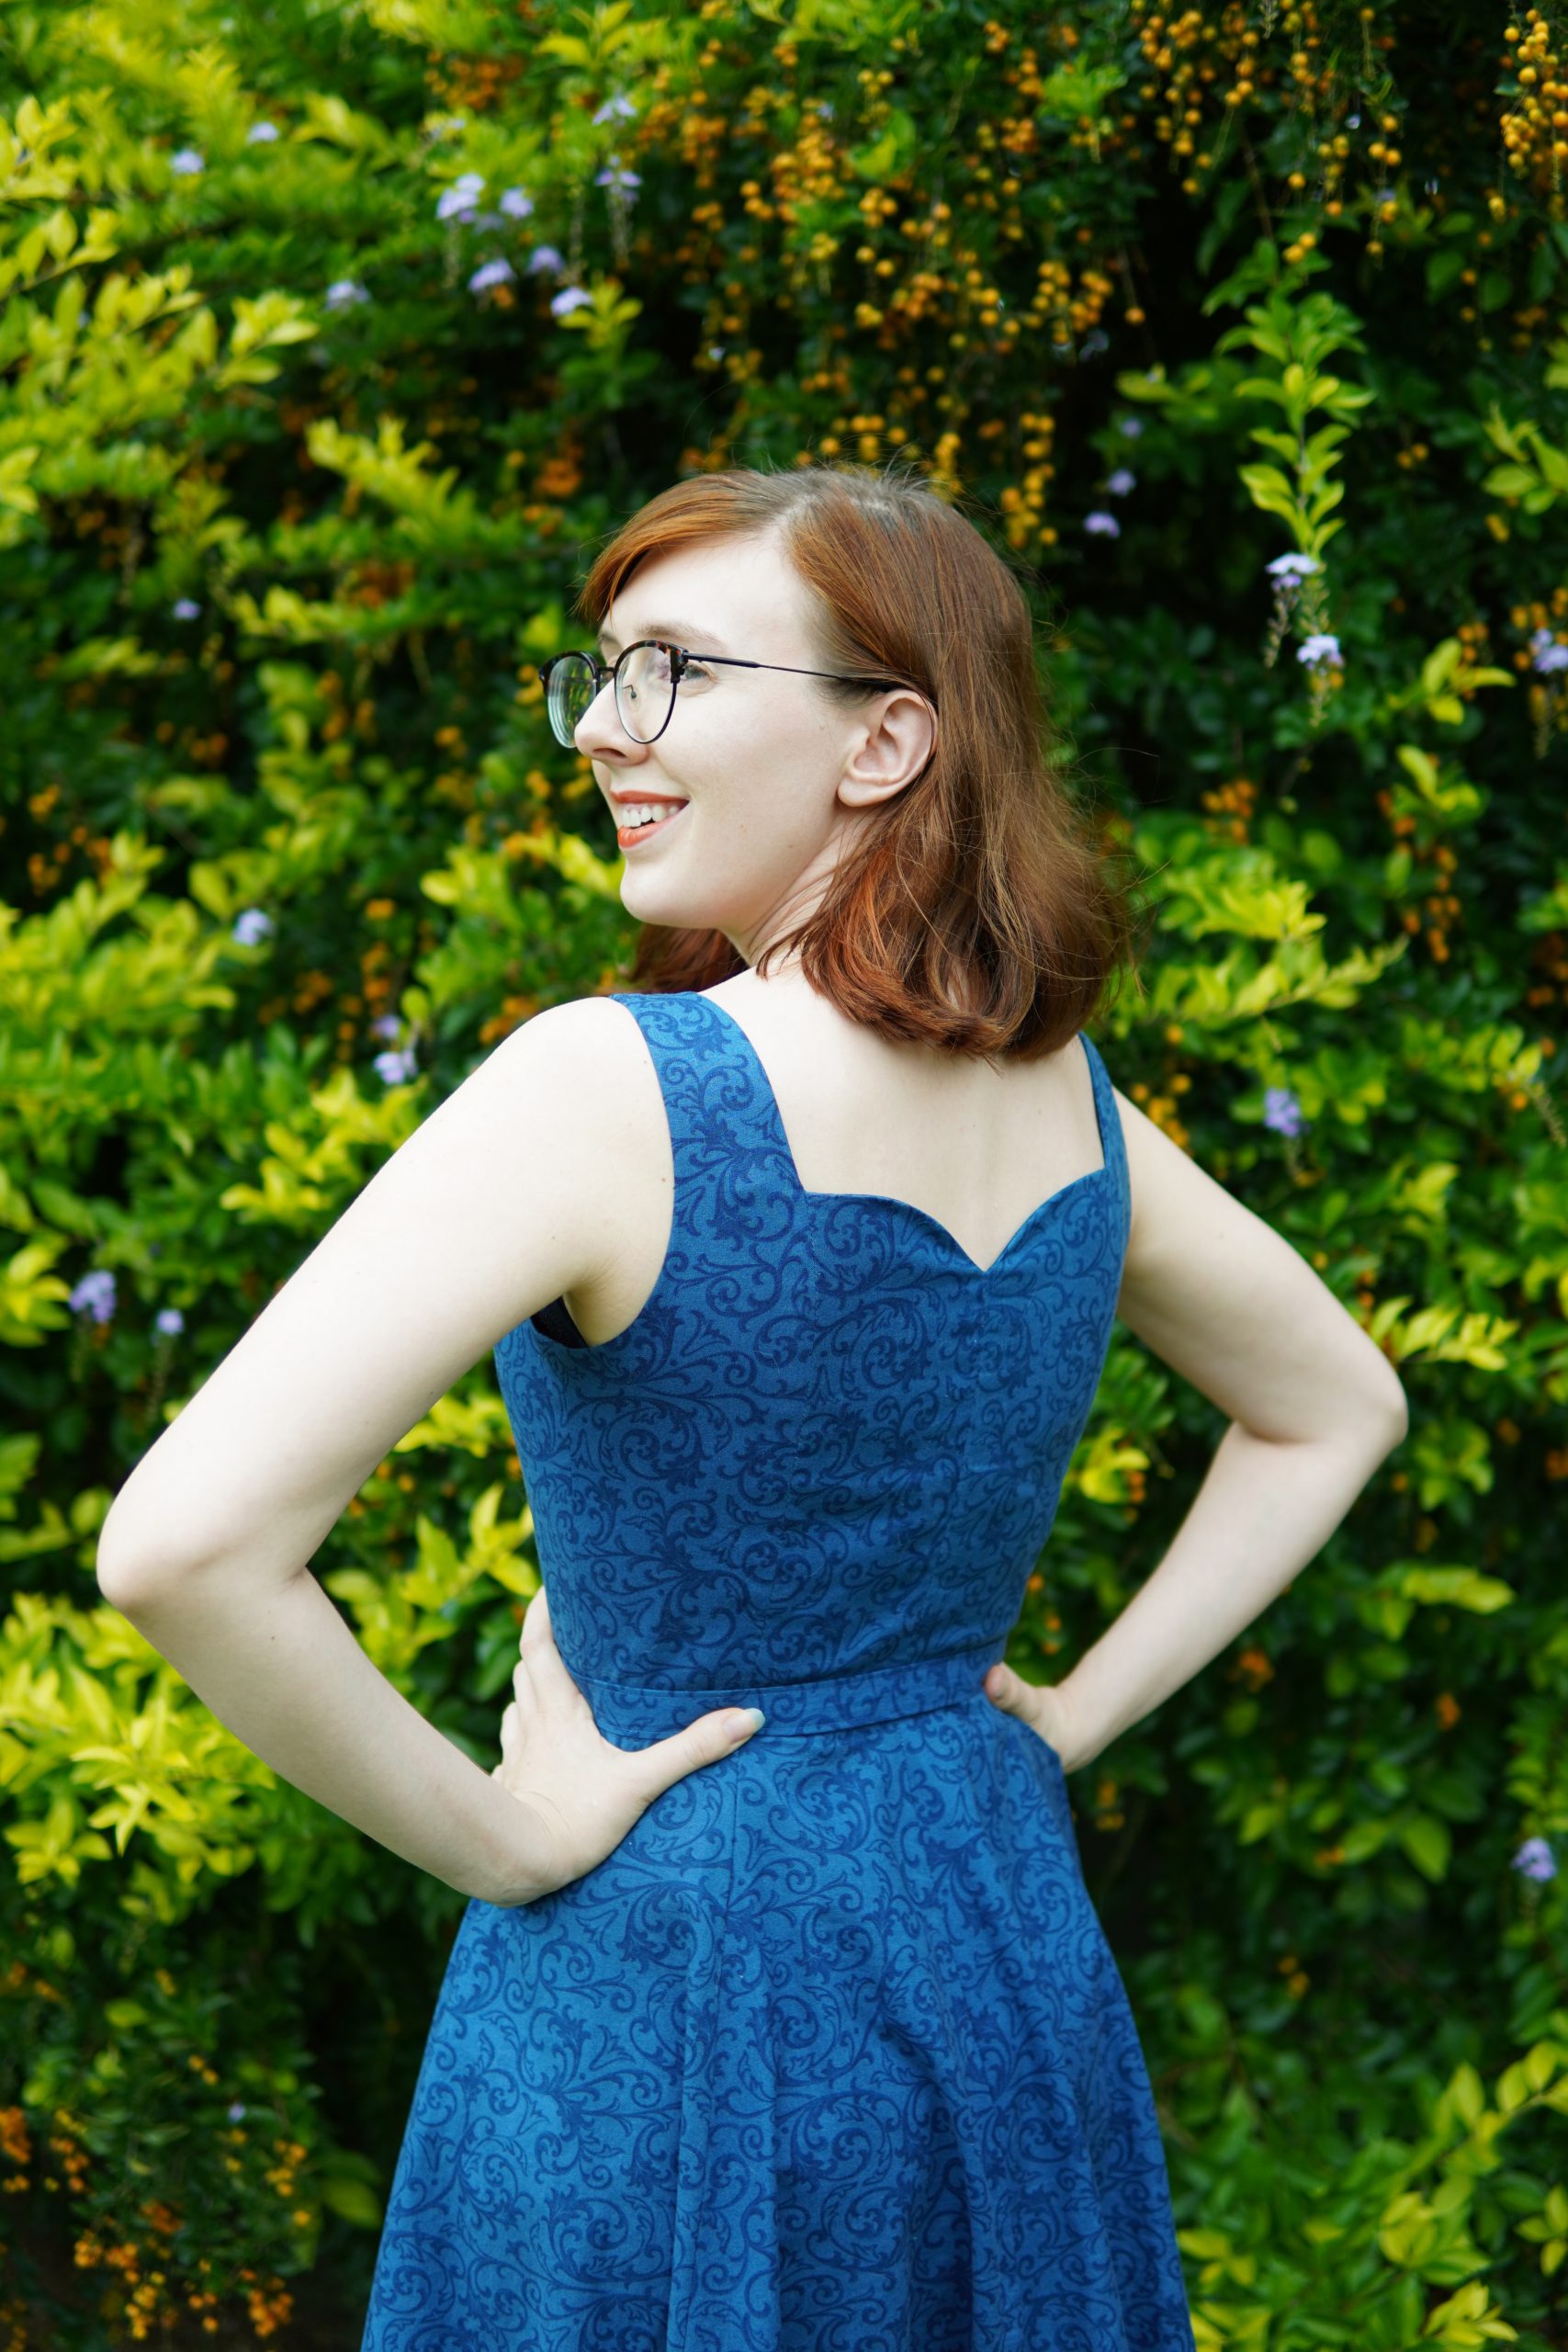
On another note, I never thought a backward sweetheart neckline would be flattering but I tried to copy the pattern as best as I could. It doesn’t look as goofy as I thought it would!
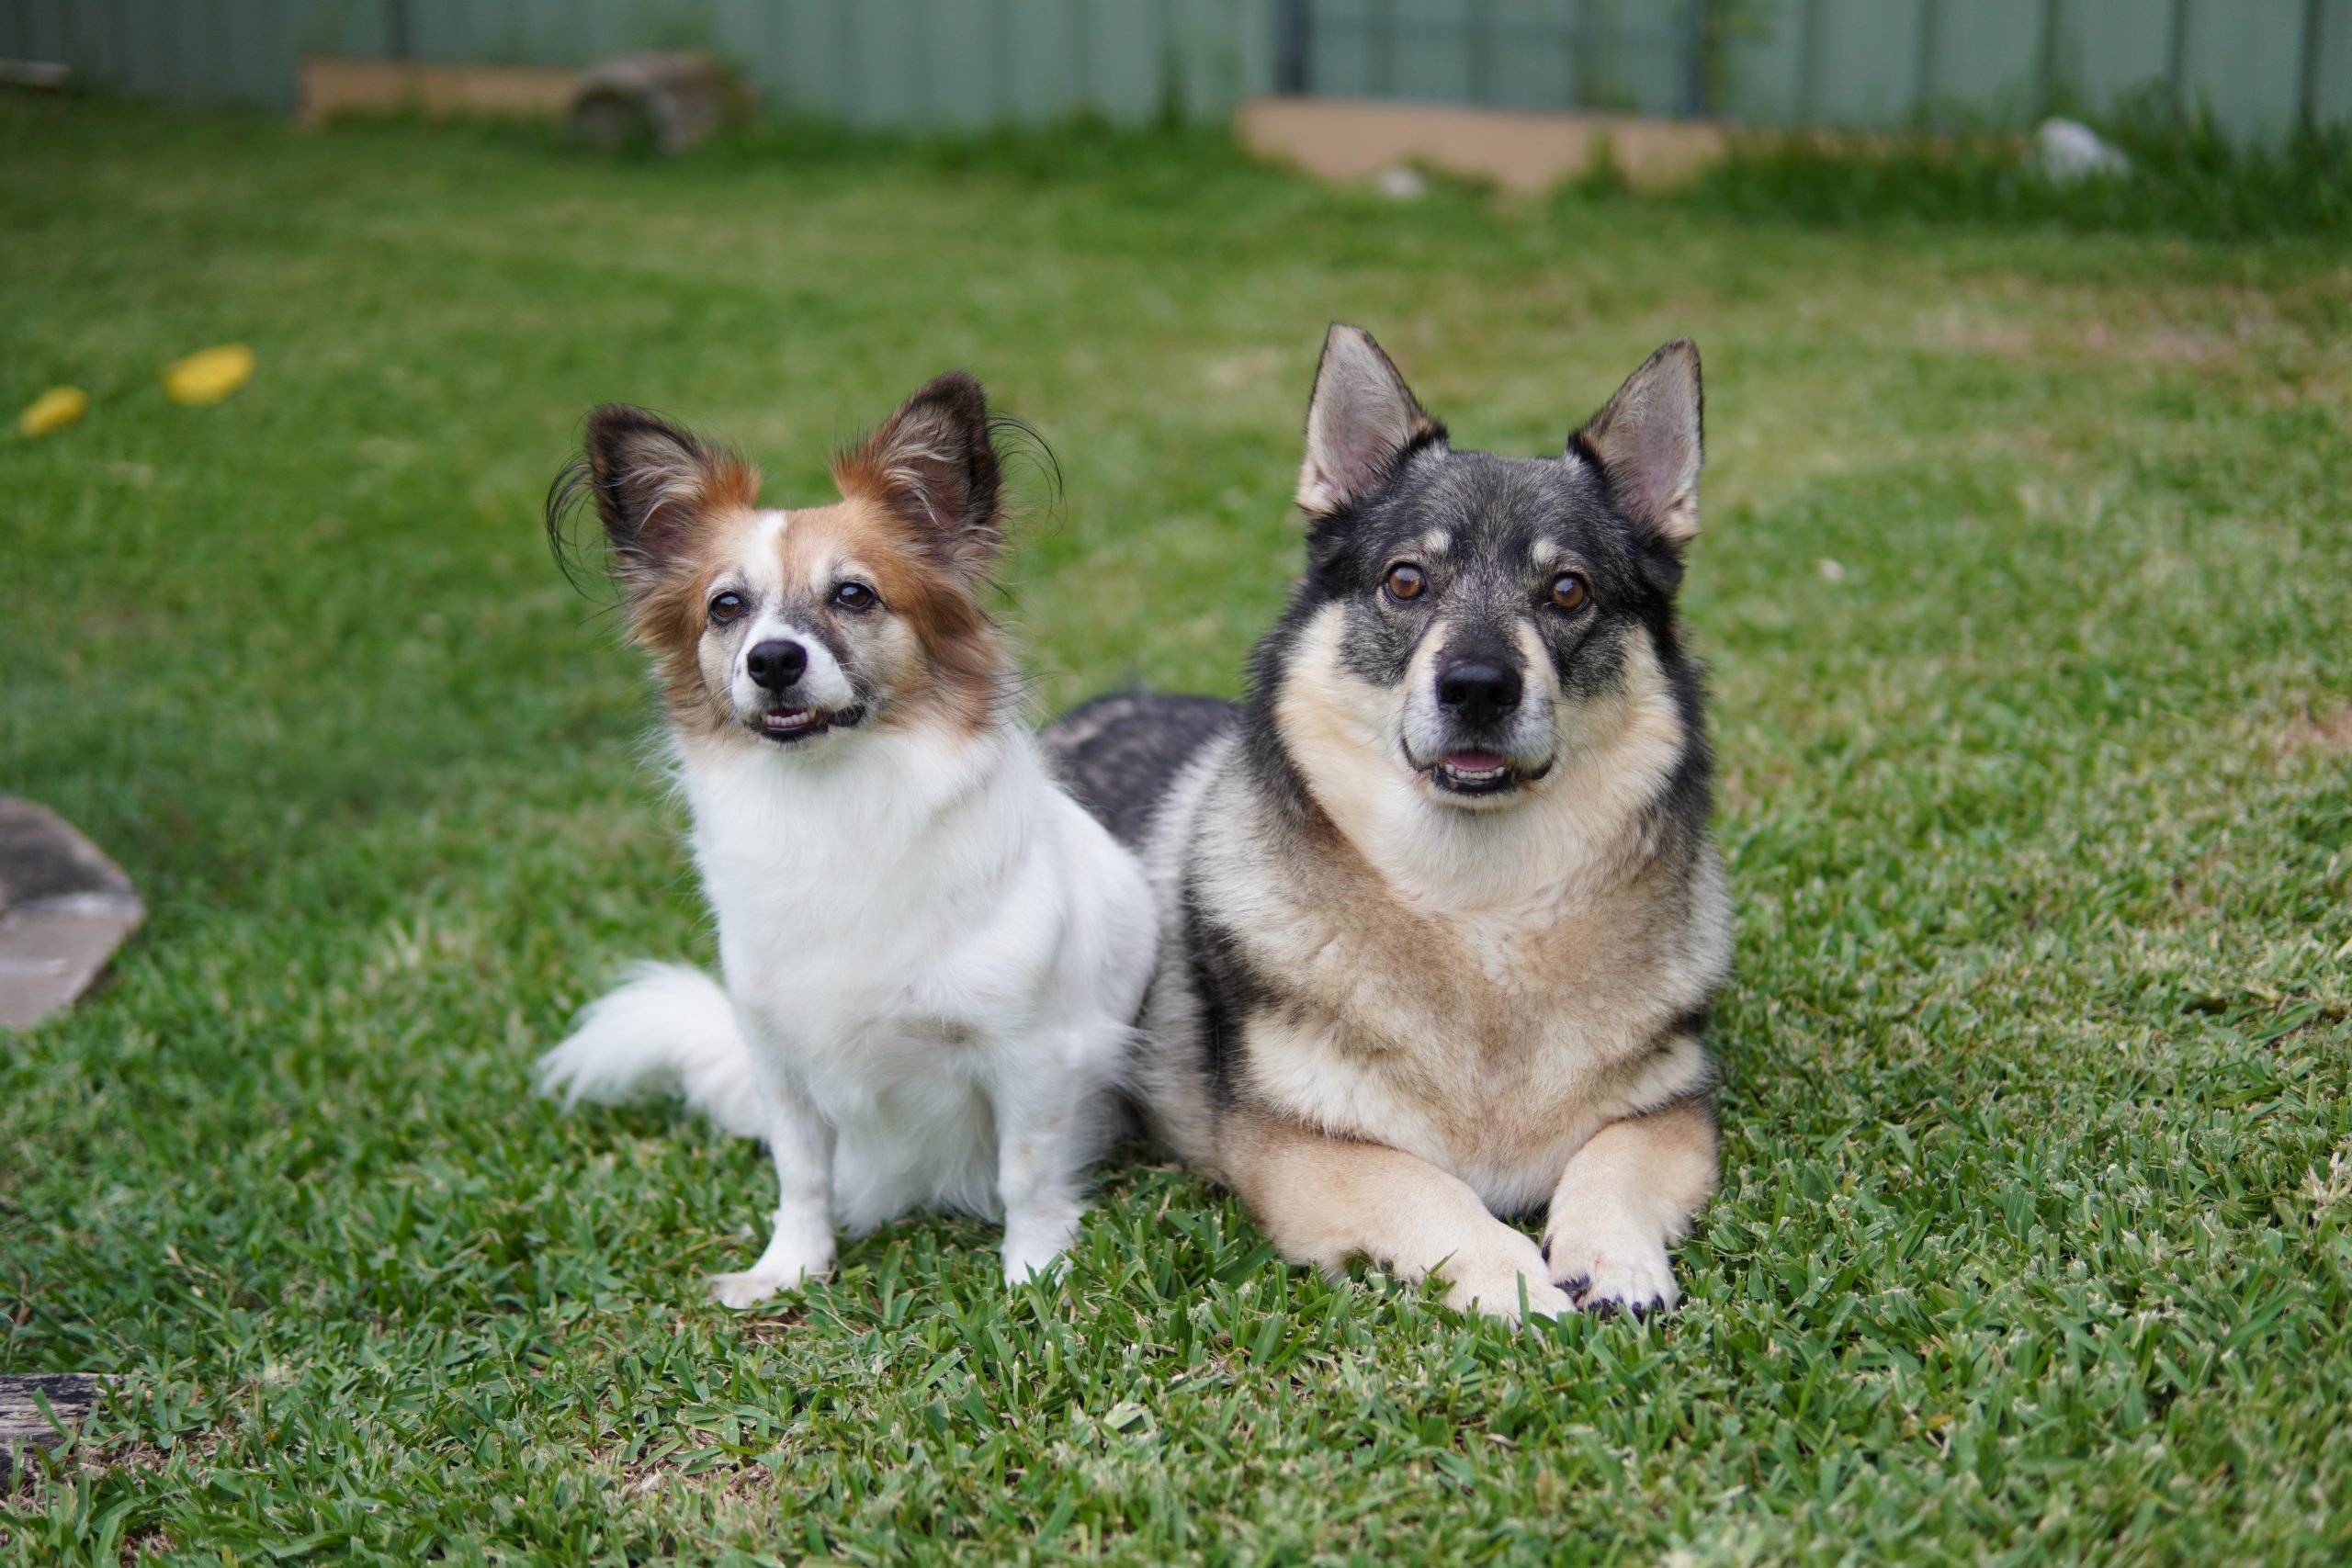
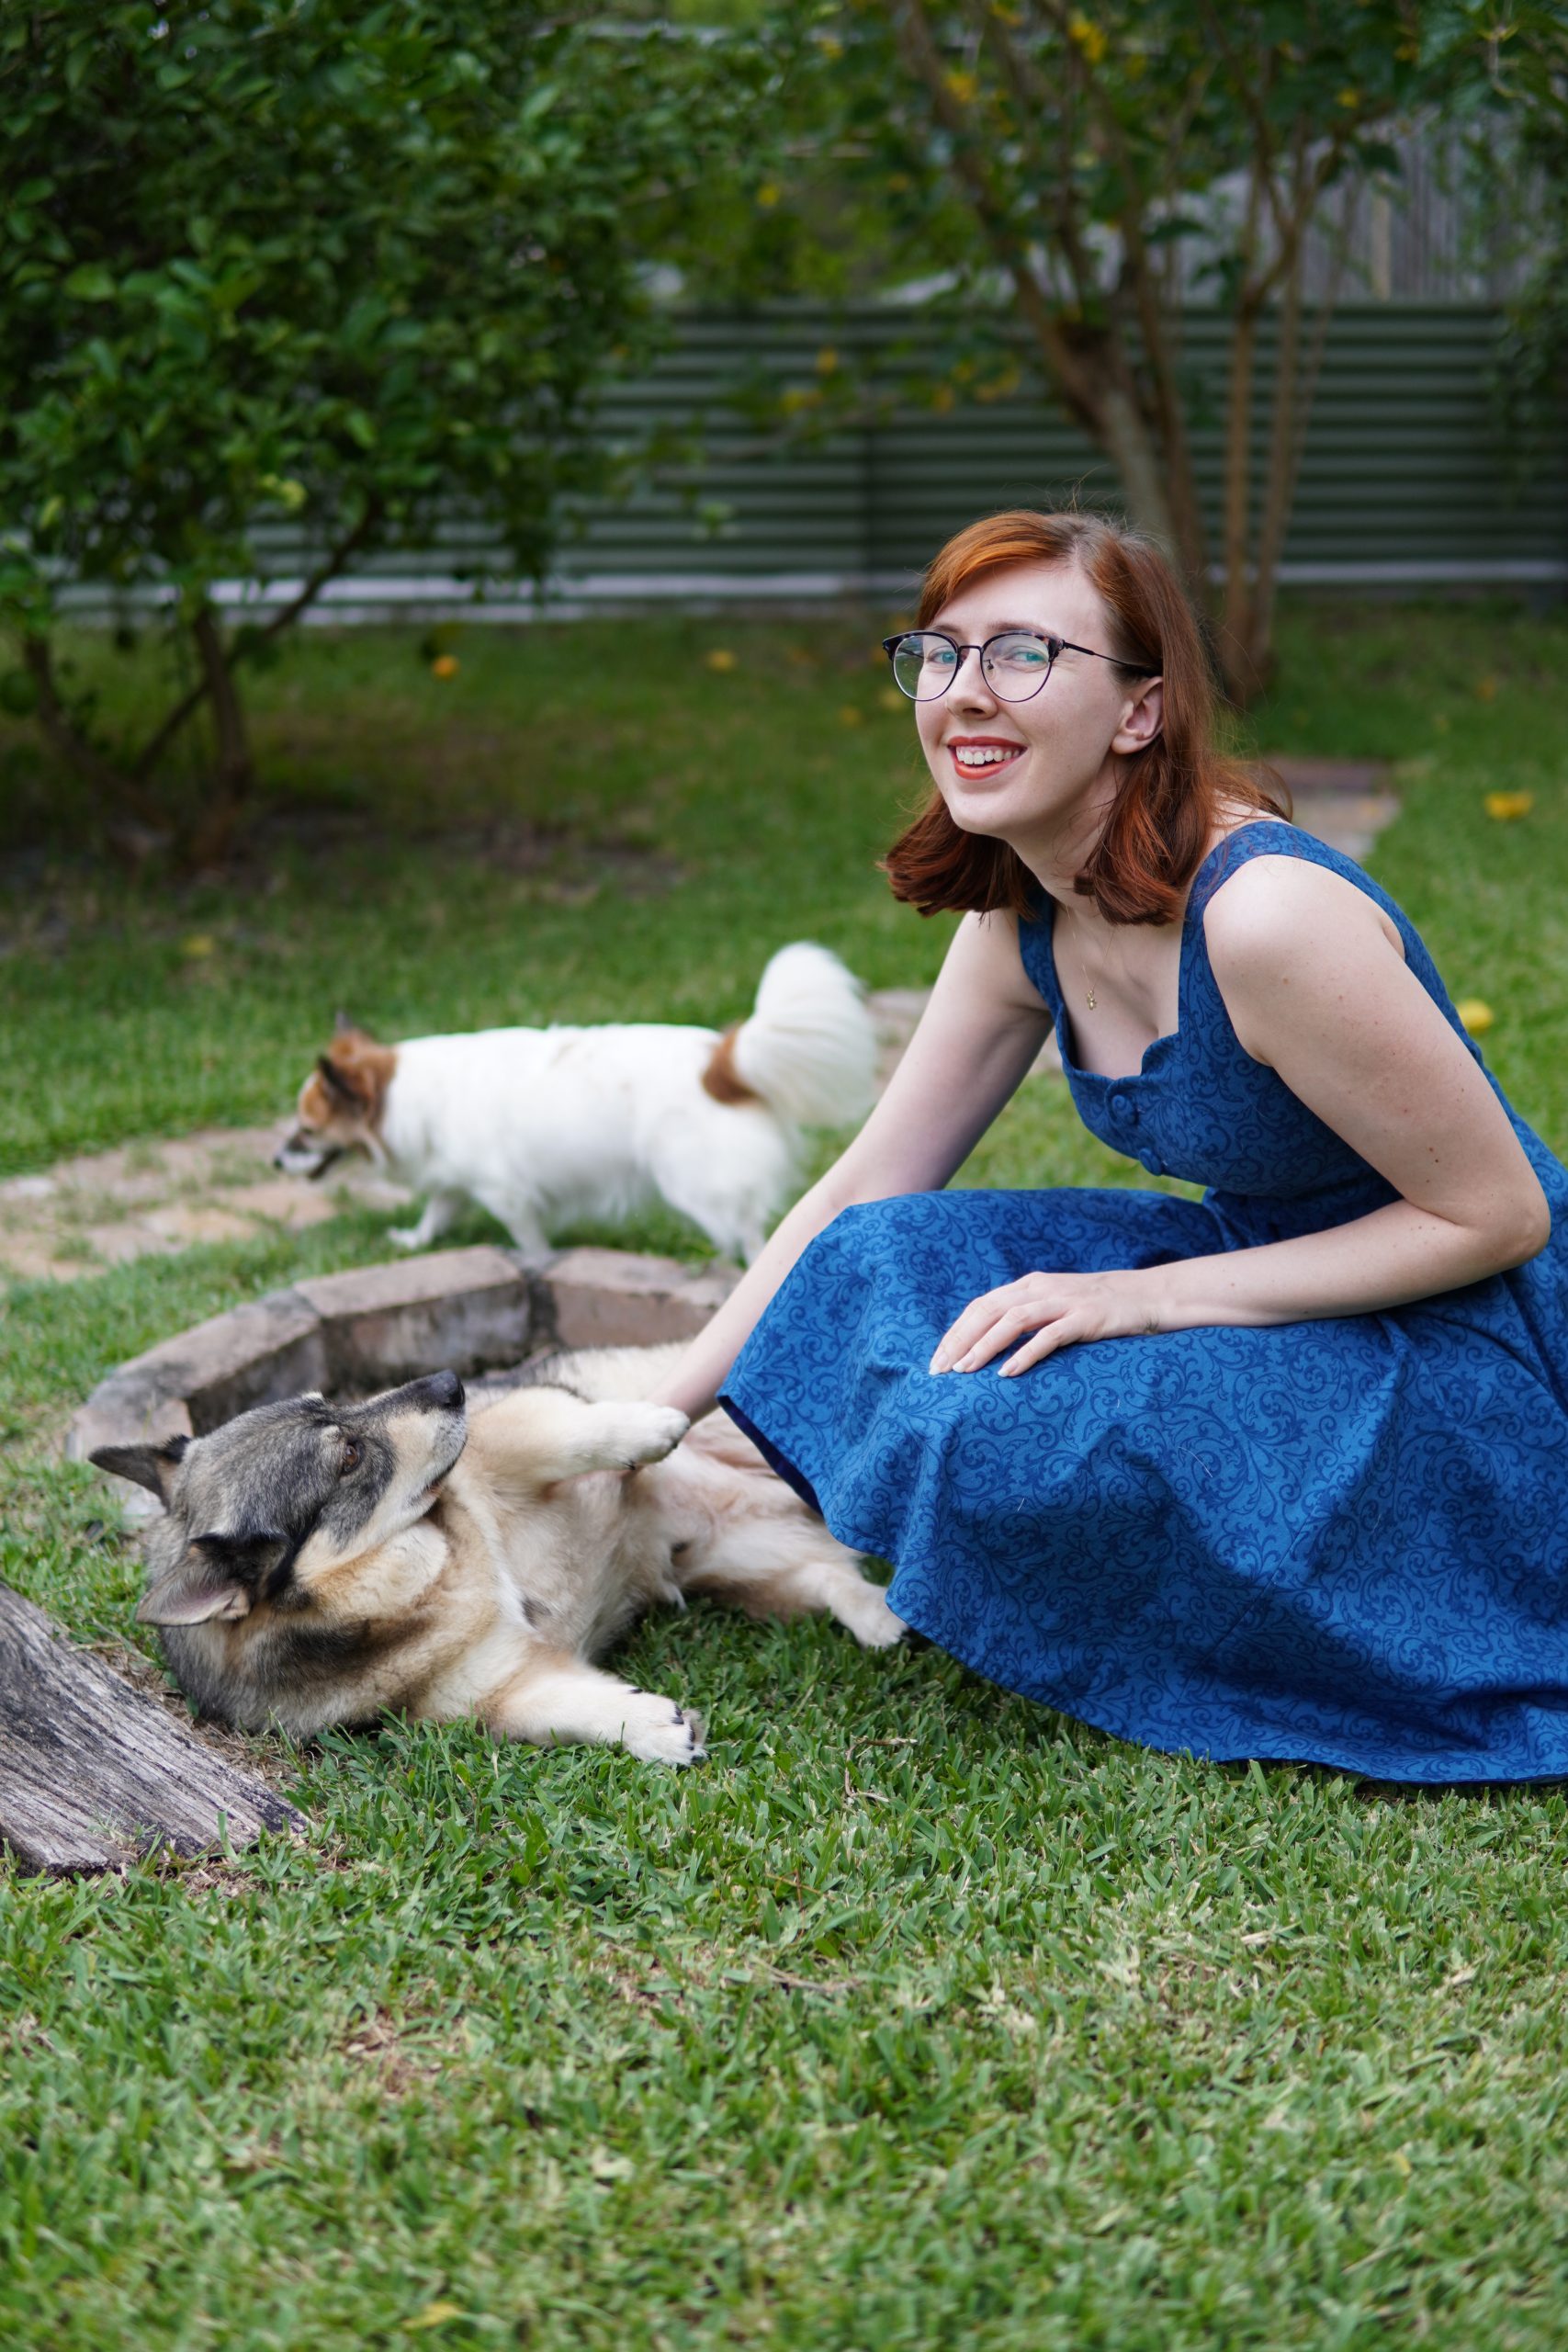
You may have noticed the dogs milling around in the background. They’re doing very well, if you’re wondering! Evie just had a tooth removed and she will need further surgery soon to remove a precancerous lump of sorts so we aren’t really looking forward to that, but on the whole, they’re both happy and healthy. Hugo will be 12 next month. Can you believe it?? Regardless of his physical age, he will always be my little baby.

Anyways, if you’re still out there, thank you for reading!
10 Comments
Lovely dress. I love everything about it and you have the perfect figure for the full skirt style. I found you while helping my granddaughter make a pleated skirt. Tricky but fun and not done yet. I’m not doing much sewing but just enjoyed reading and looking at your projects.Videos are helpful but usually waste so much time getting to what you need to know.
I’m always so delighted when you pop up in my blog feed (I might be one of the few people keeping Bloglovin in business!) Beautiful dress <3
So nice to see another post from you. Your workmanship is exquisite and so inspiring. I would love to know how you tackled that belt buckle. I have tried to make fabric covered belts in the past, with limited success.
As for feeling blue, it certainly has been a fact of life for many of us during these Covid times. But please continue blessing us with your blog. Your talent deserves to be seen. And you look lovely in your creations!
It’s so lovely to keep seeing your comments here Teri, you always have the nicest things to say to me! The buckle was definitely something I tried four or so times to get right. Without being able to get too in-depth over text, I actually created a sewn facing for the underside because I could not stand having fraying edges in the inner corners! Ideally it would be better to have a buckle pressing tool that crimps all the edges for you at the same time but for me it was double-sided tape to hold the fabric inside the metal shells and needle nose pliers, all the way around, which was tedious and horrible.
I’m out here! I’m a beginner sewist (I just finished my second project, a pinafore dress) and I found your blog a couple weeks ago as I was just starting out, devouring everything I could find in order to learn this new hobby. As someone who also loves cotton sundresses and swooshy skirts, I have found so much inspiration in your blog, including inspiration to not go out and buy tons of Big 4 patterns but to learn to draft pieces myself to fit my own particular shape. I have loved reading your blog and want to thank you for sharing your creations and your process with the world. (And your gathered skirt tutorial helped a lot as I struggled to understand how to insert the zipper!)
Awww that’s so nice to read! I’m glad I could at least stop one person from mass-purchasing Big 4 patterns when they start out (why wasn’t anyone there to stop me?? haha). I hope your drafting adventure is going well. I’m really glad to hear you’ve found any of my tutorials useful, I keep meaning to make more but it’s just finding the time for it!
I so agree with Eila. Please don’t give up on the blog! The blue looks amazing on you. I really want to try making something similar now. What did you use for lining fabric? I don’t have much experience lining garments and lining the scalloped top, is really scaring me! ?But if I don’t stretch myself, I’ll never grow. Thanks so much for the inspiration!❤️
Thank you Anita! This dress is actually lined with the same fabric as the outer shell. If I was smarter I would have used lining fabric and then only the outer fabric for the lining where the buttons go but alas, I had a LOT of this fabric to use up! When you line something, think of it as a longer facing. It’s just a facing that happens to reach the waist instead of being an inch wide or whatnot. Exactly the same steps need to be taken, but at the end of the garment you’ll just have to whipstitch the bottom of the lining to the waist, that’s the only difference in construction but I truly believe it results in a much nicer finish.
Beautiful dress! Don’t give up on the blog, I truly believe we need a slow-internet renaissance. I miss the blog hey days: little snips on Instagram and Reddit just leave me feeling… empty? Feels more shallow and engineered for distraction. Love getting to read in-depth posts on a project and to look at the photos!
Thank you Eila <3 I miss the days of blogging too, Instagram doesn't scratch that itch for me. Also I suppose I really love discussing construction details with fellow sewers! Thank you for still reading!