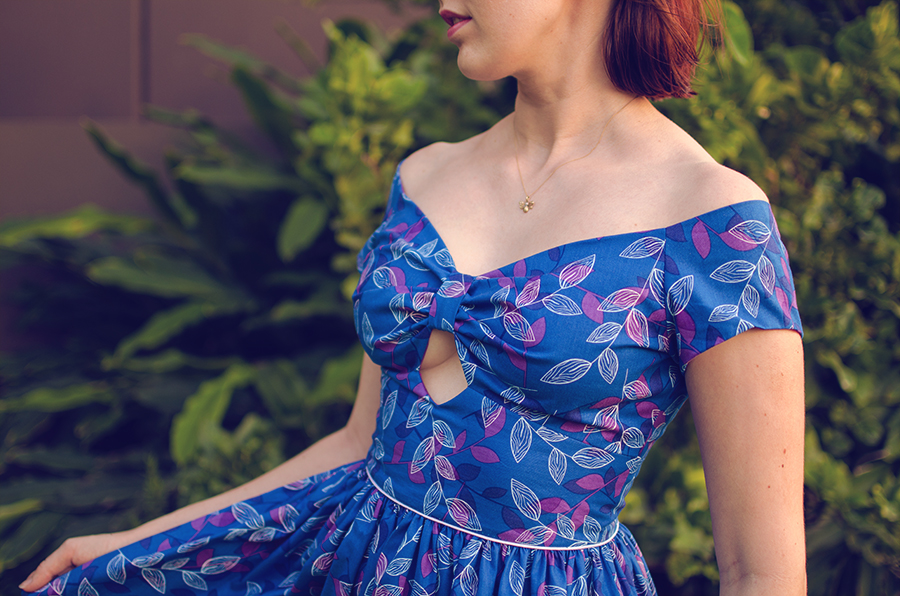
Hey guys, welcome to the highly-anticipated B6413 Sewalong! (I mean, anticipated by me, mostly.)
It’s no secret that I am a bit of a Gertie fan. I own many of her patterns, and her recent Ultimate Dress Book. She takes inspiration from some truly gorgeous 50s designs and spares me from having to draft lookalikes of my own, what more is there to love?
B6413 is one such pattern inspired by a Dorothy Jenkin’s dress designed for Marilyn Monroe for the film Niagara. One day, I’d like to at least attempt a pencil skirt style but with a frontal zip and actual ties for the bust, but that’s for another time when my weight gets more stable. So what better way to celebrate a little bit of body positivity than sewing a dress with friends that doesn’t require a form-fitting silhouette around the derriere?
That’s just what we’re gonna do!

How this will work:
I’m not going to follow the design exactly, and I’m not going to follow the pattern instructions either. I threw them out when I saw what they were asking me to do. Hand-sewing? I know there’s an extensive circle jerk of people who glorify hand-sewing as though there’s no technique that could get you closer to Godliness (or the perfect finish), buuuuuut I am not one of those people. There’s a time and a place! So I’m going to show you how to eliminate hand-sewing from this pattern and still end up with a picture-perfect finish. No dirty hacks, I promise. I will even go through a few tricks and special techniques that leveled up my sewing game.
If you’re following along here, DO NOT USE THE INSTRUCTIONS PROVIDED WITH THE PATTERN. I cannot emphasise that enough. You will have a bad time and get lost. This sewalong is not an accompaniment to the instructions, it’s a replacement.
There will be 5 parts to this sewalong, and I will post a new one up every week amidst my usual content so my everyday readers don’t get too bored of me.
Part 1: Demystifying fit
Part 2: Cutting your pattern and sewing the bodice
Part 3: Attaching the lining (no hand-sewing!)
Part 4: The gathered skirt and pockets
Part 5: Mastering the invisible zip with an everyday presser foot
Part 6: Finishing touches
At first I didn’t want to do a fitting part because I don’t profess to be a fitting expert by any means (I can fit to my own body, but besides that? I’d leave fitting to the experts), but from feedback I got about the pattern, it seems that a few people had the same problems that I did, so I will show you how I resolved some of them.
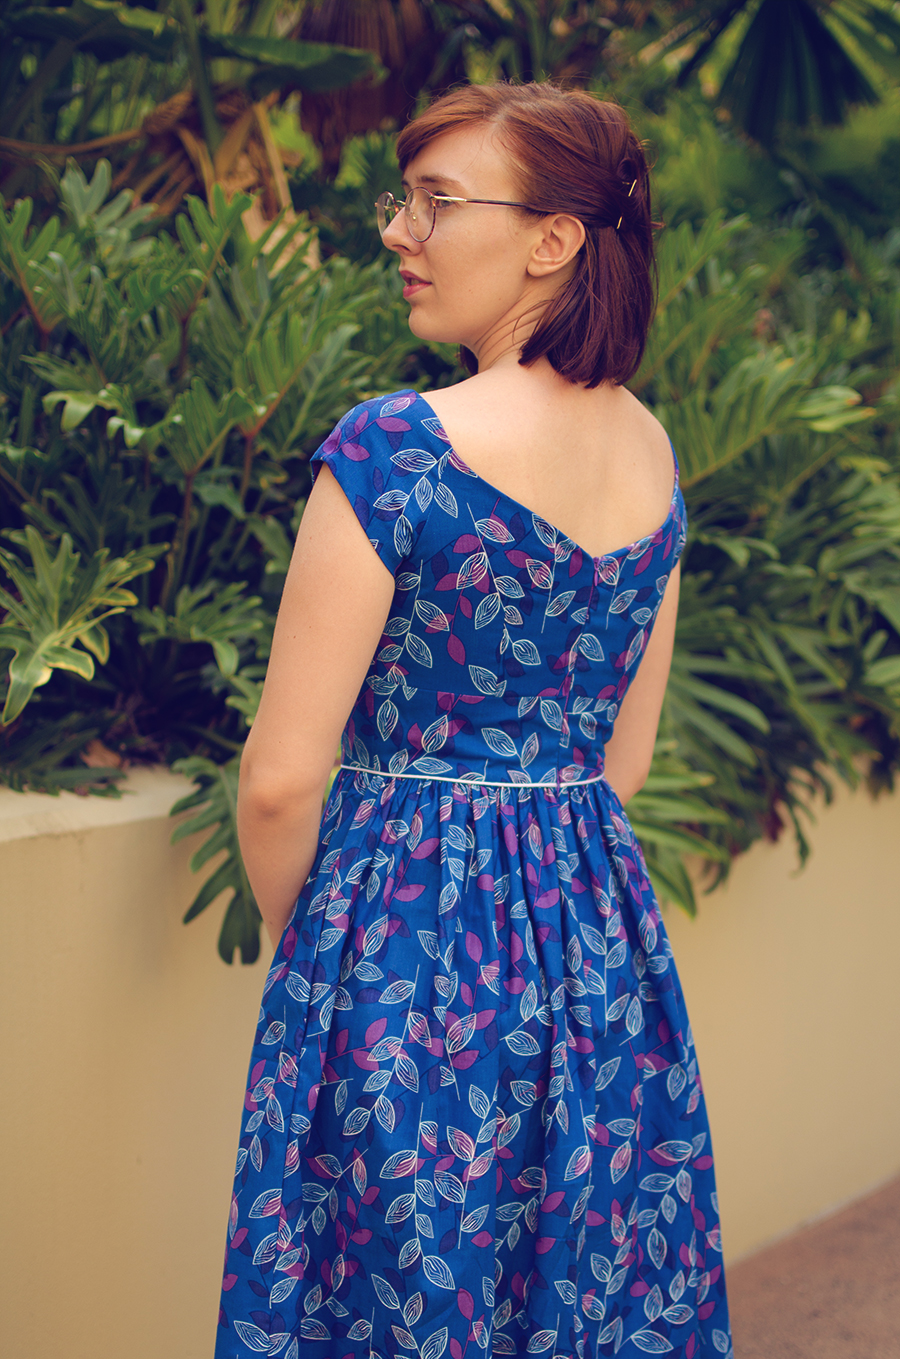
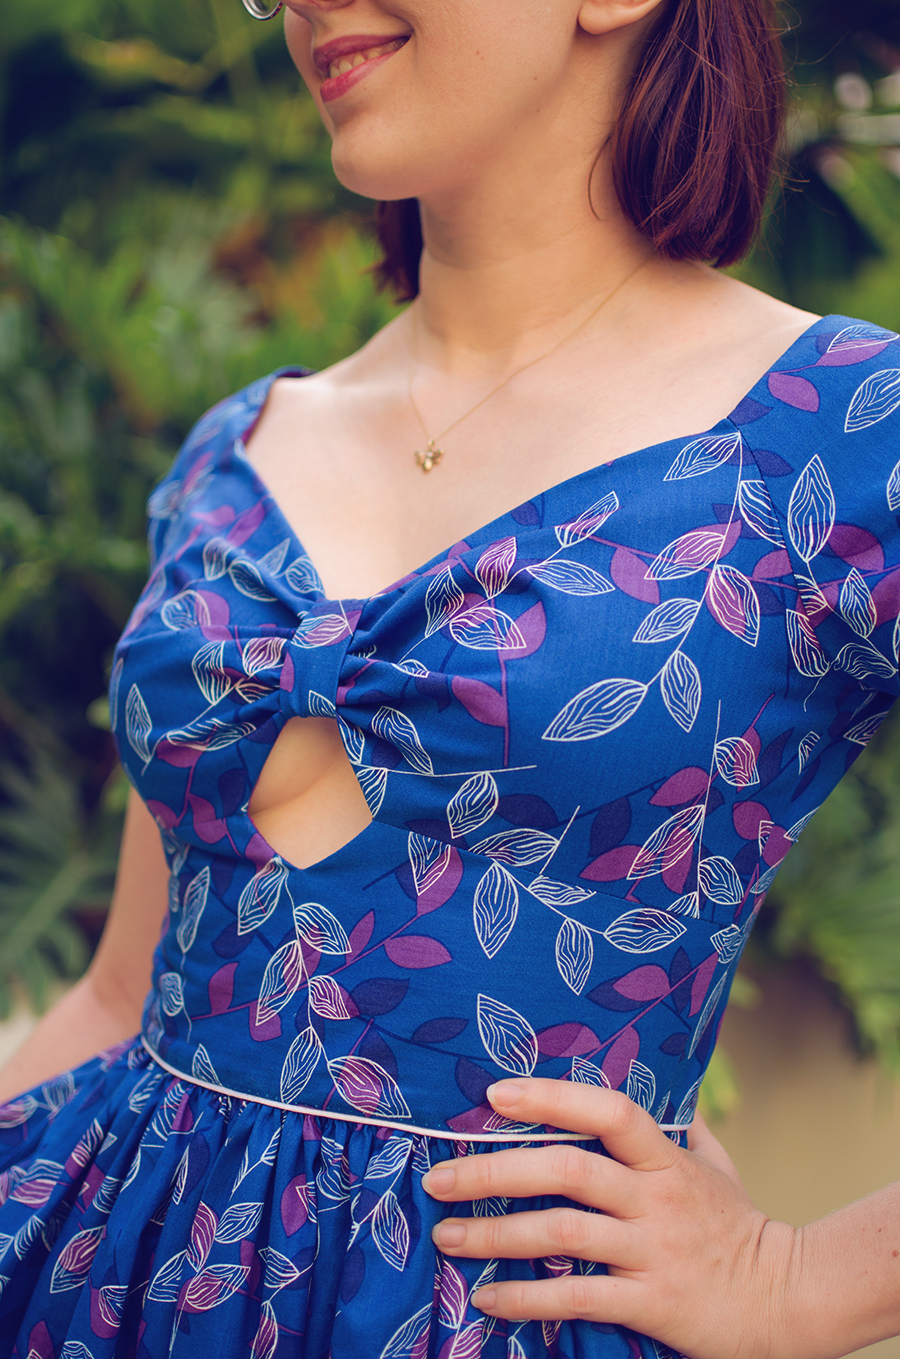
There were LOTS of requests to get rid of the keyhole, but I find it such an integral part of the design and a great many other patterns (by Gertie, even) that share such similarities that it feels like a waste to hack this dress apart to make such a modification. I probably won’t do it (sorry!). See B5814 and B6380 for similar looks.
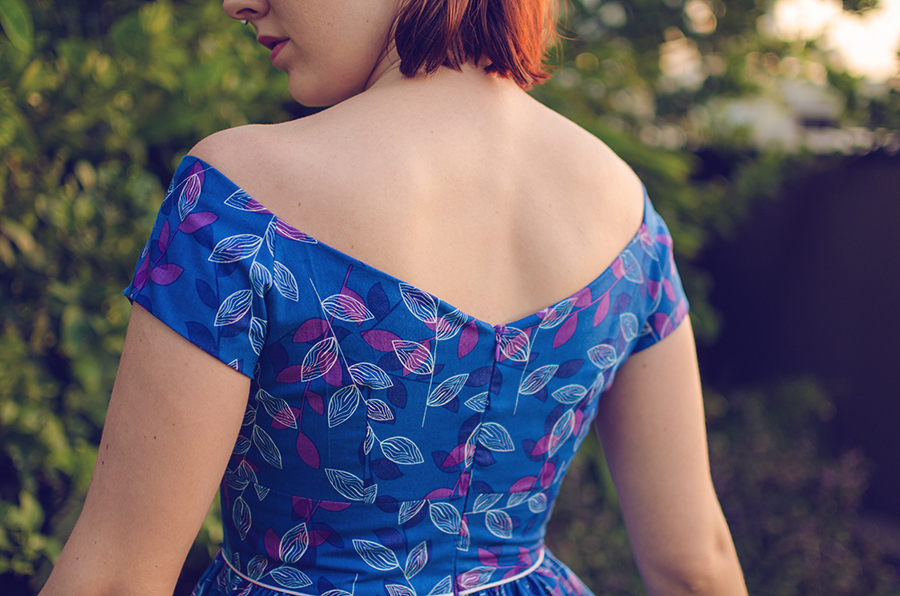
One of the most exciting things I can’t wait to show you is how I nail invisible zips with a regular presser foot. This is my favorite self-taught technique learned to date. You heard that right–I don’t use a zipper foot, and I don’t use an invisible zipper foot.
As mentioned, if you’re new to this, please join us on Facebook’s B6413 Sewalong. If you’re coming from Facebook, feel free to follow me on Instagram or Facebook to be the first to see new parts of the sewalong. Let the fun begin!


